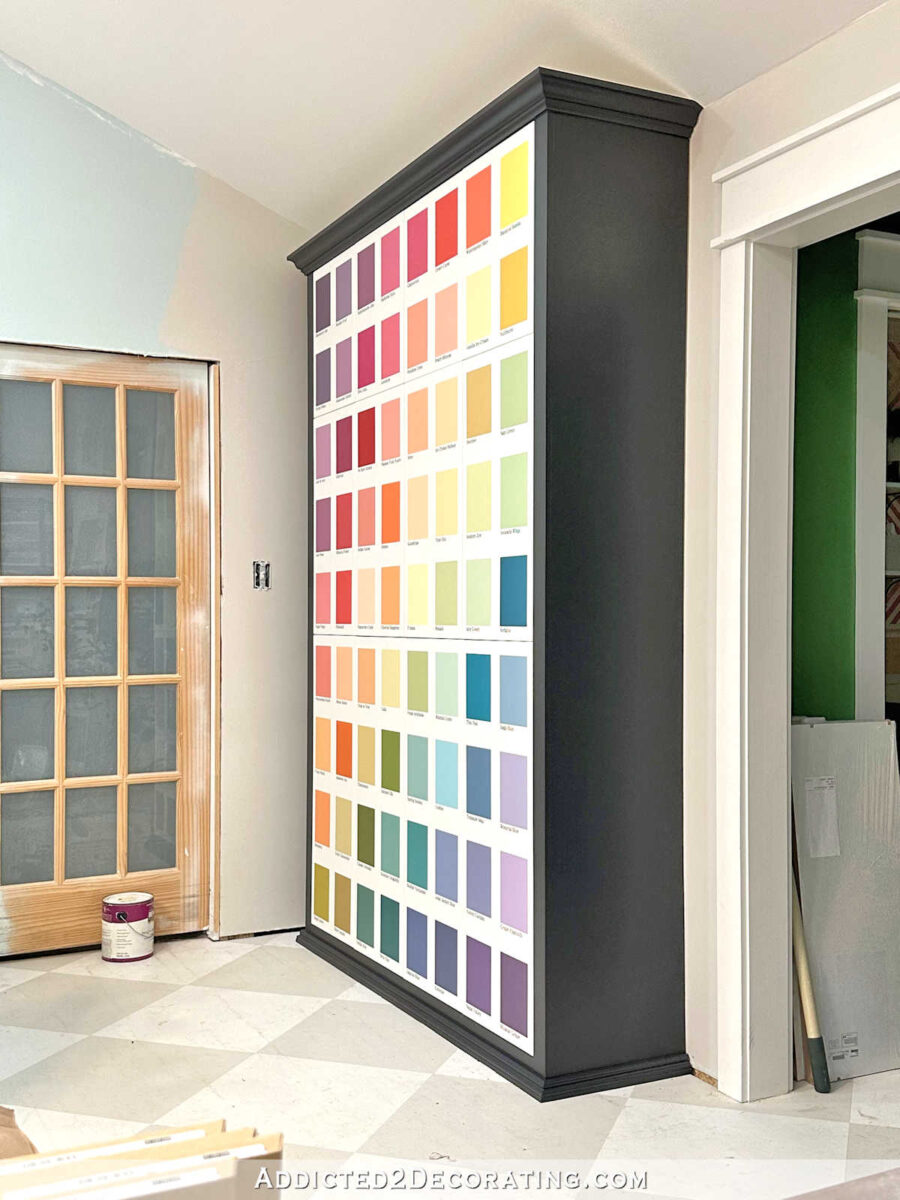
My paint swatch cabinets are finished! And why do I call these my paint swatch cabinets? It’s because I painted swatches of 72 different paint colors on the doors. And they are glorious. 😀

Oh, yeah. And I painted the cabinet black! I’ll bet y’all weren’t expecting that, were you? 😀 I know, I know. You’re probably thinking, “Kristi, why in the world would you paint that black when you said you’re trying to minimize the black in the room?!” I get it.
But in the end, I just couldn’t bring myself to paint it white. I asked myself this question. If these doors were a piece of artwork rather than cabinet doors, and I wanted to frame this piece of artwork to hang on the wall, what color frame would I put on this artwork?
To be honest, my first choice would probably be a thin gold frame. But that first choice didn’t translate to cabinets because there was no way I was going to paint the cabinet gold. So I went to my second choice. If this were a piece of artwork, would I put a white frame on it? No, I actually wouldn’t. The obvious frame color to me would be black. So that’s what I decided to do! I framed my beautiful, colorful paint swatch artwork cabinet doors with a black frame to really set them off. And I love how it turned out!
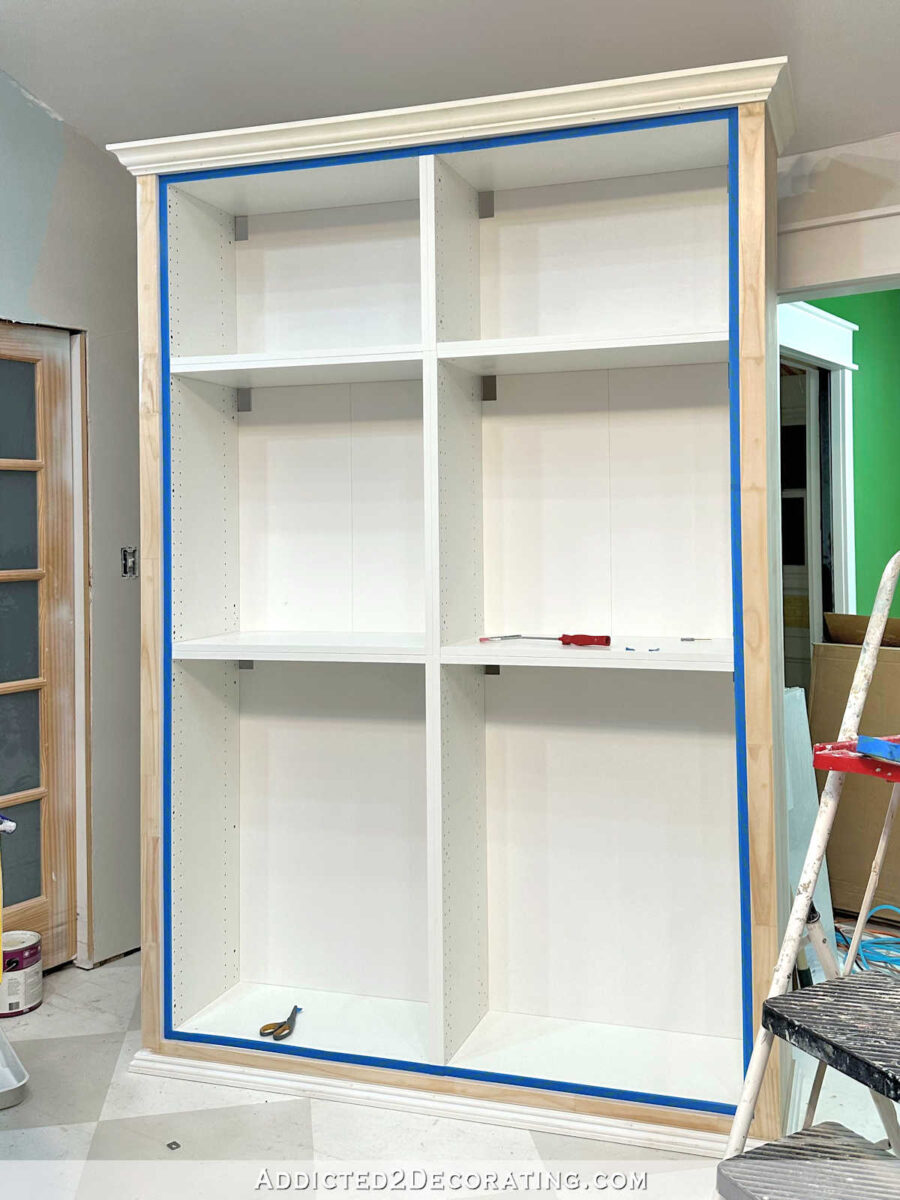
So now let me back up a bit and show you how I finished off these cabinets. After finishing out the build of the actual cabinet, I wood filled all of the nail holes and sanded those smooth. And then I was ready to caulk. I wanted to fill all of these cracks with caulk before painting. I always spend a lot of time on these finishing details because I think putting time in to these really pays off on the finished piece.
For example, see this little crack where the wood frame met the frame of the IKEA cabinet?

All of those areas got filled with caulk.

And then you can see the little gap between the IKEA cabinet and the trim at the top.

And here it is filled in with caulk.

If you take the time to do these finishing details, it really will pay off on the finished project.
When the caulk was dry, I taped off the frames of the IKEA cabinets (which I wanted to keep white), and then put a coat of white primer on everything I wanted to paint black.
And after two coats of black paint, the cabinet was finished! I don’t have a paint color for you because I mixed the black using two black paints that I had on hand — Behr Soft Black and Behr Satin Black (which is what I used on the studio bathroom vanity).

This cabinet is huge and heavy. It’s about 64 inches wide, 15.5 inches deep, and just over 8 feet tall. And when pushing it into place, I found that the crown molding stuck up a little too high for the cabinet to be pushed flat against the wall. So I had to take it off and cut this weird little angle so it would fit under the sloped ceiling.

And let me tell you, trying to figure out how to cut that angle with my miter saw was no joke. I felt so dumb trying to figure that out, but I finally got it, and it actually fit perfectly with the ceiling! And then I had to repeat that process on the other side. 😀
So overall, I absolutely love how this cabinet turned out. But one thing I’ve learned about myself is that I don’t like cabinets without pulls on them. I thought I didn’t want any cabinet pulls on these doors because I didn’t want to disrupt the flow of the colors.
So I ordered the push-open hardware from IKEA so that I could keep the doors free from visible hardware.

But now that I can see the finished cabinet, I think the doors need pulls. I think the design is more like wallpaper. I wouldn’t put up wallpaper and then decide that nothing can go on the wallpaper.

Instead, I would treat the wallpaper as one layer of design, and then I’d hang a mirror, shelves, artwork, etc., over the wallpaper.

So I’m trying to think of the paint swatch colors as the same way. They’re like wallpaper, and just one layer of the design. And it’s fine to put another layer over them. Now I just need to decide what pulls to use to finish off these doors.

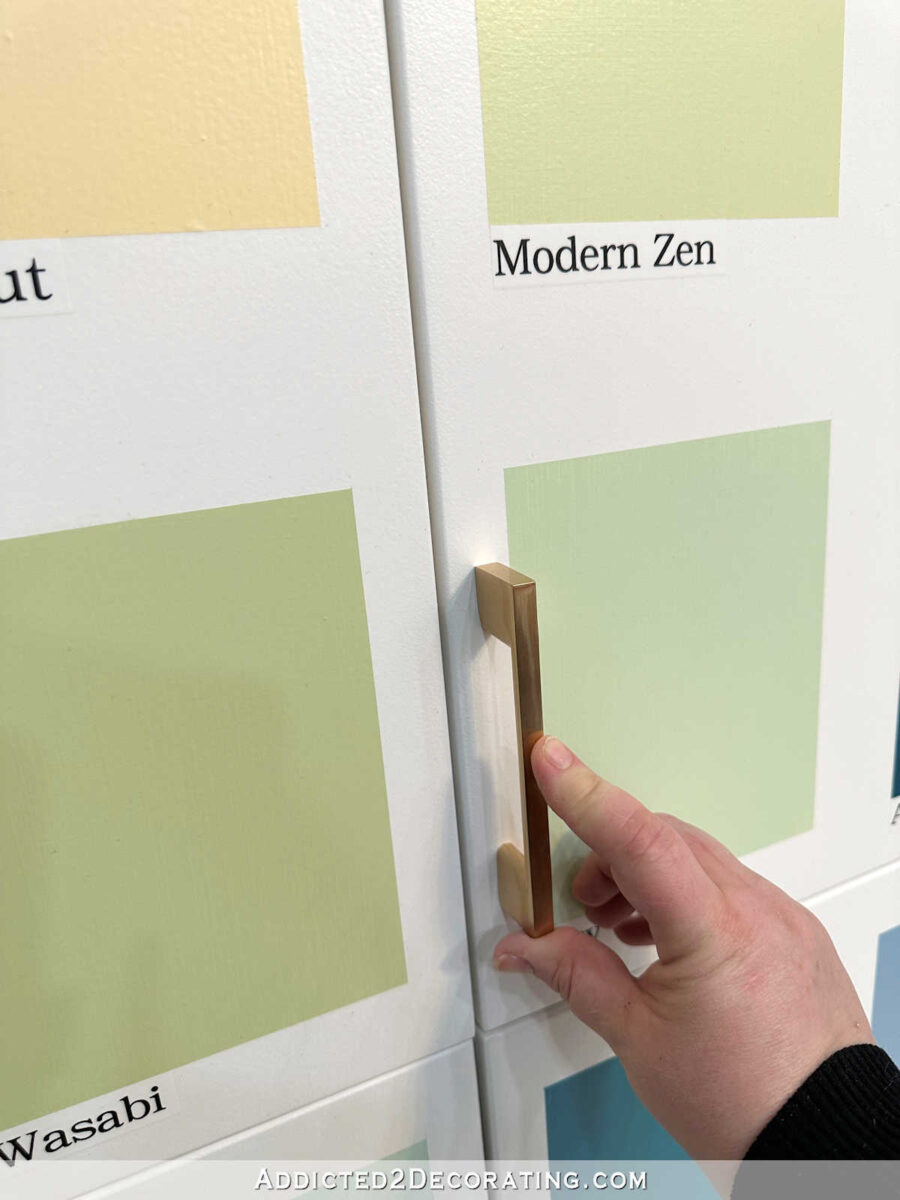
I had originally purchased these very simple pulls when I thought these cabinets were going to be pink and gold like the other cabinets in the room. These are the much shorter version of the long pulls that are on the drawers on the mural wall.
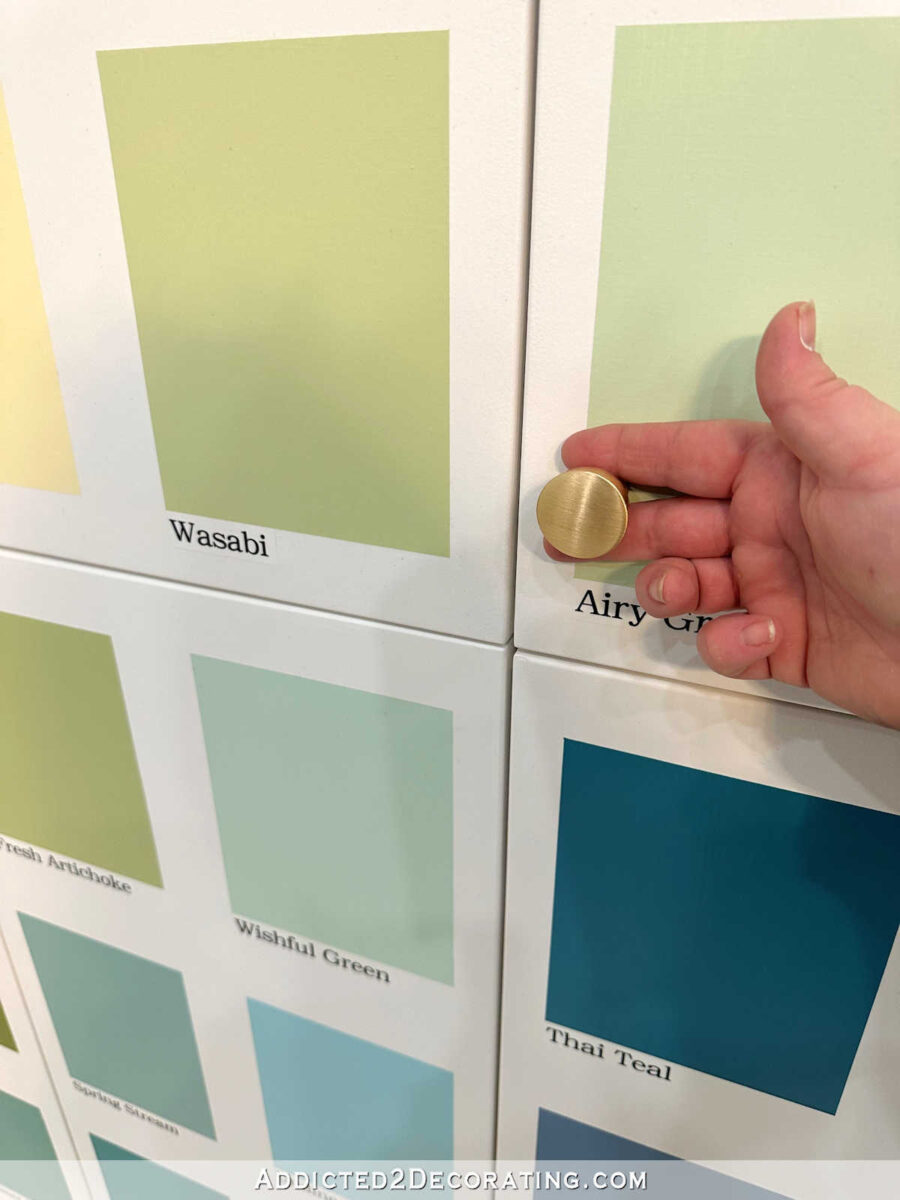
Or I could use these very simple knobs, which are what I used on the cabinet doors on the mural wall.
Or I could go a different direction altogether. But I want something very simple and understated.

But other than that, the cabinet is finished, and I could sit and stare at it all day. 😀
This is the view of the cabinet from my desk. All of those colors make me so happy!

Addicted 2 Decorating is where I share my DIY and decorating journey as I remodel and decorate the 1948 fixer upper that my husband, Matt, and I bought in 2013. Matt has M.S. and is unable to do physical work, so I do the majority of the work on the house by myself. You can learn more about me here.