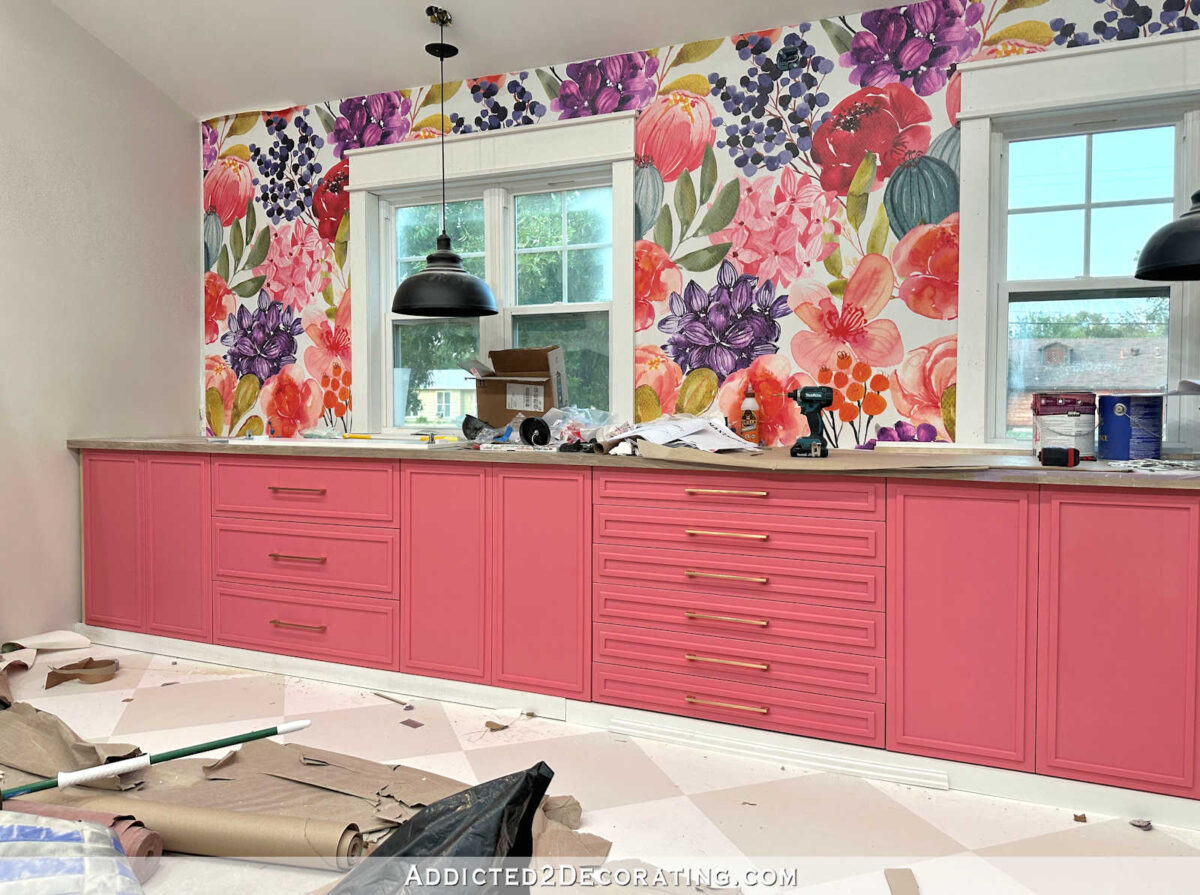
I wish I had more studio progress to share with you today, but I don’t. It’s not that progress hasn’t been made. I’ve been working diligently in there, but some of these projects for that room just take a long time. And at some point, the progress becomes boring. When you’ve already seen what I’m working on, I don’t want to share posts like, “I got five more doors and drawers gold leafed, and four more cabinet doors trimmed out!” That’s just not interesting. 😀
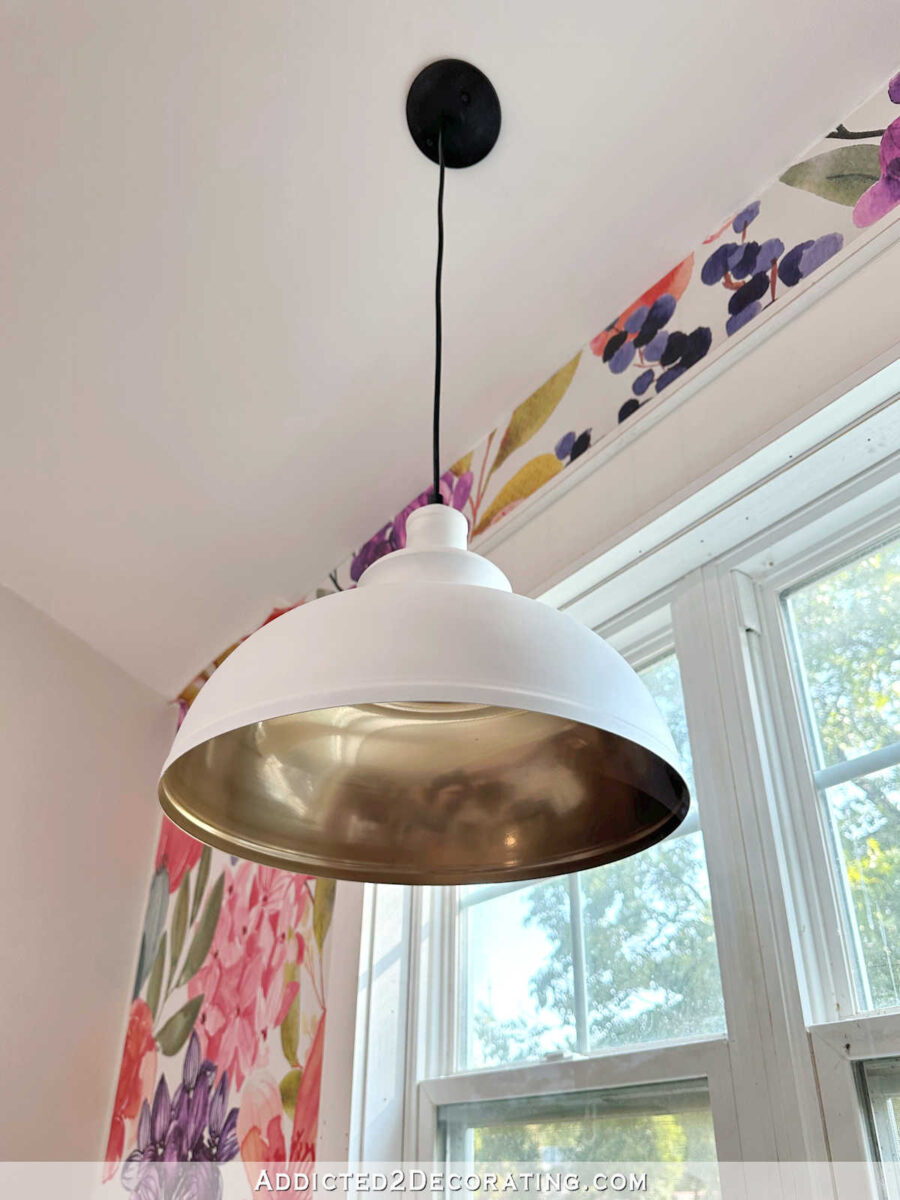
But I do have a small update to share because this was kind of a group project. A few days ago, I shared a little makeover that I had done on the pendant lights on the mural wall of the studio. The lights started out looking like this. (Please excuse the dust!)
But as the room progressed, and I got the mural up and the cabinets painted, the all black pendant lights started looking too heavy and imposing to my eye. So I removed the shades, pulled out some gold and white spray paints, and gave them a quick makeover. They looked like this…
I liked them much better like that. The gold and white took away some of that visual heaviness, but I wasn’t crazy about the final color of the gold spray paint. To me, the shade needed actual gold leaf. Again, I don’t use real gold leaf. I use this imitation gold leaf (affiliate link).
Before going the gold leaf route, I actually tried Rub N Buff first. I didn’t like it at all, and it made a huge mess of my shade that I had to spend way too much time cleaning up, which is why the shade in the picture below looks like a complete mess. So after I got it cleaned up (including quite a bit of sanding), I brushed on two coats of Speedball Mona Lisa Super Thick Adhesive Size (affiliate link) to the whole inside of the shade. I only use the super thick adhesive size because it doesn’t run and drip like the thinner stuff. When the adhesive is applied, it appears a milky white color.

You know it’s dry when it turns clear and shiny. When you no longer see any milky white spots, you know it’s ready for the metal leaf to be applied.

Here’s what the inside of the shade looked like after the inside was completely gold leafed.
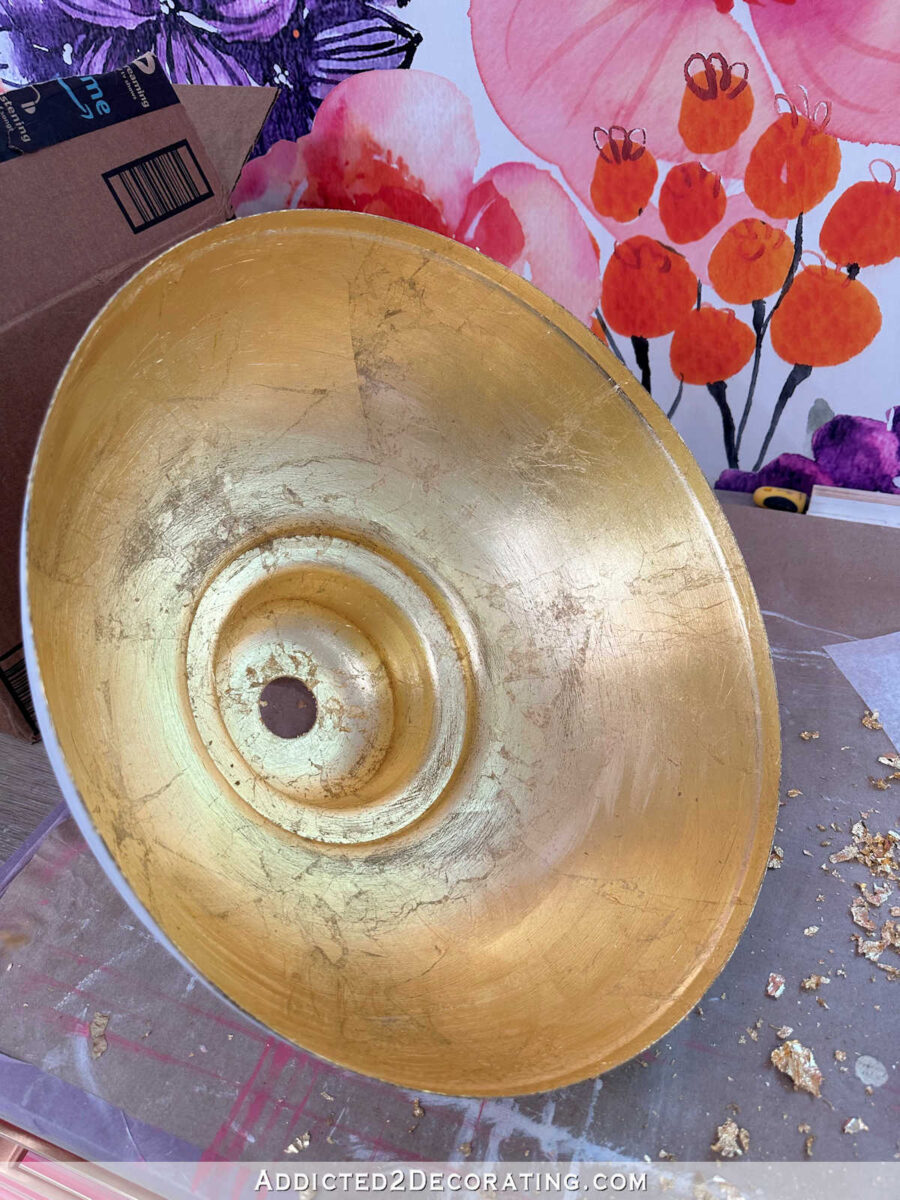
There were a couple of areas that looked a little too dark and cracked for my taste, so I just put another layer of adhesive over those areas, let it dry, and applied more metal leaf to bright it up a bit more. I also taped off the bottom edge of the outside of the shade and applied gold leaf to that bottom edge all around the shade. To me, that made a huge difference!

After letting those shades sit there for a couple of days, I finally decided to take the recommendation that several of you made and give the white a shinier clear coat. I liked the flat white paint, but since the shade is curvy, I knew a shinier finish would show off the pretty shape even better. So I gave the outside of the shade (including the bottom gold leaf accent) three coats of Rust-Oleum Painters Touch 2X in a clear glossy finish (affiliate link).
I then decided that I wanted to take the gold all the way and cover up all of the black on the lights. Since this is my room, and I can make things as flowery and feminine as I want, I proceeded to cover the canopy, cord, and whatever that other piece is called, in the Speedball adhesive and add gold leaf to all of those parts as well.
To do so, I didn’t take it down completely. I just loosened the nuts that hold the canopy to the ceiling junction box enough so that the canopy was no longer touching the ceiling, and then I proceeded with brushing the adhesive onto all of those parts.

After I applied the gold leaf to all of those parts, I reattached the shade and this is what the finished light looked like.

That’s quite a 180-degree difference from how it started! 😀 And I absolutely LOVE it! It’s just want I wanted these lights to be — light, airy, and feminine. I don’t think that I could get away with having these anywhere else in the house, but I think they’re perfect for my flowery, girly studio.

There is simply no faux metallic finish that will compare to real metal leaf. I’ve tried so many spray paints, pens, acrylic paints, alcohol inks, and waxes, and while some come very close, none of them look truly metallic when compared to an actual metallic shine. And there’s just something about gold leaf that I love so much. I think it’s the imperfection of it that gives it a delicate look that I like so much.

You can see what I’m talking about on the inside of the shade especially. While I did go back and cover over some of the darker areas with more gold leaf, my goal wasn’t to try to make it look perfect. (I don’t even know if perfection is possible with gold leaf!) I wanted some of that imperfection to stay because that’s the beauty of gold leaf.

I think this new (and final) look is much better than the first attempt. The first one was a step in the right direction, but it still looked heavy and dull. The current and final iteration looks so much lighter and brighter. I think it’s a perfect complement to my flowery, girly studio with the gold leafed pink cabinets.
Matt came into my studio a while back to see my mural + pink cabinet + gold leaf combo for the first time. He sat there looking at it for a minute, and then said, “Wow. I love it!” That’s not quite the response I was expecting from him after seeing my flowery, pink, girly wall, and I’m sure the look on my face showed complete shock when I turned to him and said, “REALLY? You like it?” He said, “I love it for you. It’s perfect for you. I’m very glad you have this for you.”
I swear, that man would support me no matter what I do. He’s just so encouraging. Yesterday, after I wrote my post about what I’d do with the breakfast room if I could do whatever I wanted to, I asked him, “What would you think if I said that I wanted to completely remodel the kitchen after we’re done with the addition?” Without even skipping a beat, he said, “Okay!” He’s seriously the best.
Anyway, I’m so close to finishing the mural wall in the studio. I can’t wait to get that finished and move on to the other sections! I really slowed myself down when I decided to gold leaf the cabinet doors and drawers. That’s a very slow process, but it’ll totally be worth it (to me!) when it’s finished. I think this studio is going to surpass my expectations when it’s finished, and I already had pretty high expectations before I started. And I’m not in a race, so I’ll take the time I need to take in order to get it right. I’ve been waiting years for this room to be finished, so I want it to be as close to perfect (again, for me!) as possible.

Addicted 2 Decorating is where I share my DIY and decorating journey as I remodel and decorate the 1948 fixer upper that my husband, Matt, and I bought in 2013. Matt has M.S. and is unable to do physical work, so I do the majority of the work on the house by myself. You can learn more about me here.