We independently select these products—if you buy from one of our links, we may earn a commission. All prices were accurate at the time of publishing.
My Chicago home’s living room has been through many phases in the past two years, but the soft pink paint color I’ve chosen for the walls most recently is definitely here to stay. The color (Benjamin Moore’s Sunlit Coral) is a perfect fit for the room, especially when the space is bathed in early morning sunlight that makes the warm tones glow. I was feeling good about how the whole living room was looking, but there was a (quite literal) blocker: the sideboard.
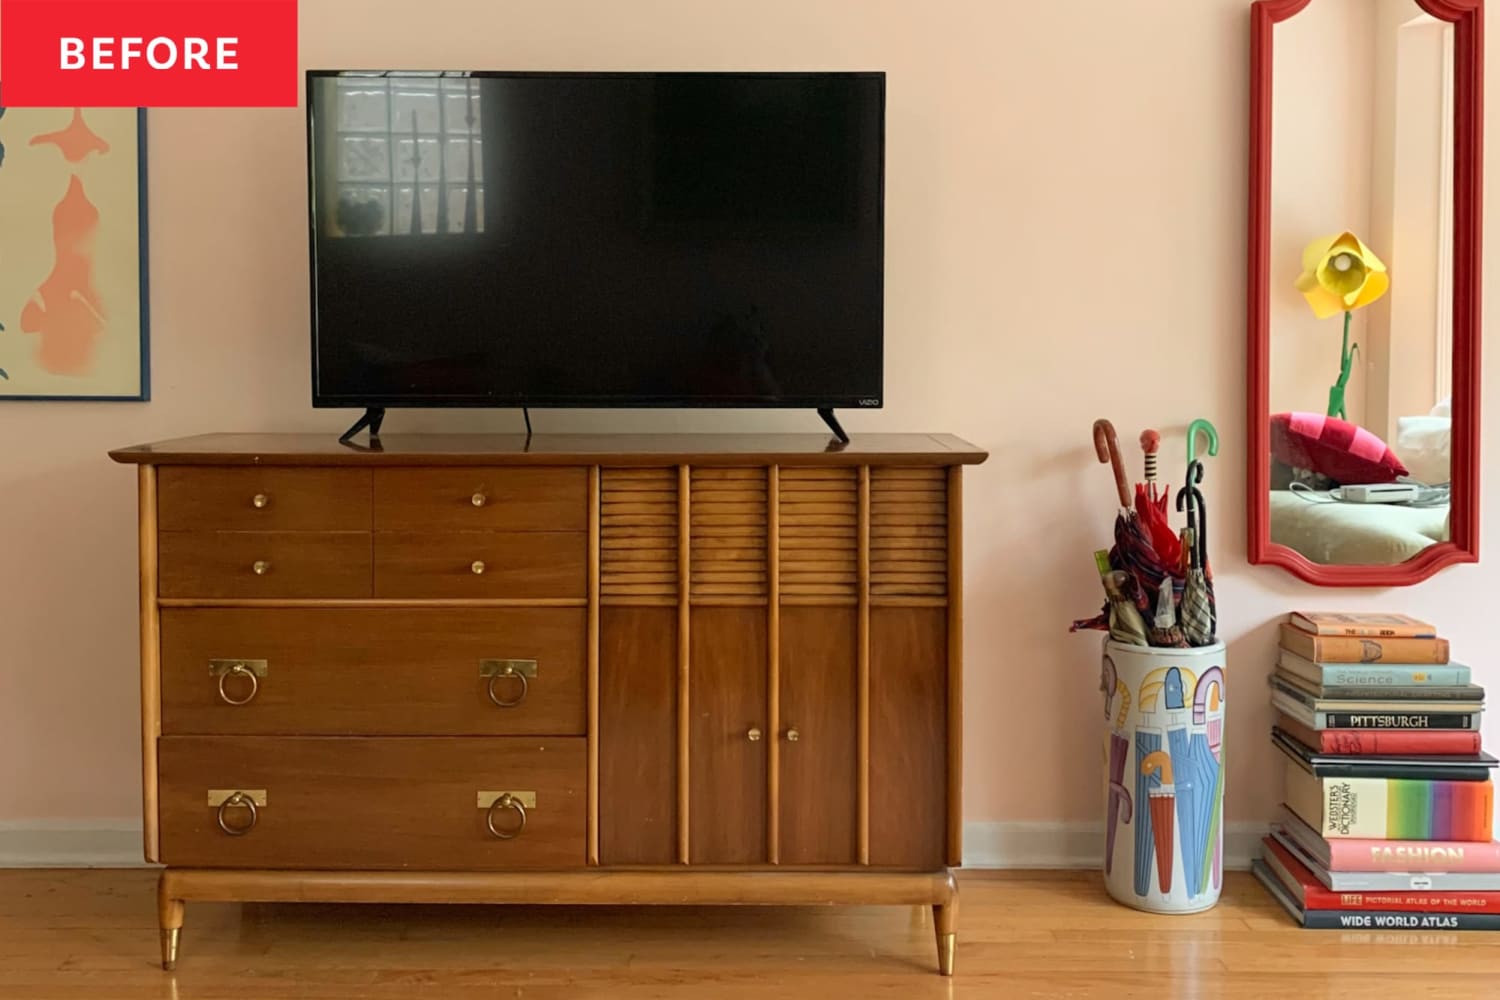
The sideboard is my favorite piece of furniture in the house, but it sat in the pathway directly between the front door and the hallway and forced everyone walking through to sidestep it. As much as I loved it, I knew I’d have to say goodbye to the bulky sideboard. But I didn’t want my TV to just sit on the wall all alone without any furniture below it.
My inspiration for a new furniture piece came from an architectural feature that’s long been on my wish list: a fireplace. There aren’t any in the Chicago house I share with my husband and daughter, so I decided to hunt for a faux one that would give me the same cozy vibes without resorting to a full remodel.
All the fireplaces I was finding new that were within my budget really didn’t fit with the style of my house, which is sort of a mix of 1970s-meets-cozy-English-cottage. What I really loved and wanted was a tall, slim fireplace with a wood-burning stove that seems to appear in the bedrooms of all the quaint English houses I love to scroll through on Instagram.
I started poking around on Facebook Marketplace (aka marketplace of the vintage gods) and found exactly what I was looking for. For around $80, I purchased this antique fireplace surround that, if the story is true, came from a bedroom in an old mansion along Lake Michigan here in Chicago. I loved the story (true or not!) and the price, but the piece still needed work. For another $50, I purchased the supplies I needed to add sides, a mantle, beadboard backing, and a little hidden shelf behind the surround that would hold any boxes or TV wires I needed to hide.
The primary benefit of the fireplace surround is that I could customize the depth based on the width of boards I used to create the sides. I chose to make my surround 9 inches deep; compared to the old sideboard’s 19-inch depth, that saved me almost a foot of floor space.
The wood on the surround was dinged up and I knew pretty immediately that I wanted to paint it the same color as the wall, so I primed and painted it that soft pink. I didn’t want to stop there, though. I love antique painted folk art, and I decided I’d add an accent with a handmade “tile” design. I roughly measured and handpainted the square tiles around the top of the opening, then added a very simple stenciled flower. I used scalloped painters tape and circular sponge daubers for the dots along the top strip. It was all very simple once I figured out the color scheme, and looked better and better with each layered detail.
Once installed, I could tell it really made a difference, but hearing friends and neighbors say it made the room feel bigger made me feel even better about the project! I also brought down an old electric heater I had in the attic, painted it bubblegum pink (because why not?!), stacked a few books on top to fill in the opening, and set it in the middle of the surround for an instant “cozy” vibe.
My total spend to create the space-saving console alternative was about $130 (a cost offset by placing my beloved sideboard on Facebook Marketplace so it could find a new home that’s a better fit).
With a few knicknacks displayed on my “fireplace” and a favorite piece of art displayed on the Frame TV, my living room has the exact warm and welcoming feel of all those English cottages I’ve admired. I’m slowly working on adding more art to the wall (in addition to the colorful piece by Cathy Lancaster) but I’m happy where everything is right now. My living room feels warm and joyful — and most importantly, it now has way more usable floor space.
Inspired? Submit your own project here.