How to paint furniture the easy way…no sanding needed!
You do not have to sand furniture before painting. If your piece is in good condition, this method will save you a ton of time and mess.
For the past few weeks, I’ve been working on a makeover in our bedroom that has completely transformed the space! I can’t wait to show you the whole room.
The last big project in here was painting this dresser, and it turned out so beautifully!
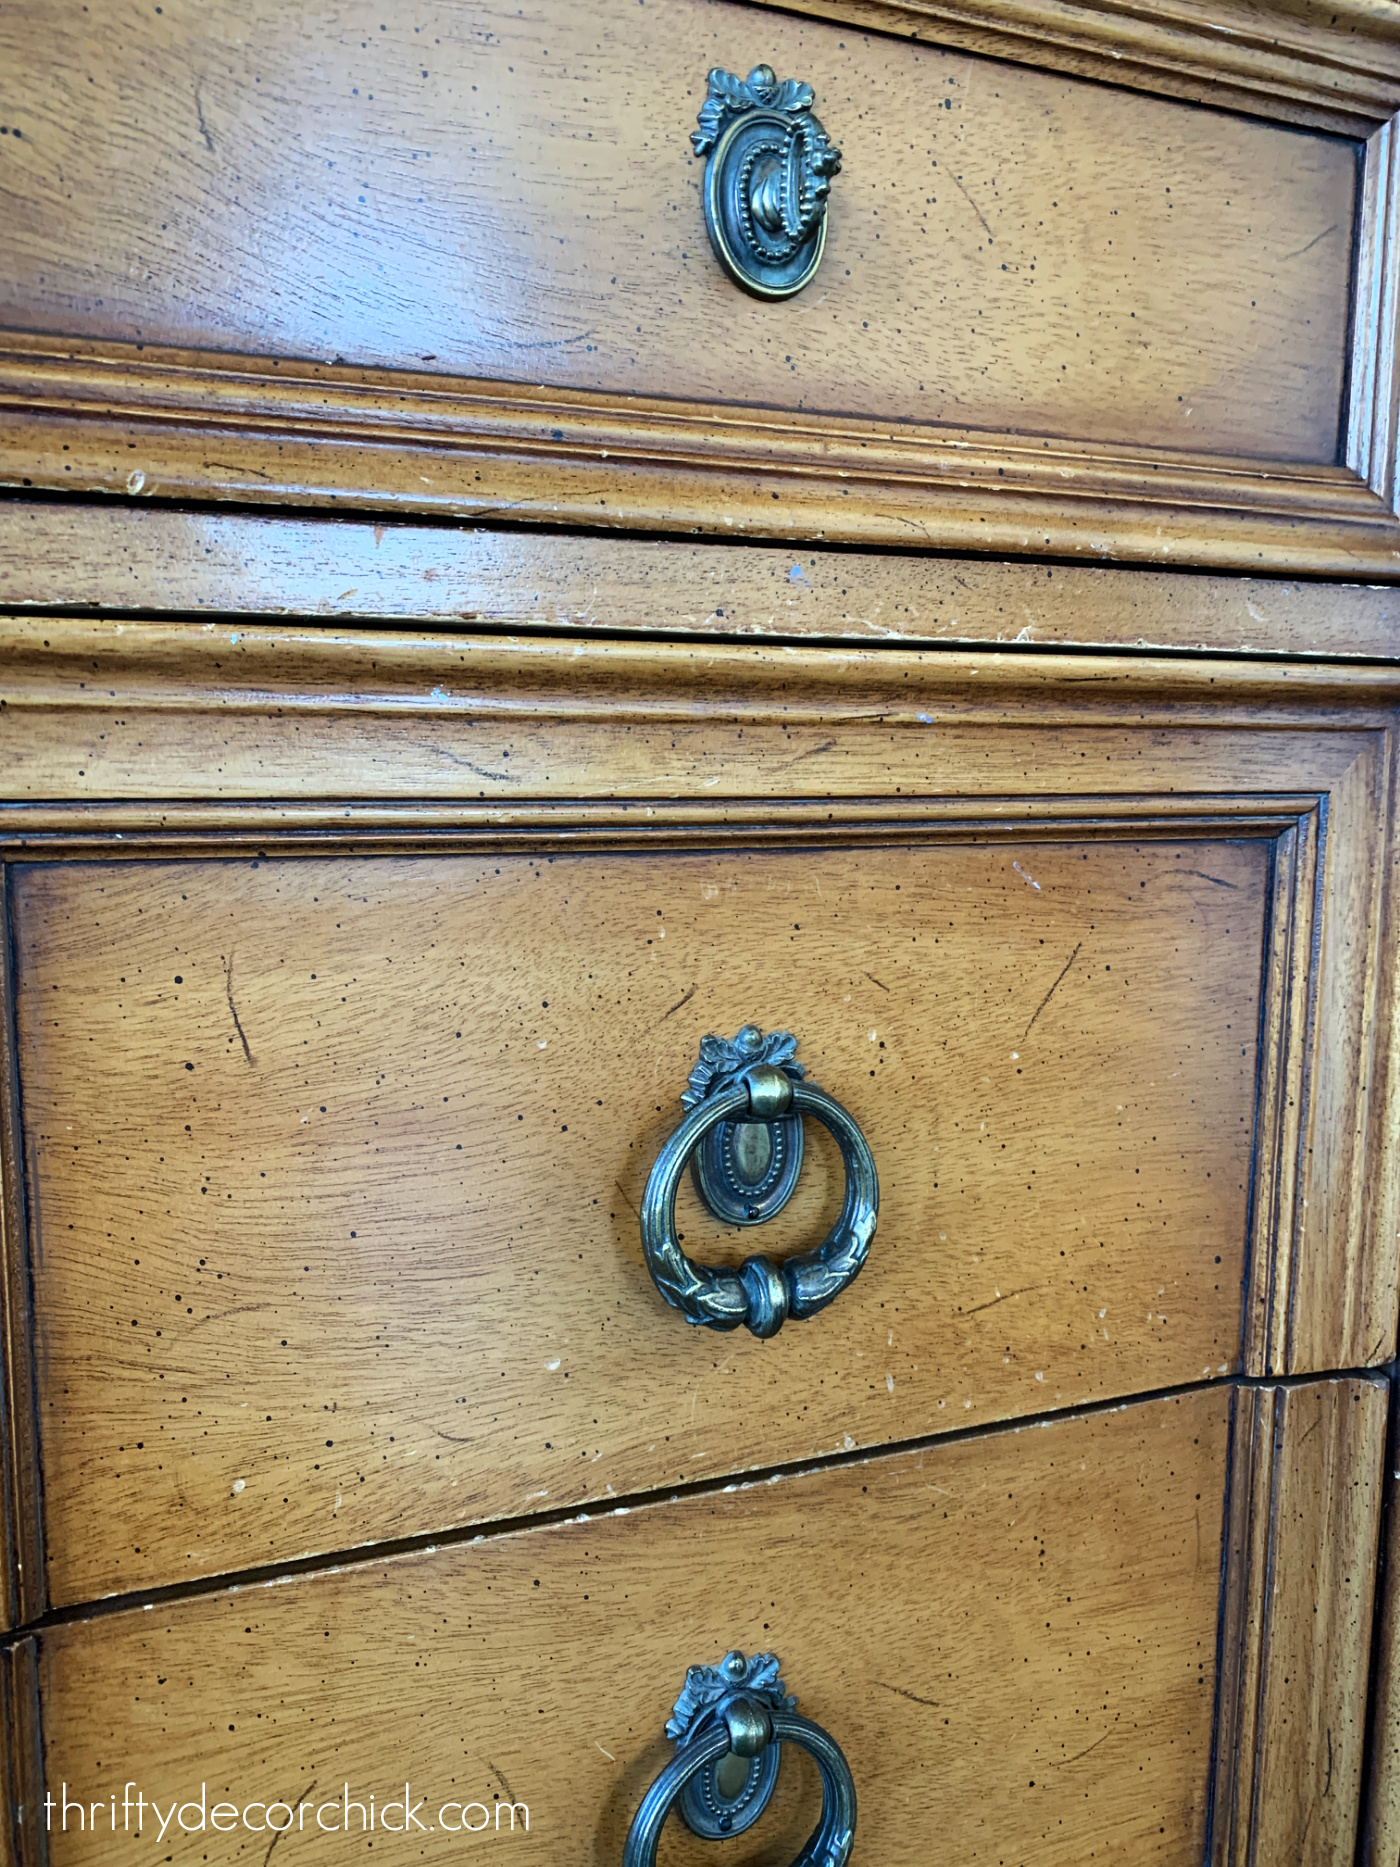
I’ve had this lovely vintage Henredon dresser for years. I love the quality (dovetail drawers!), pretty trim details on the fronts and the ornate brass hardware.
The finish has never been my favorite though…it had an orange tone to it that seemed to get more orange with time. Also, it had an odd splatter kind of finish that I didn’t love:

I’ve toyed around with painting it for a long time, but didn’t want to rush into a color.
I’ve painted a TON of cabinets and furniture over the years, and have tried many ways along the way.
Typically, sanding or priming are options to prep furniture for paint, but I have found that cleaning the pieces well before painting is the most important.
Cleaning furniture thoroughly works as well as sanding before painting in many instances.
My favorite product for doing this is TSP, or trisodium phosphate. This product, also known as liquid sandpaper, is what I’ve used for years. But phosphate free options are now available. (Phosphate is not good for the environment and can be very irritating to skin.)

Before I could start, I needed to remove all of the brass hardware. This hardware is so old, there are little nails on a few of the pieces. I very gently pried those off with a flat 5-in-1 tool:

The cleaning spray was so easy to use! I grabbed a microfiber cloth, sprayed the deglosser generously onto the cloth and got to work wiping down the dresser.
I paid a lot of attention to the grooves along the drawer fronts:

I used my finger nails with the cloth to really get into those spots. There were many years of grime hiding in there!
I couldn’t believe how much of the finish came off on the cloth!:

It was absolutely filthy! (And yes, I have cleaned this dresser many times.)
After cleaning, I made sure to get all of the TSP substitute off with a wet rag, then let it dry completely before painting.
With the dark gray walls gone, I have more options for accent colors. I’ve been working off the colors in our rug and adding a lot of green tones in the room.
When I paint furniture or doors, I always start with a brush on the grooves and smaller details first:


Other than prepping well, the other key to a durable paint job is letting each coat cure (dry) long enough before adding another.
I did three coats of paint total, letting each coat dry overnight.
OK, OK…there is a little bit of sanding involved, but nothing crazy! I highly recommend doing a very light, very quick sanding in between each coat of paint. This ensures you’ll have a super smooth surface.

I can’t believe how great the hardware turned out! Just gorgeous!!:

I don’t usually add a protective coat to my furniture projects, but since I was using paint I had on hand, (and it wasn’t a glossy finish like I’d normally use) I will be doing a coat or two on the top of the dresser.
This room is a breath of fresh air now, I don’t think I could love it more! I’ll share the full tour very soon, but here’s a look at this spot before:

And now after, with the pretty wall paneling, new drapes and the painted dresser:

This is turning out to be one of my favorite transformations yet! I still have a few little projects to do, including figuring out the art in the frames:

But it is well on the way! 🙂
I love a great wood finish, but sometimes it’s just not quite right. This rich, dark green is so beautiful, and really lets the brass hardware shine.