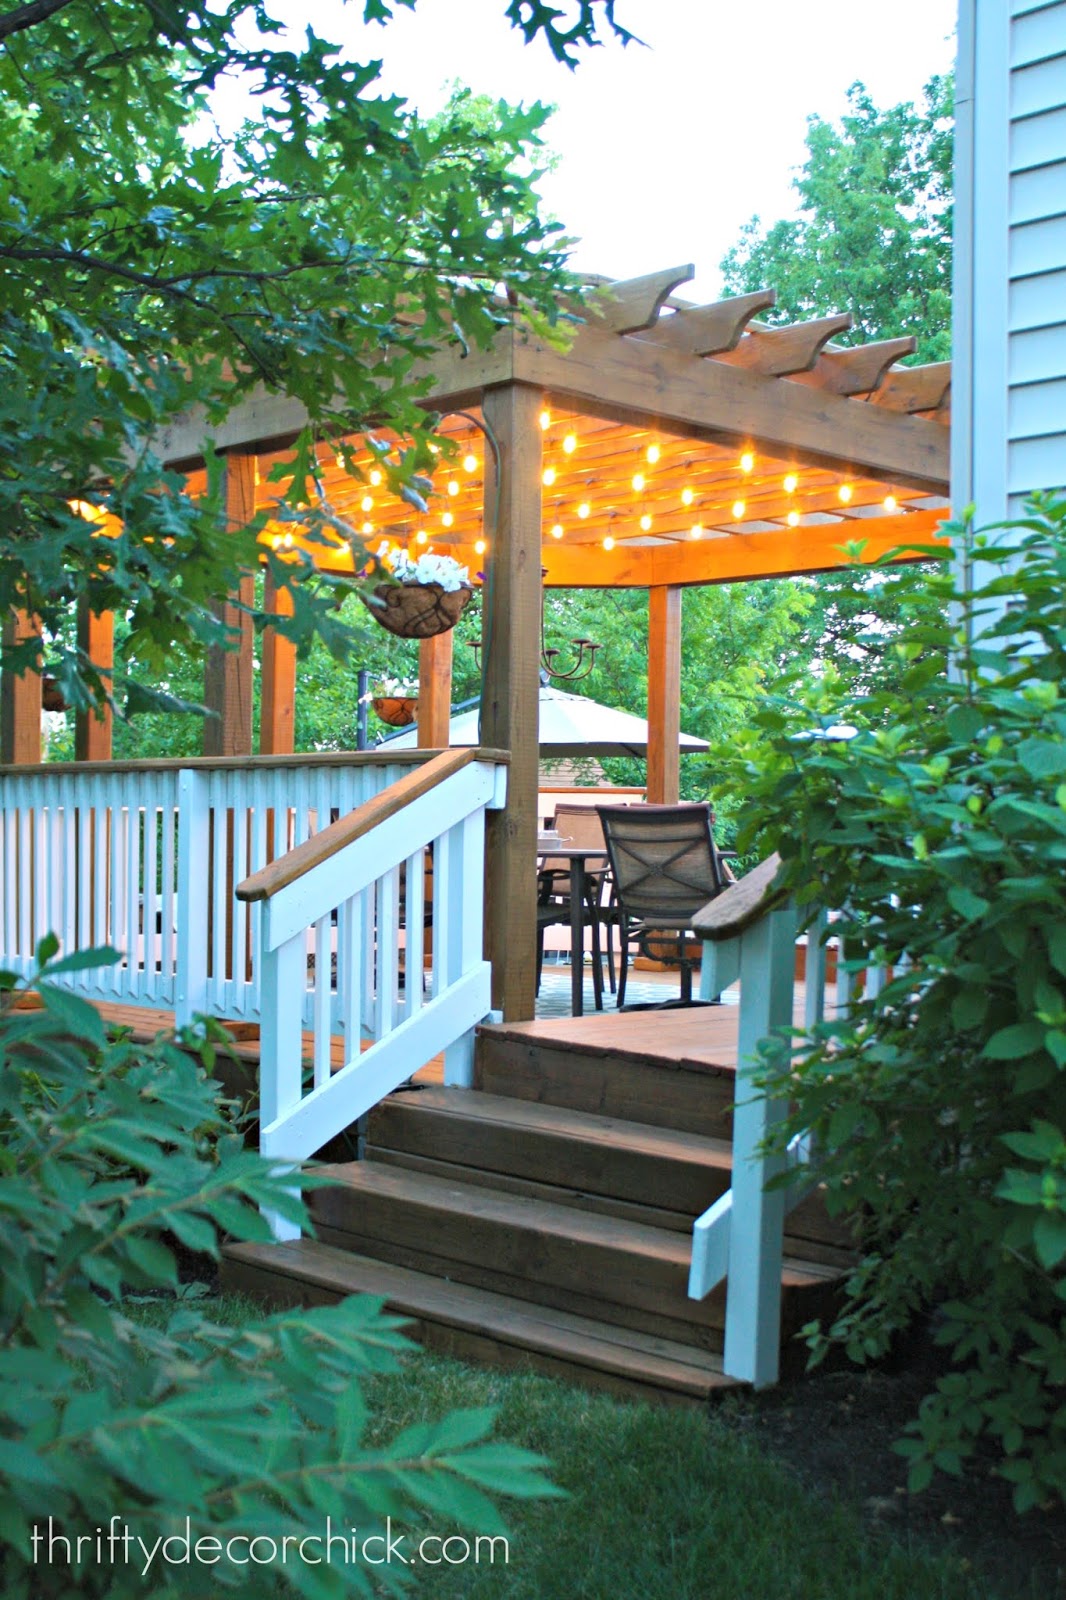
How to install STURDY cafe patio string lights without trees!
Installing these outdoor string lights was on my list for years after we moved into our house! The problem was, we had a new backyard with no mature trees to attach the lights to.
I had to figure out a way to hang these patio lights in a safe way so they would hold up to rain, wind and snow.
This post may contain affiliate links for your convenience.
I may earn a small commission when you make a purchase through links.
It helped that we had trees big enough to hold the weight of these — they are heavier than your average outdoor lights, but again…they last forever.
Because we don’t have trees around the patio yet (and it would be years before they’d be strong enough to hold the light strands), we had to figure out a different option.
I’ve been researching this for a year because it was so important for this to a.) be functional, b.) look good and c.) not cost a fortune. I gathered info from a bunch of tutorials I found and then we had to make some more changes at the end I’ll share with you. (Hint: the tutorials we found didn’t work for the heavier lights!)
Let’s get started! I’ll list ALL of the items you’ll need at the end of the post, but here are the step by step instructions.
Step 1: Gather the planters you’d like to use.
Some of the tutorials I found used wood wine barrel planters — but the ones I found either had large holes already drilled into the bottom or they weren’t super sturdy. I was worried the concrete would ooze out between the slats of wood.

They still have that wine barrel look but should hold up much better!
I initially had three planters, but we ended up using two when we figured out how many feet of lights we had.
Step 2: Secure the poles in the planters.
Next, we grabbed eight foot 4×4’s for each planter. The quick set cement set really fast — but this next step was helpful. I installed “L” brackets onto the bottom of each 4×4 and then screwed them into the bottom of the planters before adding the cement:
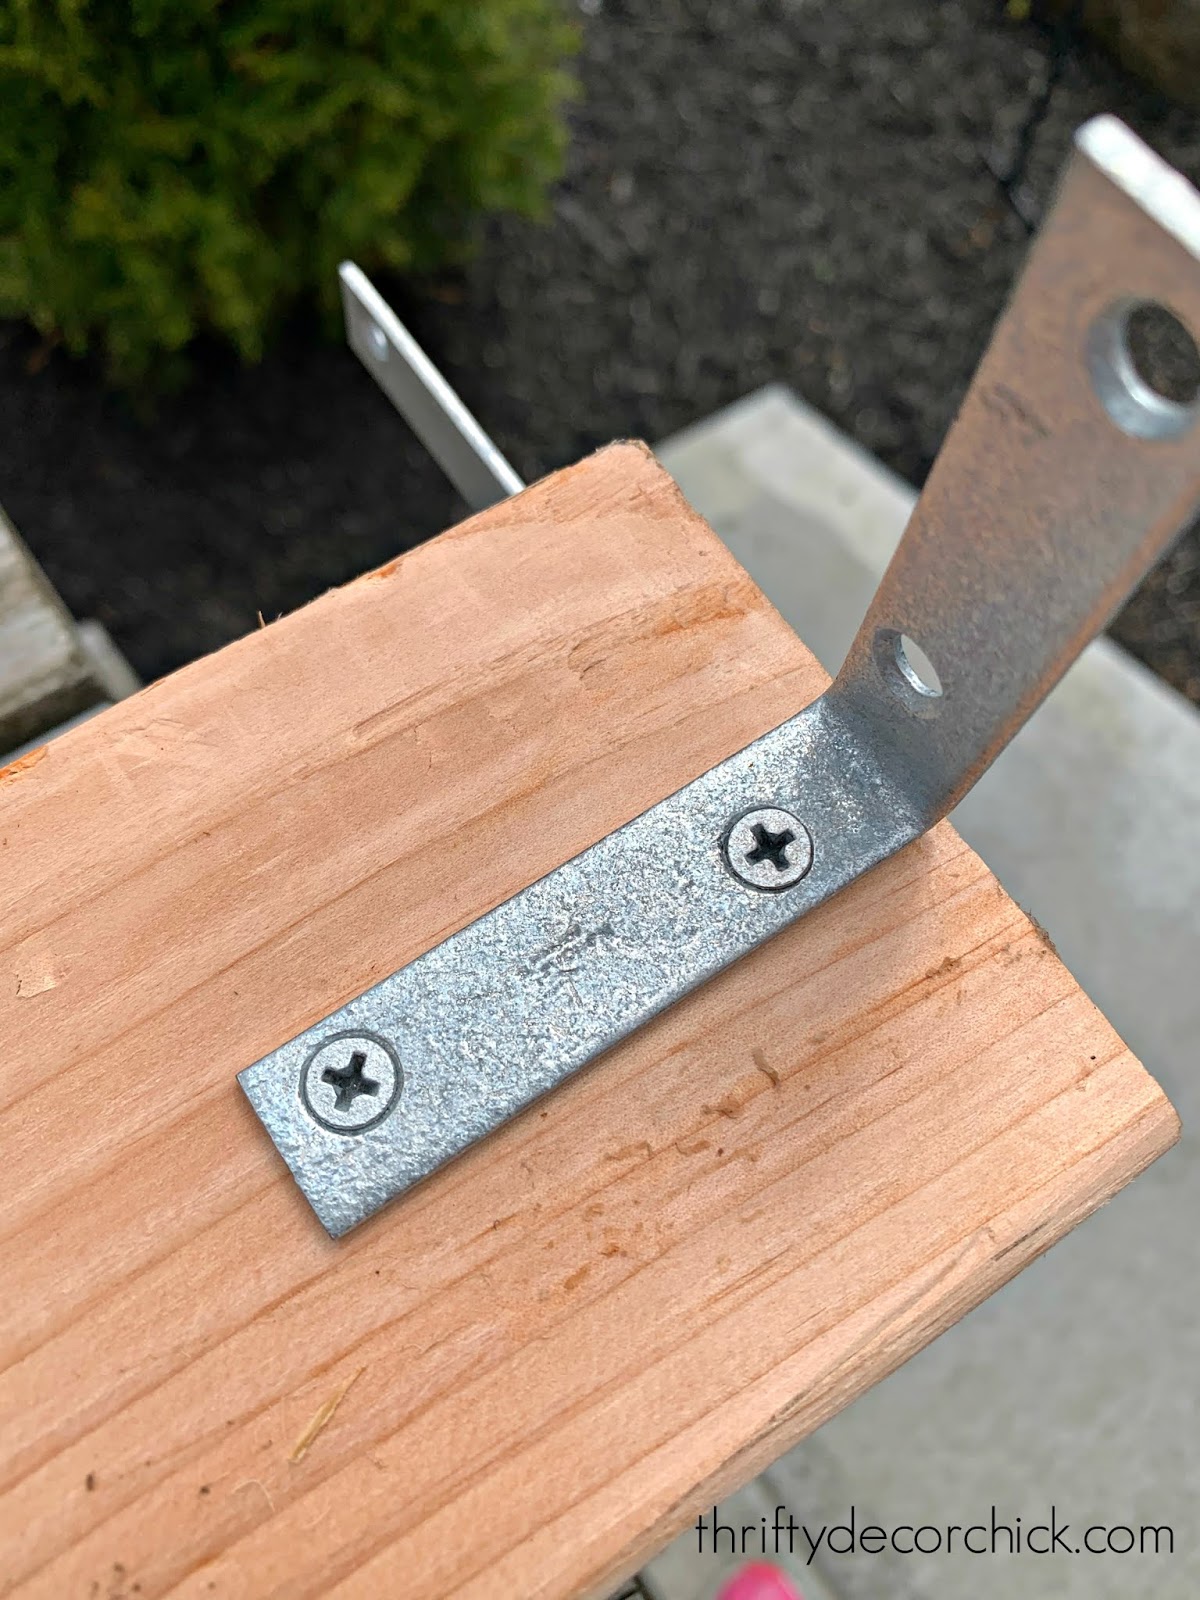
This will not keep them super secure (at least with plastic planters), so you can’t let go just yet — but they do help!
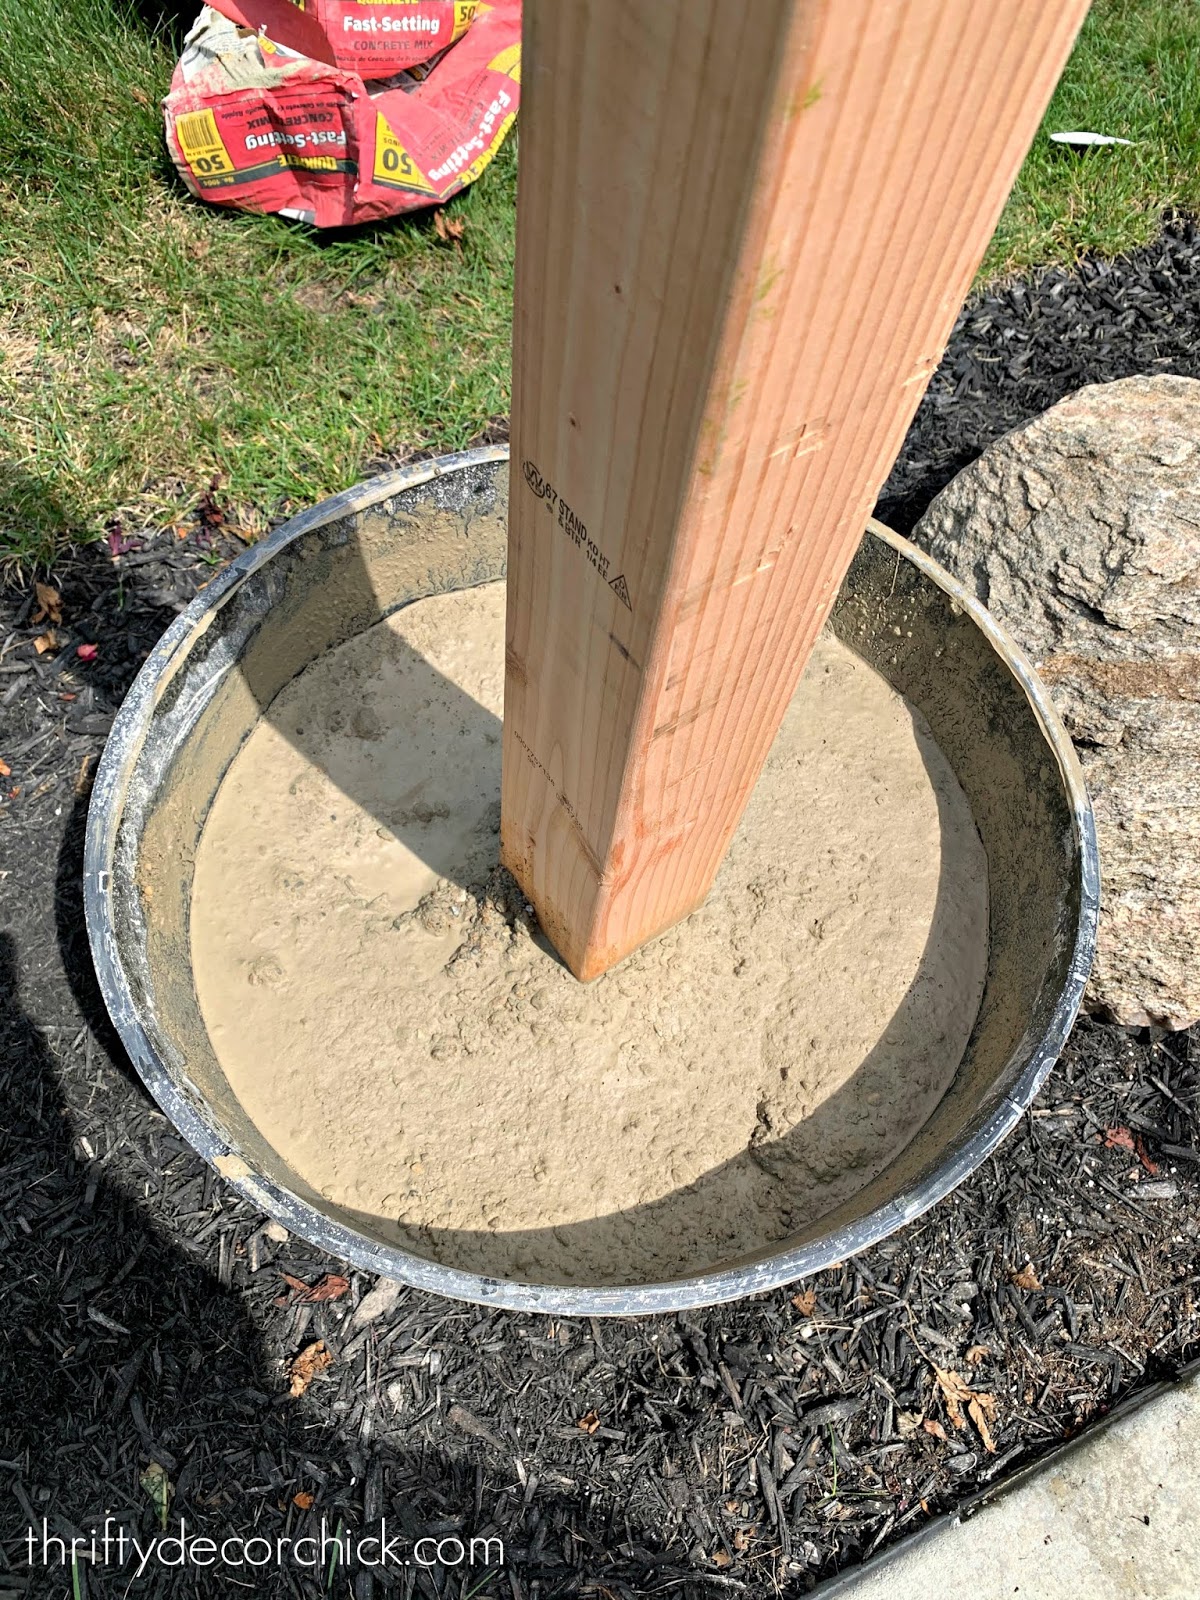
I’ve never use cement but it was surprisingly easy! We used two 50 pound bags of Quikrete for each planter:

We added and mixed one bag at a time — you add the cement and then spray water. You don’t need a ton of water — just mix as well as possible so there’s no dry cement left:
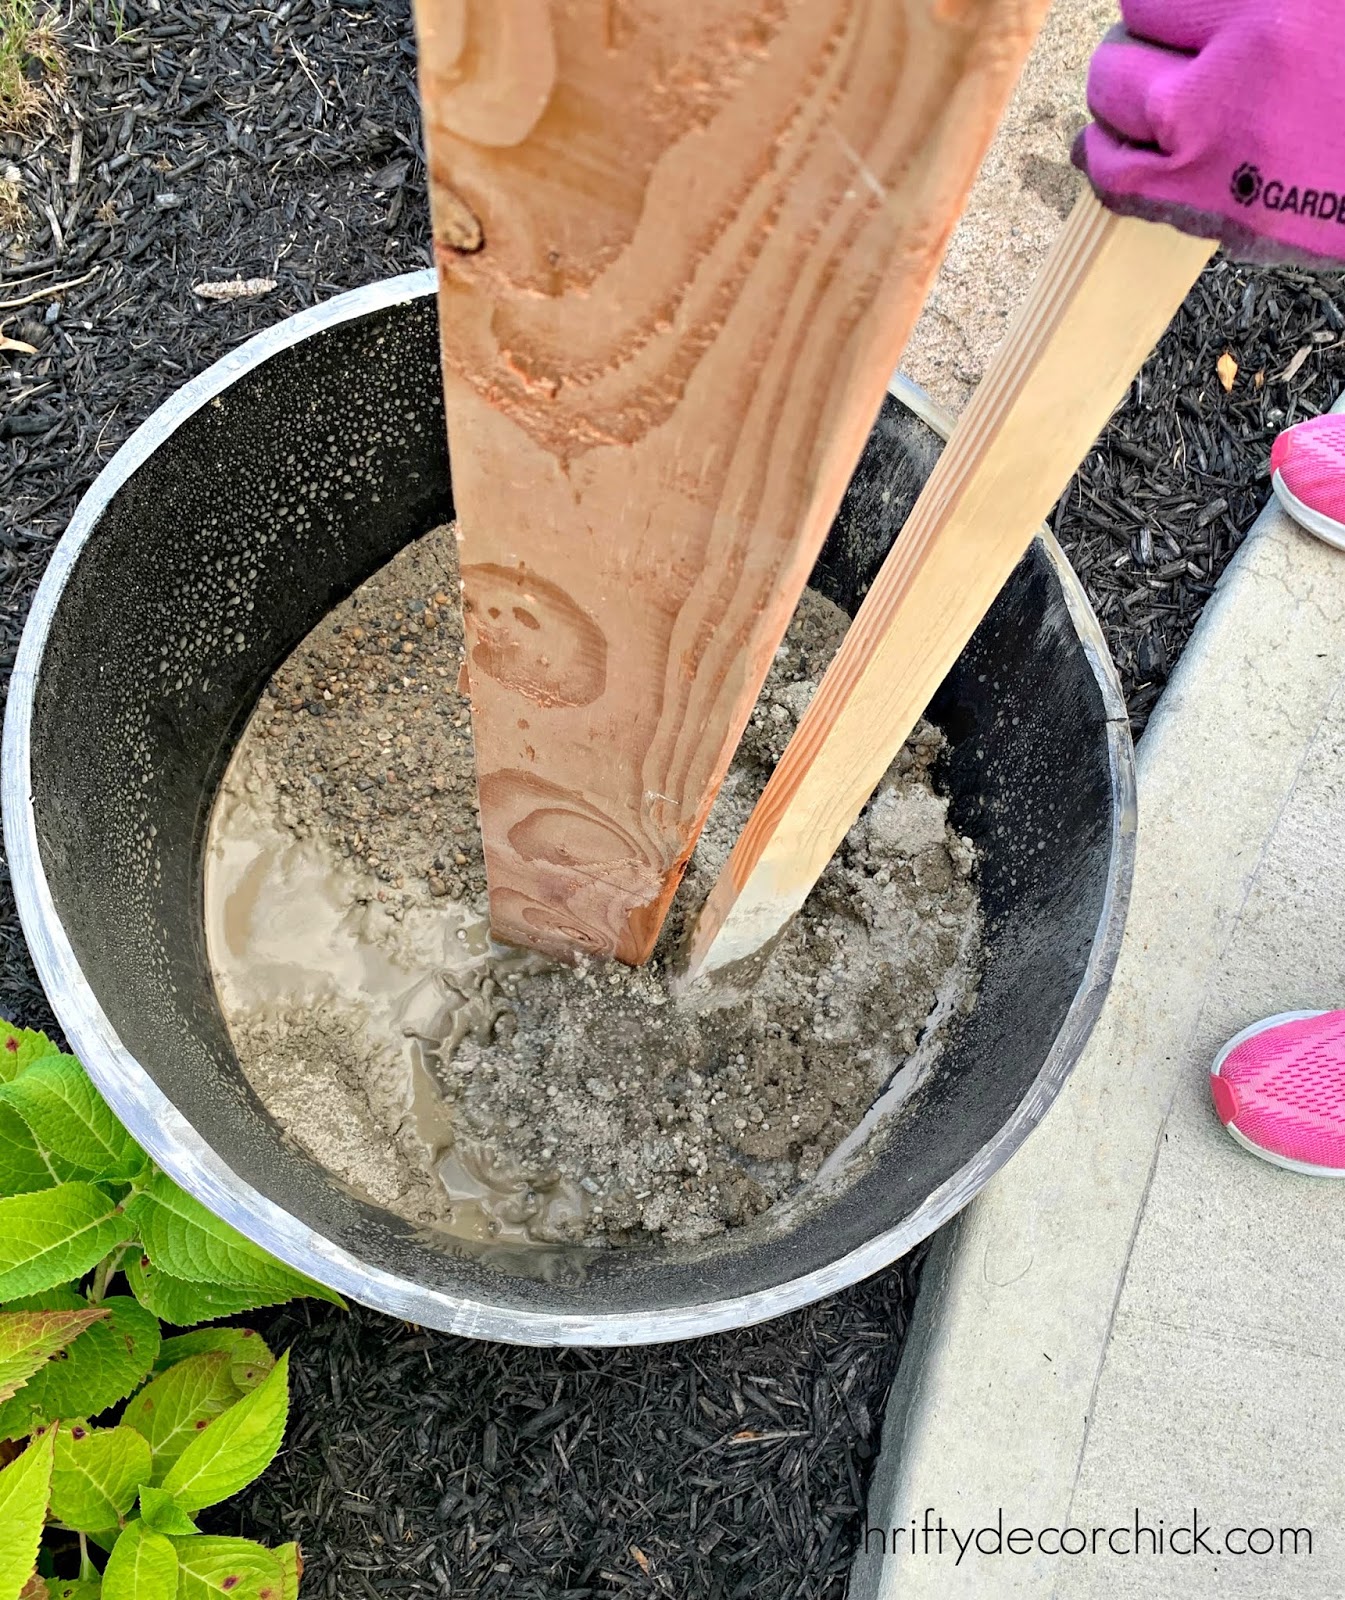
For the first planter it took three of us because I was worried the 4×4 wouldn’t hold at first. But the cement sets up so fast, it just took two of us for the second one.
Use a level to check the 4×4 during this process. It doesn’t have to be perfectly straight — remember you can adjust the mulch or dirt under the planters to help make the poles straight.
Within 15-20 minutes it wasn’t budging:
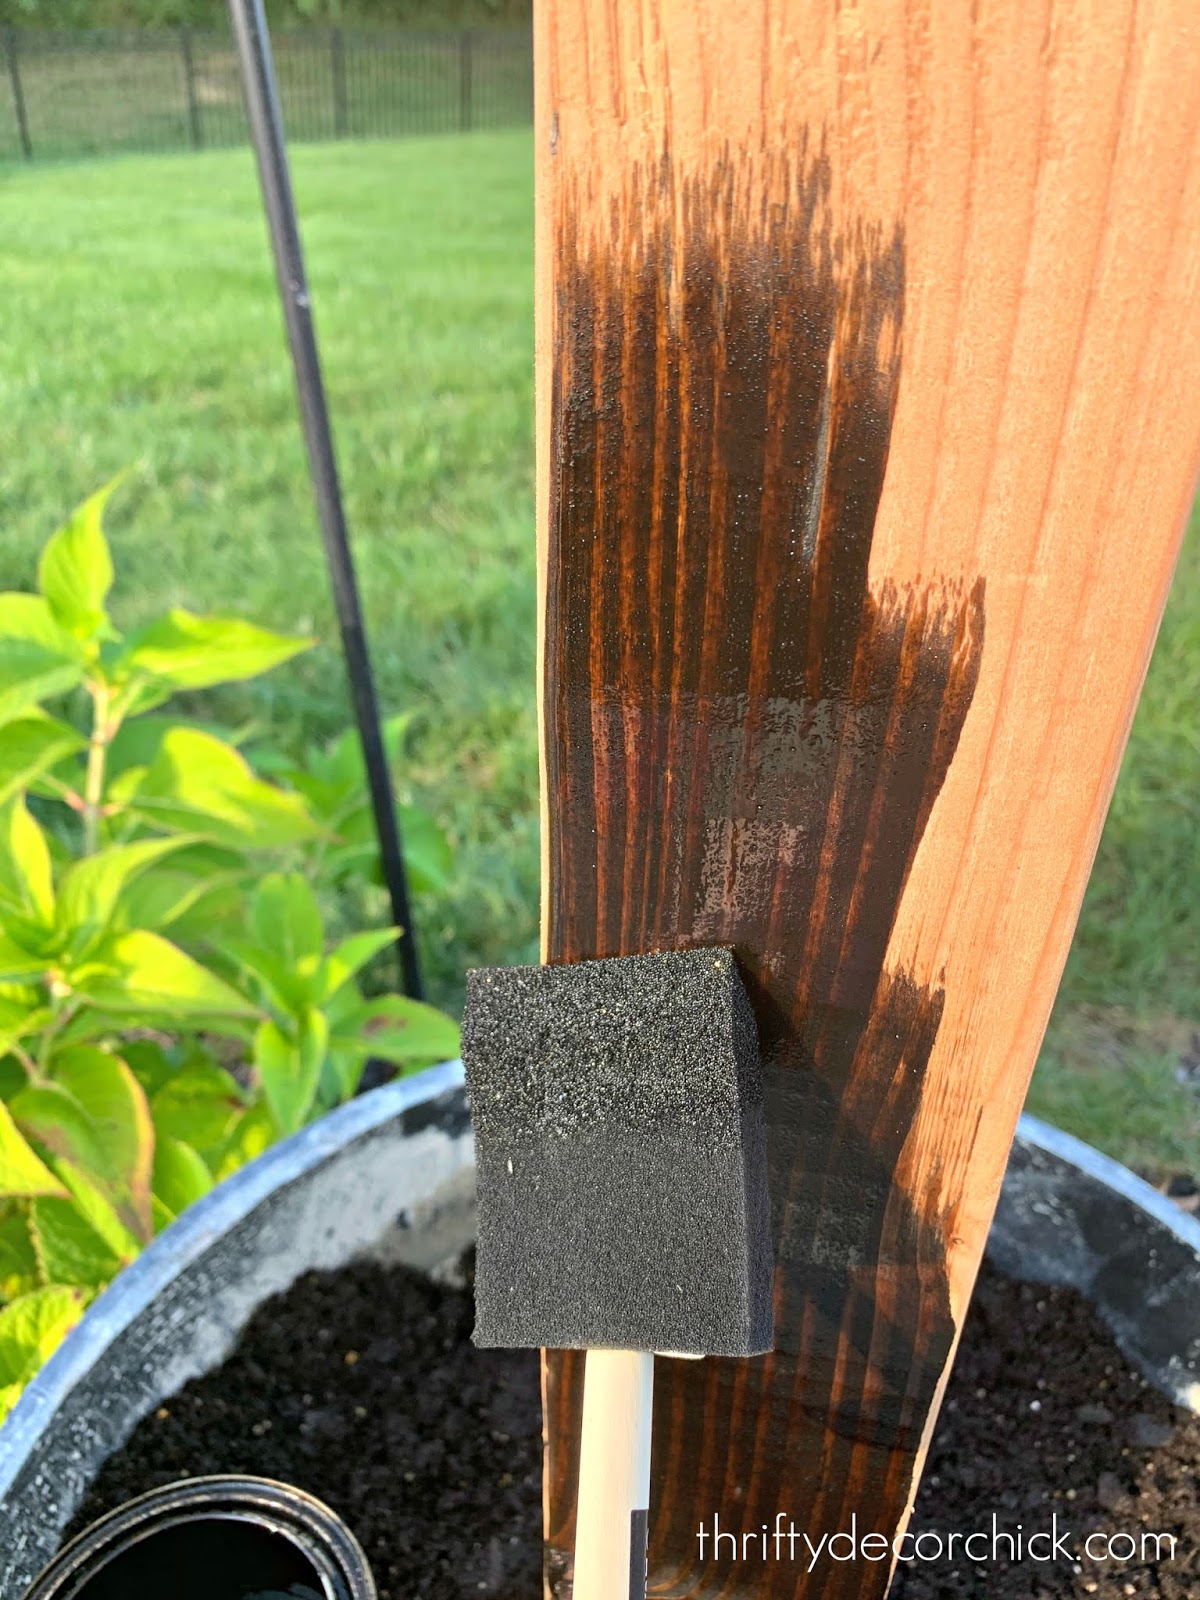
You can stain or paint the 4×4’s before setting them in the cement, but I’m too impatient for that. I wanted to get them up! It was easy to get them stained after the fact:
Step three: Secure the planters into the ground (if needed).
Soooo this part went really well and was way easier than we thought it would be. That is, until we started pulling on the 4x4s a bit…and we realized there was no way these wouldn’t tip over from the weight of the lights. (Even with 100 pounds of cement!)
The lights aren’t CRAZY heavy…but we were draping them across the patio, so the distance adds some tension. We had our handyman come out to take a look (he was helping me hang the lights anyway) and he came up with a brilliant solution.
He found long metal steel flats at the hardware store that he pounded into the ground and then secured into the cement portion of the pots:

You’ll need a stone/cement drill bit to get into the set cement. You can also do this while the cement is drying with a regular drill bit.
He attached four to each planter and it worked like a charm!! Brilliant. They don’t budge. I’m surprised the planters in the tutorials I found stay upright — but as I mentioned, if you are placing them closer together or using lightweight light strands, they will probably work. (Our lights are strung 20+ feet over the patio.)
Because I was filling the remaining part of each planter with soil and plants, I drilled a few holes into the sides of the planters so water doesn’t pool up inside:

I found a flat of these succulents at Lowe’s — it was SO easy to plant! You can either just lay them down over the dirt or tear them into pieces like I did:

Hopefully they do well out there! One flat was $21 and I had plenty for the two planters. In the spring I’ll add petunias that will spill over the sides.
Step four: Hang the lights with hardware.

We had plenty of hardware and wire leftover. If you are draping the lights less than seven feet, you can just hang them by themselves. The brand recommends that you use wire for distances longer than that.
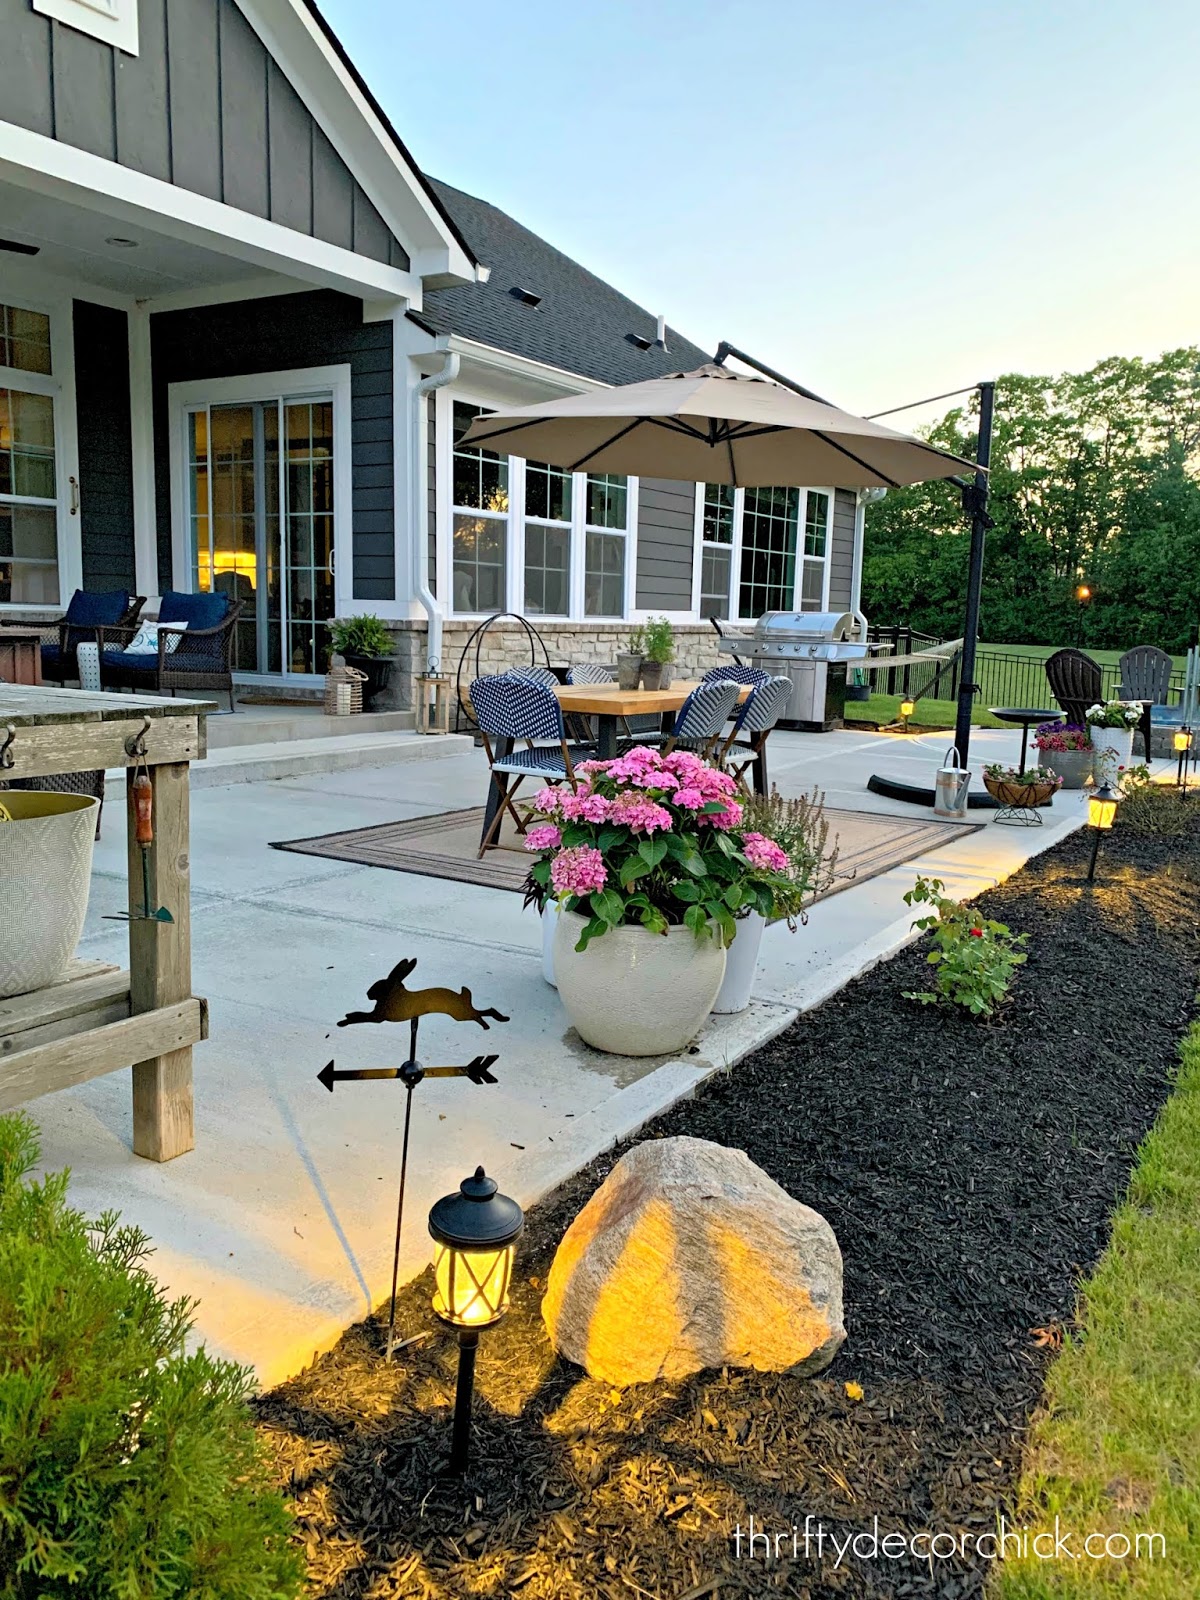
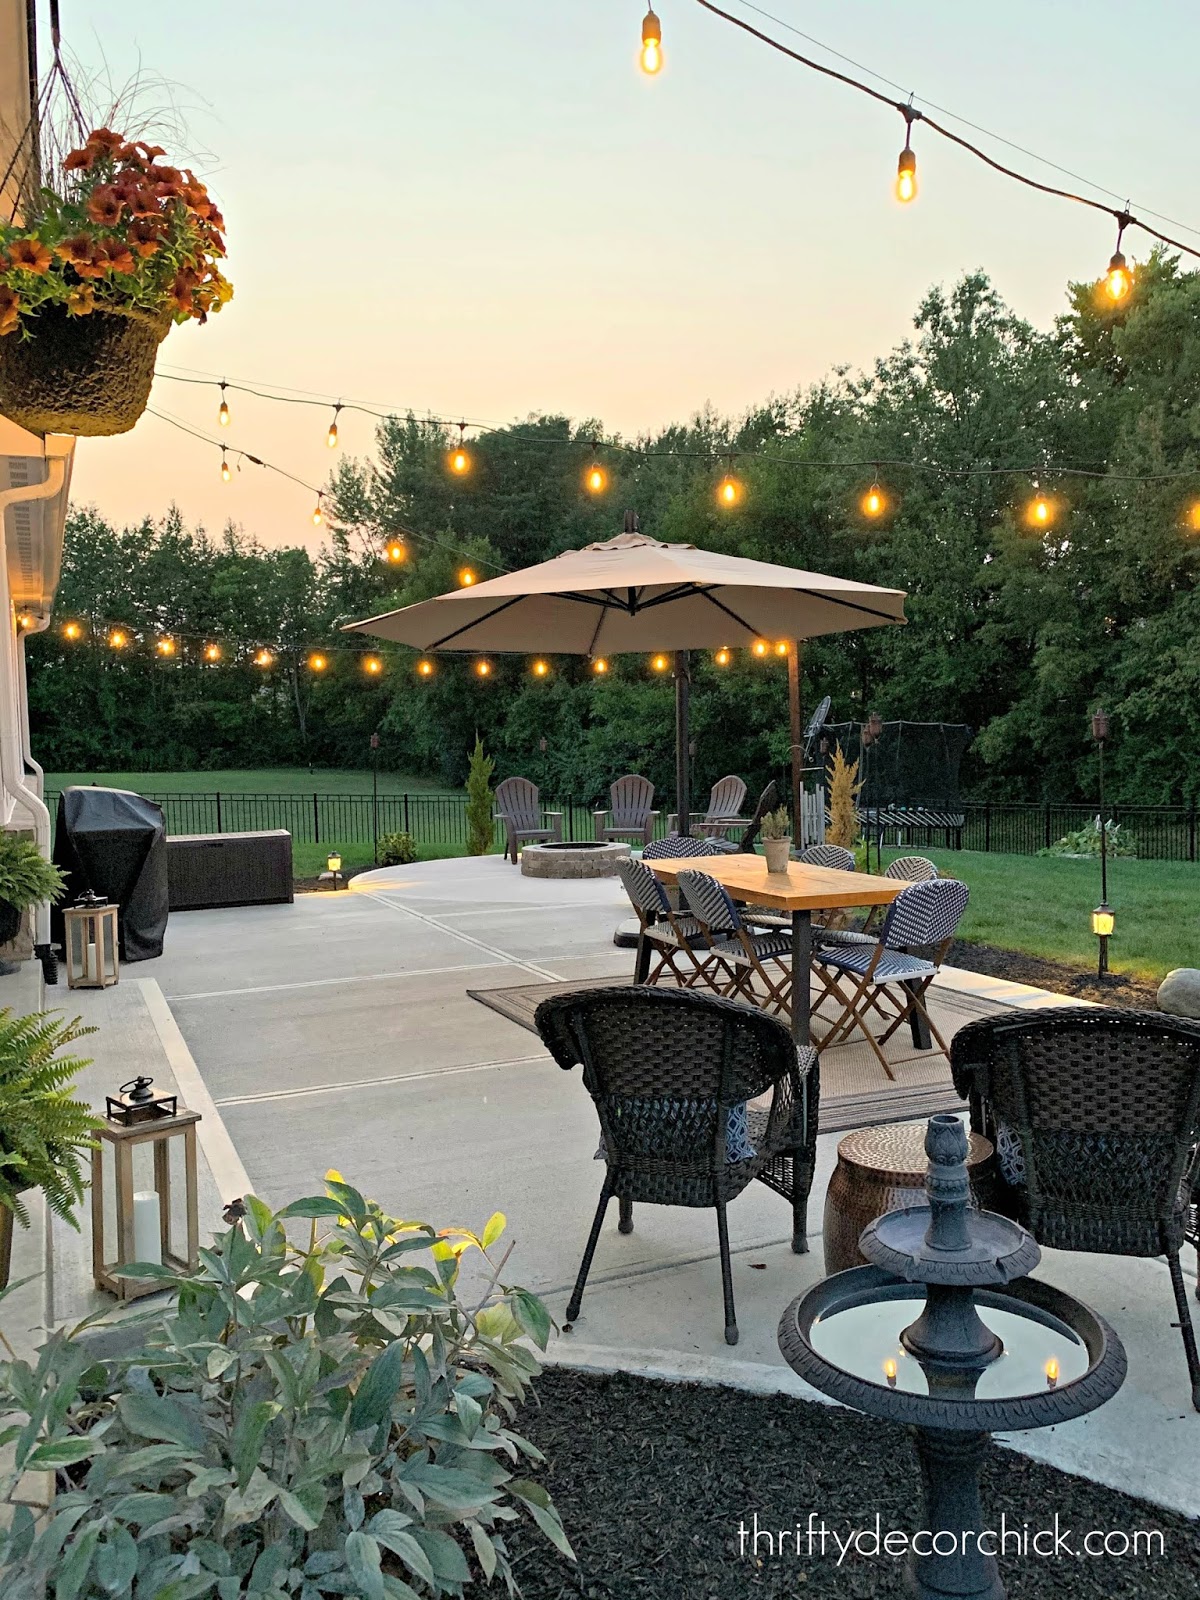
The kit comes with 150 feet of wire, which was way more than we needed. The outdoor lights we use are from Feit and are 48 feet each. So you’ll just have to map out the design you want based on your space and how long your lights are. I knew where we wanted to start (the corner of the patio so we could access a plug), and I placed the planters (before we added cement) where we wanted them to drape:

It’s hard to determine exactly how much you’ll use, so we knew the placement of the last attachment to the back of the house would depend on how much of the lights were left, if that makes sense. We thought it would reach to the corner of the house, but instead we had to move it in a bit. This made it so we didn’t have any excess lights/cord hanging down.
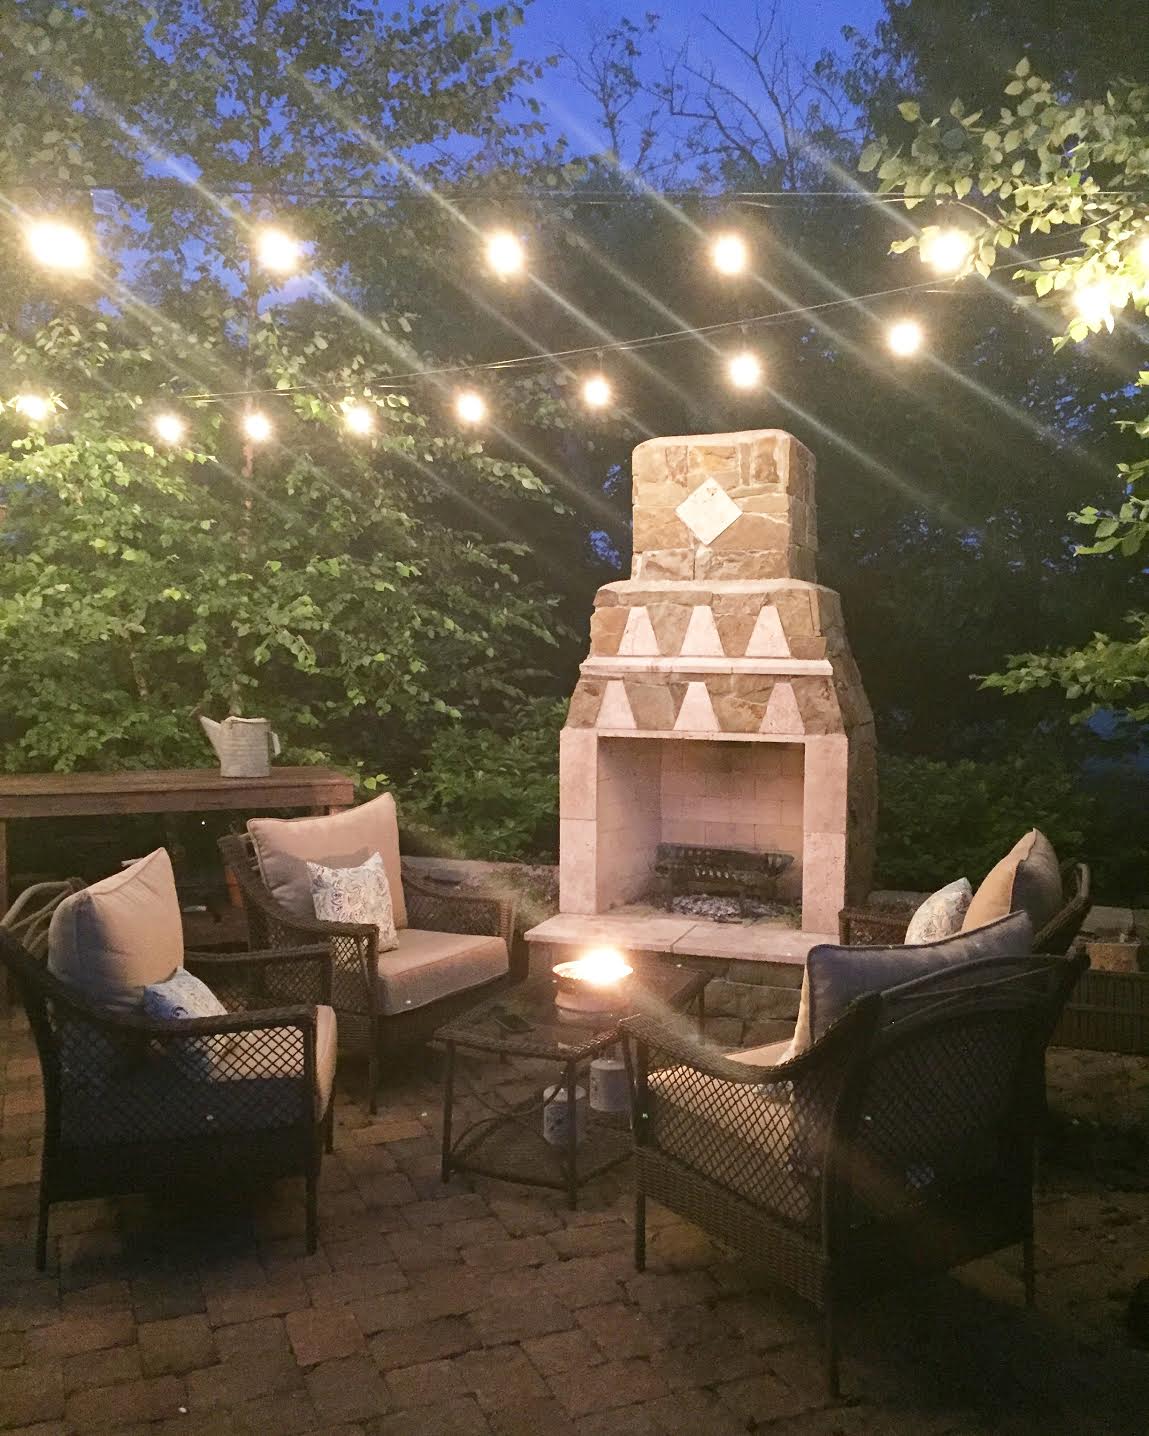
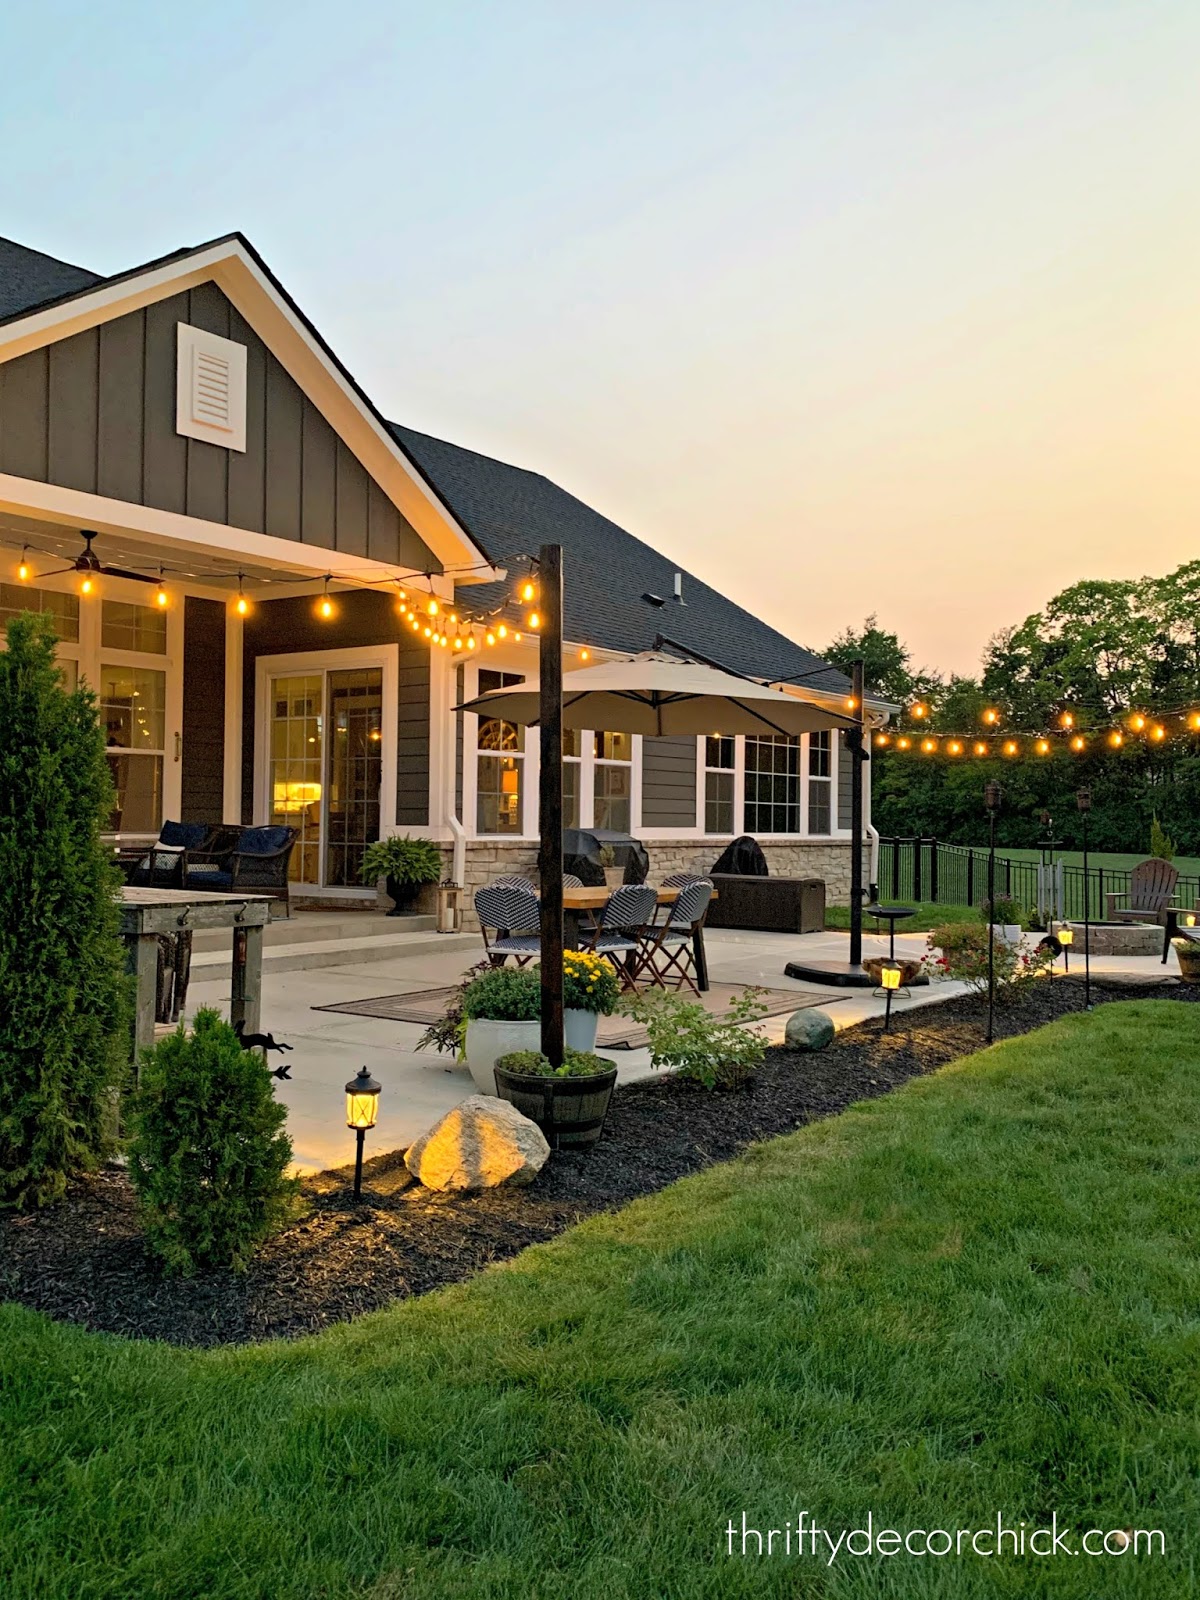
It is SO beautiful and even better than I imagined!:
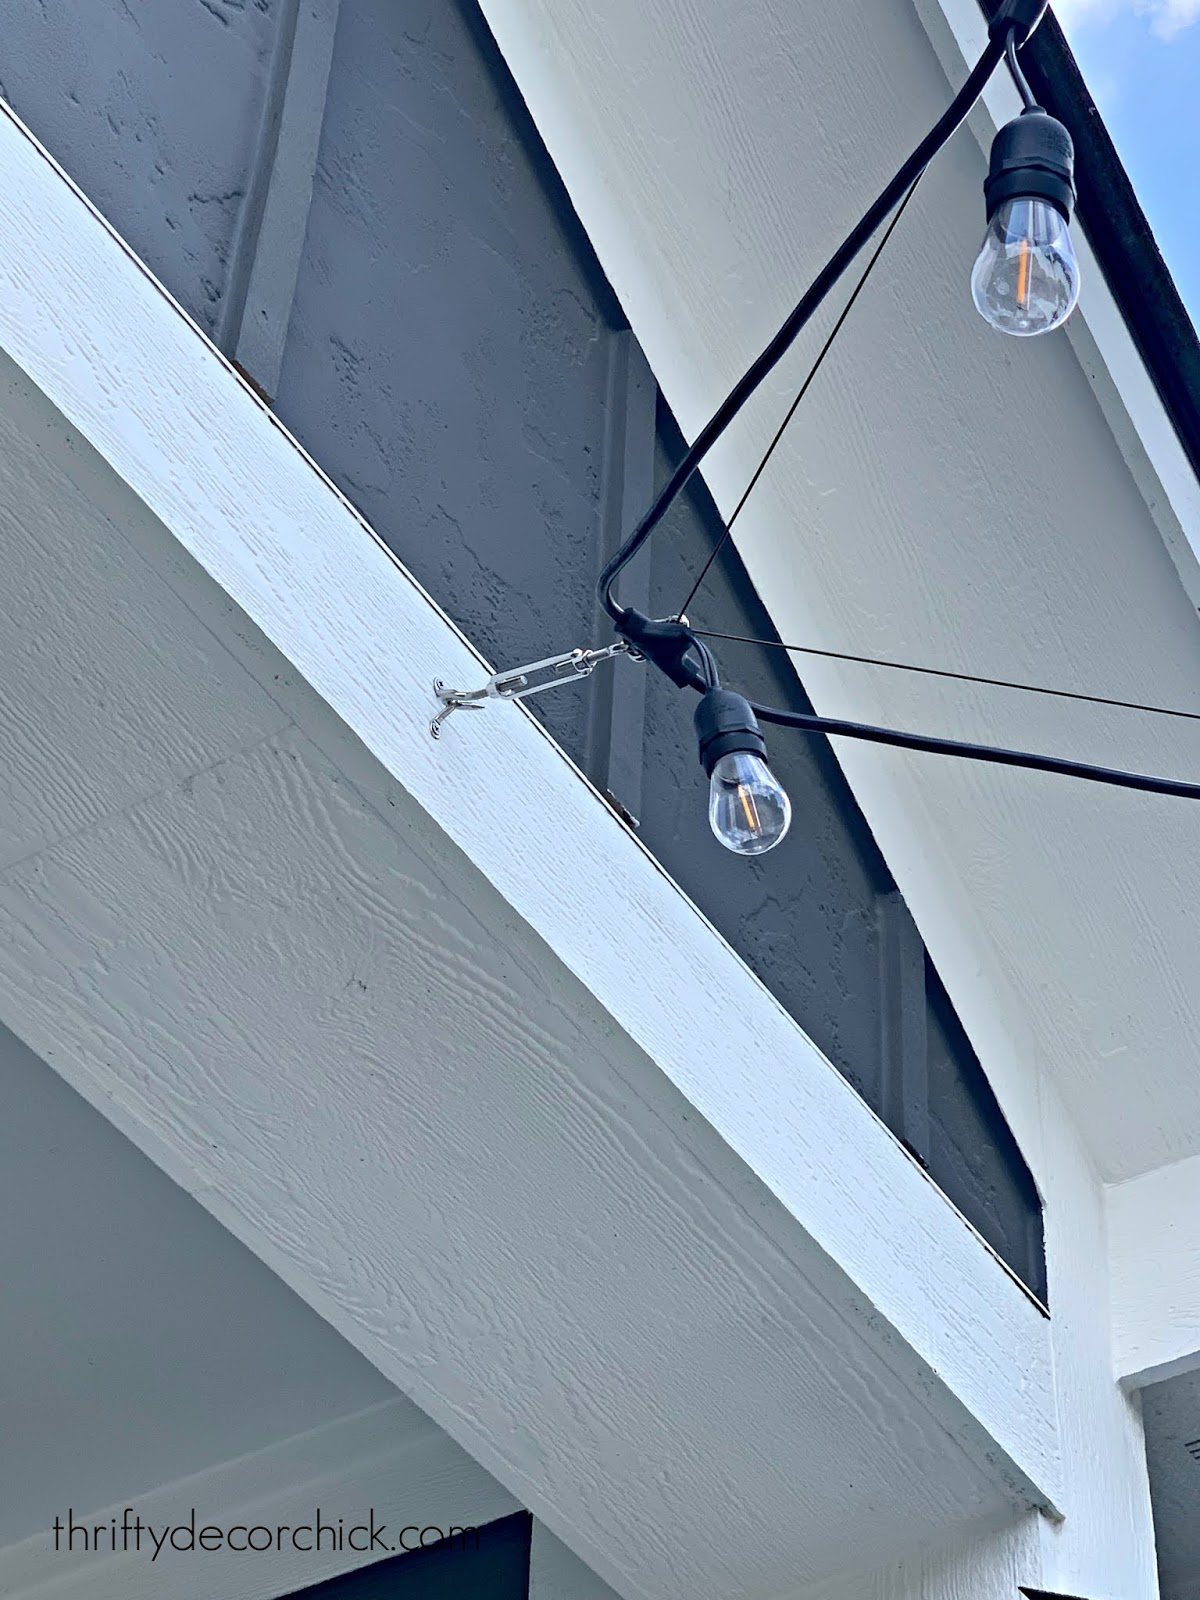
We hung the wire and then used small zip ties to attach the lights. You can string the wire through the holes in the lights beforehand, but the zip ties after was easier. This way you can secure the wire first and then add the lights after the fact.
I always lean to a simpler look so I didn’t want this to get too busy. We could have added more planters and lights and had them go back and forth many times…but I prefer this! If you want more, go for it!:

The old sets came with a ton of extra bulbs because they were glass. These are plastic so they only provide a few extra (also because they’ll last MUCH longer than the incandescent version). The LED version is also lighter (weight wise) than the ones we used years ago.
I don’t always love LED lights, especially outside. I prefer a warmer light, but as you can see, these aren’t stark at all. Very warm and welcoming:


Make sure you tighten the bulbs well — if they aren’t working that’s usually the problem.
We were going to have a switch run down the porch column so we could easily turn these off and on, but our handyman reminded me that a remote switch would work just as well. We saved SO much money using that instead of having electrical work done.
This is the remote we used — just plug it into the outlet, then plug the lights into the device. You can turn the lights on and off from inside or outside easily. Here’s a look at the lights when it’s completely dark:

Do you have pretty lights hung outside? They make everything feel a little more magical. 🙂
Here are the links and products that will be helpful if you attempt this project!:
String light tutorial if you have trees
Commercial grade string lights
Plastic barrel planters (or a smaller version here)
Three foot steel flats for securing the planters
Light hanging hardware kit
Quikrete fast setting cement
Remote control outdoor plug/switch
You can use this image to pin this project for later:
