
A tutorial on how to easily change your energy sucking recessed lights with LED versions!
the wall of basement built ins years ago, the electrician noted how many recessed lights we have in the basement — a
ton! He recommended looking into replacing the standard can lights with an LED
version that would save a us a lot of money.
He told us it was easy to change them out, so I started doing some research.
It’s a quick change and you don’t need any electrical experience!
Turning off your lights at the breaker is all the electrical knowledge you’ll
need.
Even though we have plenty of light down in the basement, my photos were
usually dark. You can see how grainy the wall and ceiling are in this “before”
photo I took:

While I worked on that build I started changing out these recessed lights —
what a difference!:

This post may contain affiliate links for your convenience.
I may earn a small commission when you make a purchase through links.
I found my LED lights at Lowe’s, but you can find them at any hardware store
or online.
I’ll share links for a few versions at the end of the post:

You’ll want to look for this specific version that has the base that you screw
in like a light bulb. Any other version that requires changing out the can part of the light takes electrical know how and isn’t
really necessary.
We loved that you can change the warmth of the lights with these:

You have to pick what warmth you want before installing, but it’s very easy to
change them to a different “color” after they are in the ceiling.
Before you start, if you have the adjustable option, decide on the warmth you
want first. Well, you may want to install one and see how it looks to decide.
But after picking, I highly recommend going through the lights before
installation and moving them to the light and kelvin option you want. Otherwise you’ll forget and
turn them all on and only one will be right. Speaking from experience. 😉
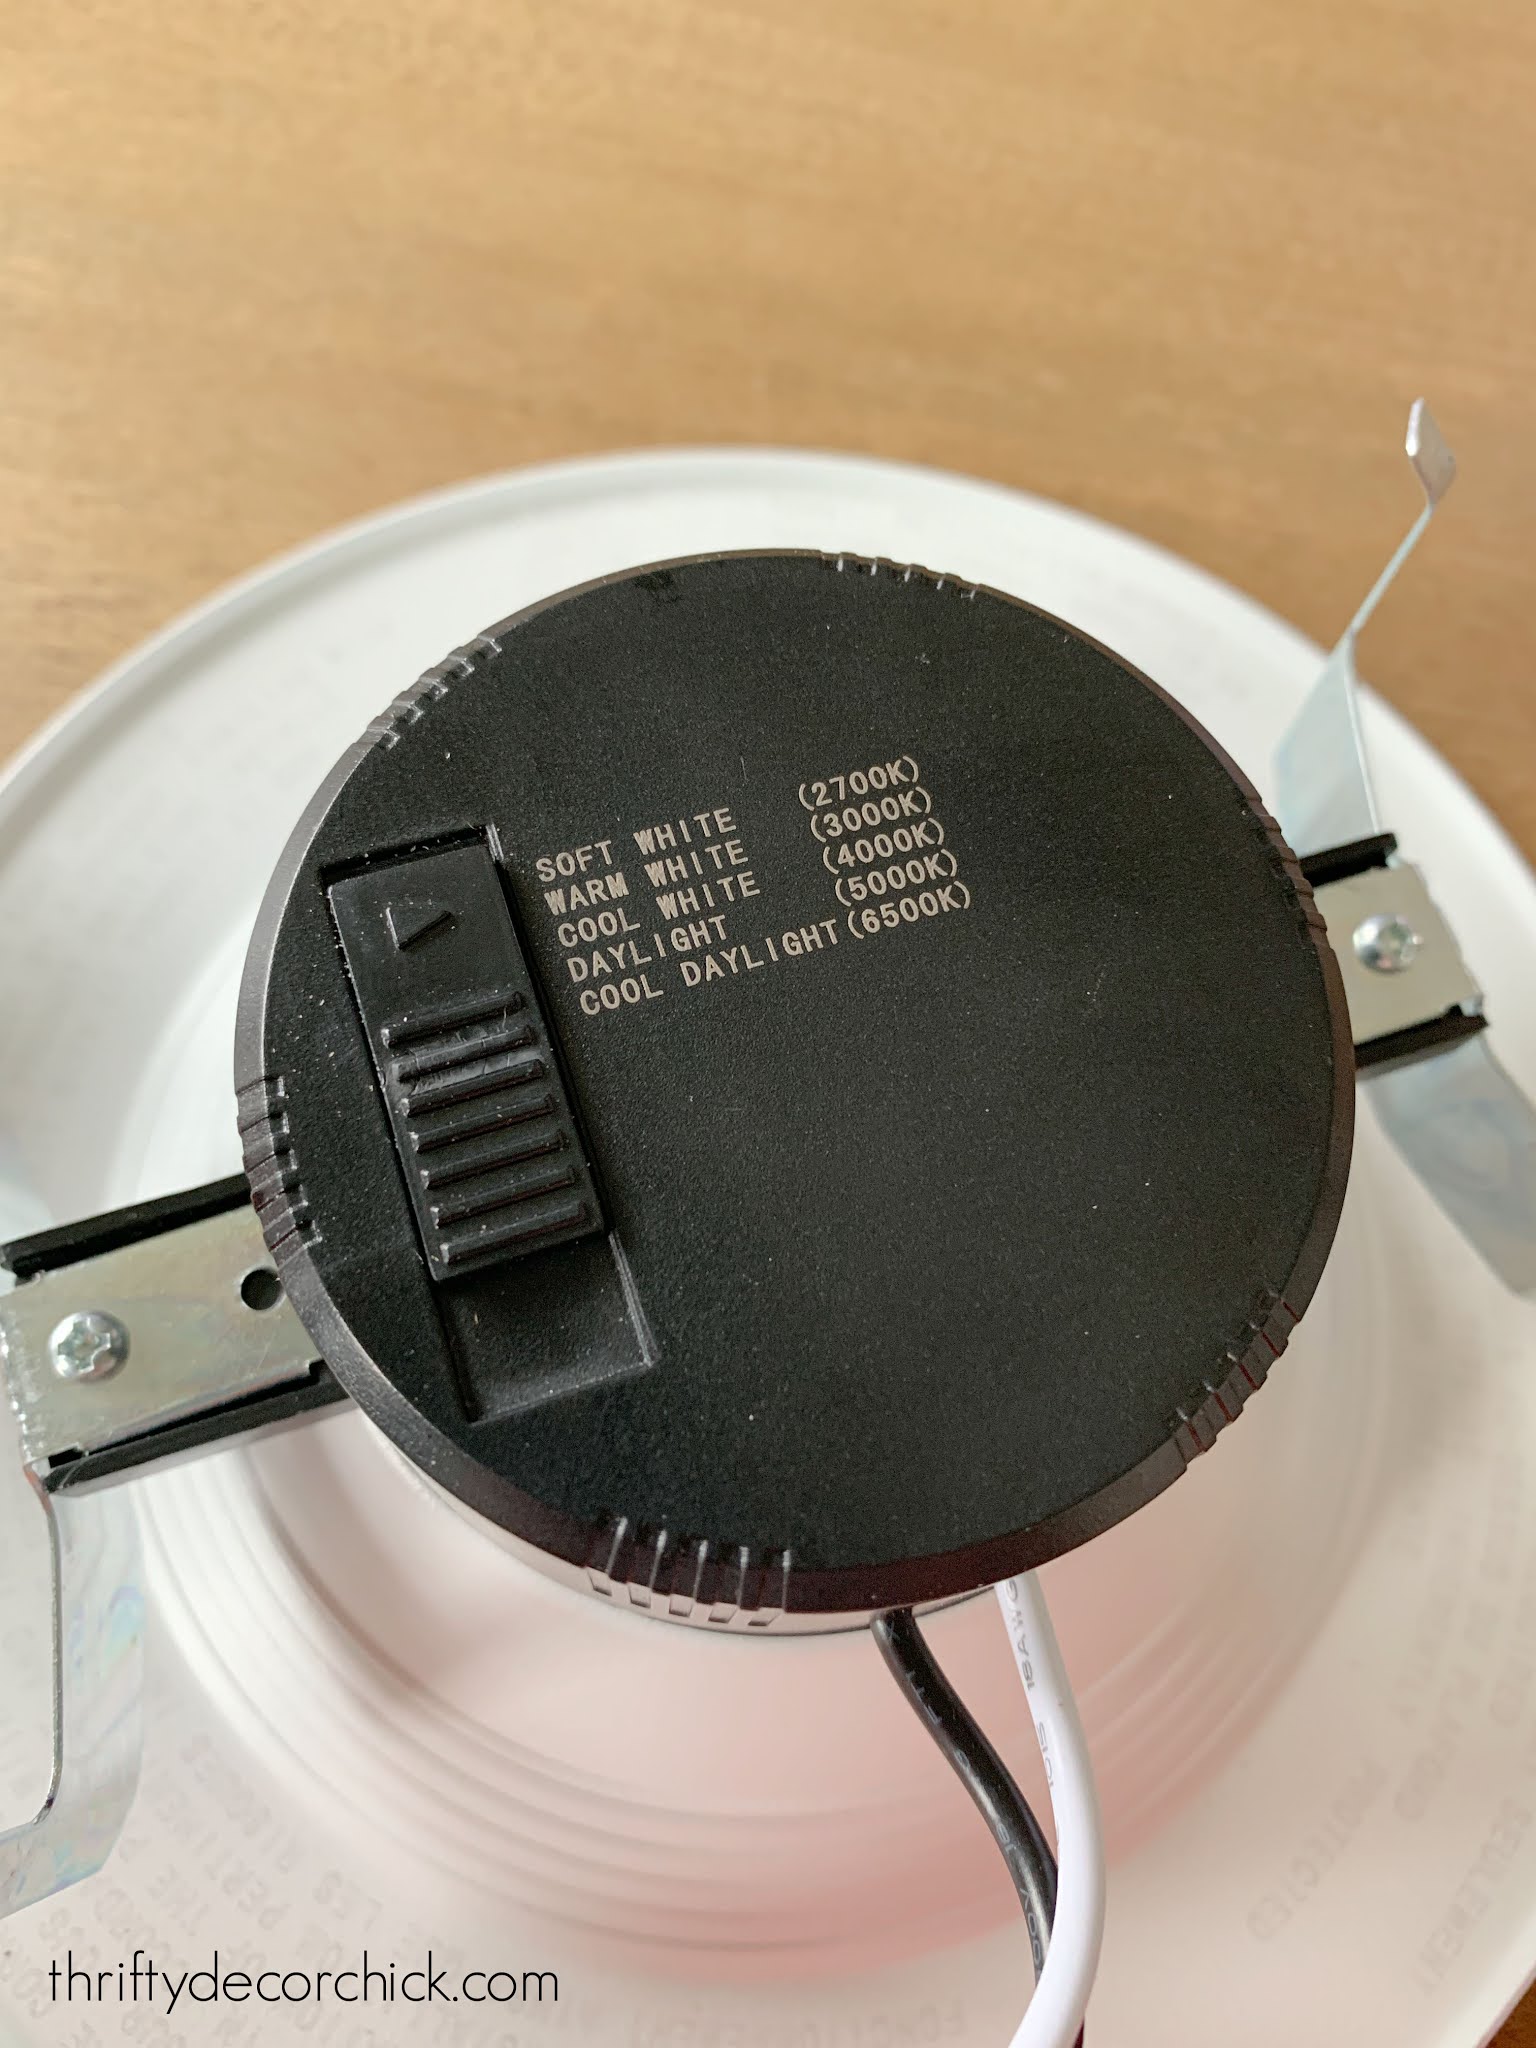
Soft white is the most “yellow” or warmest version, and the least bright. Cool
daylight is a more white look and much brighter.
I prefer the daylight options for bathrooms or spaces without natural light, and the warm or soft light for living spaces.
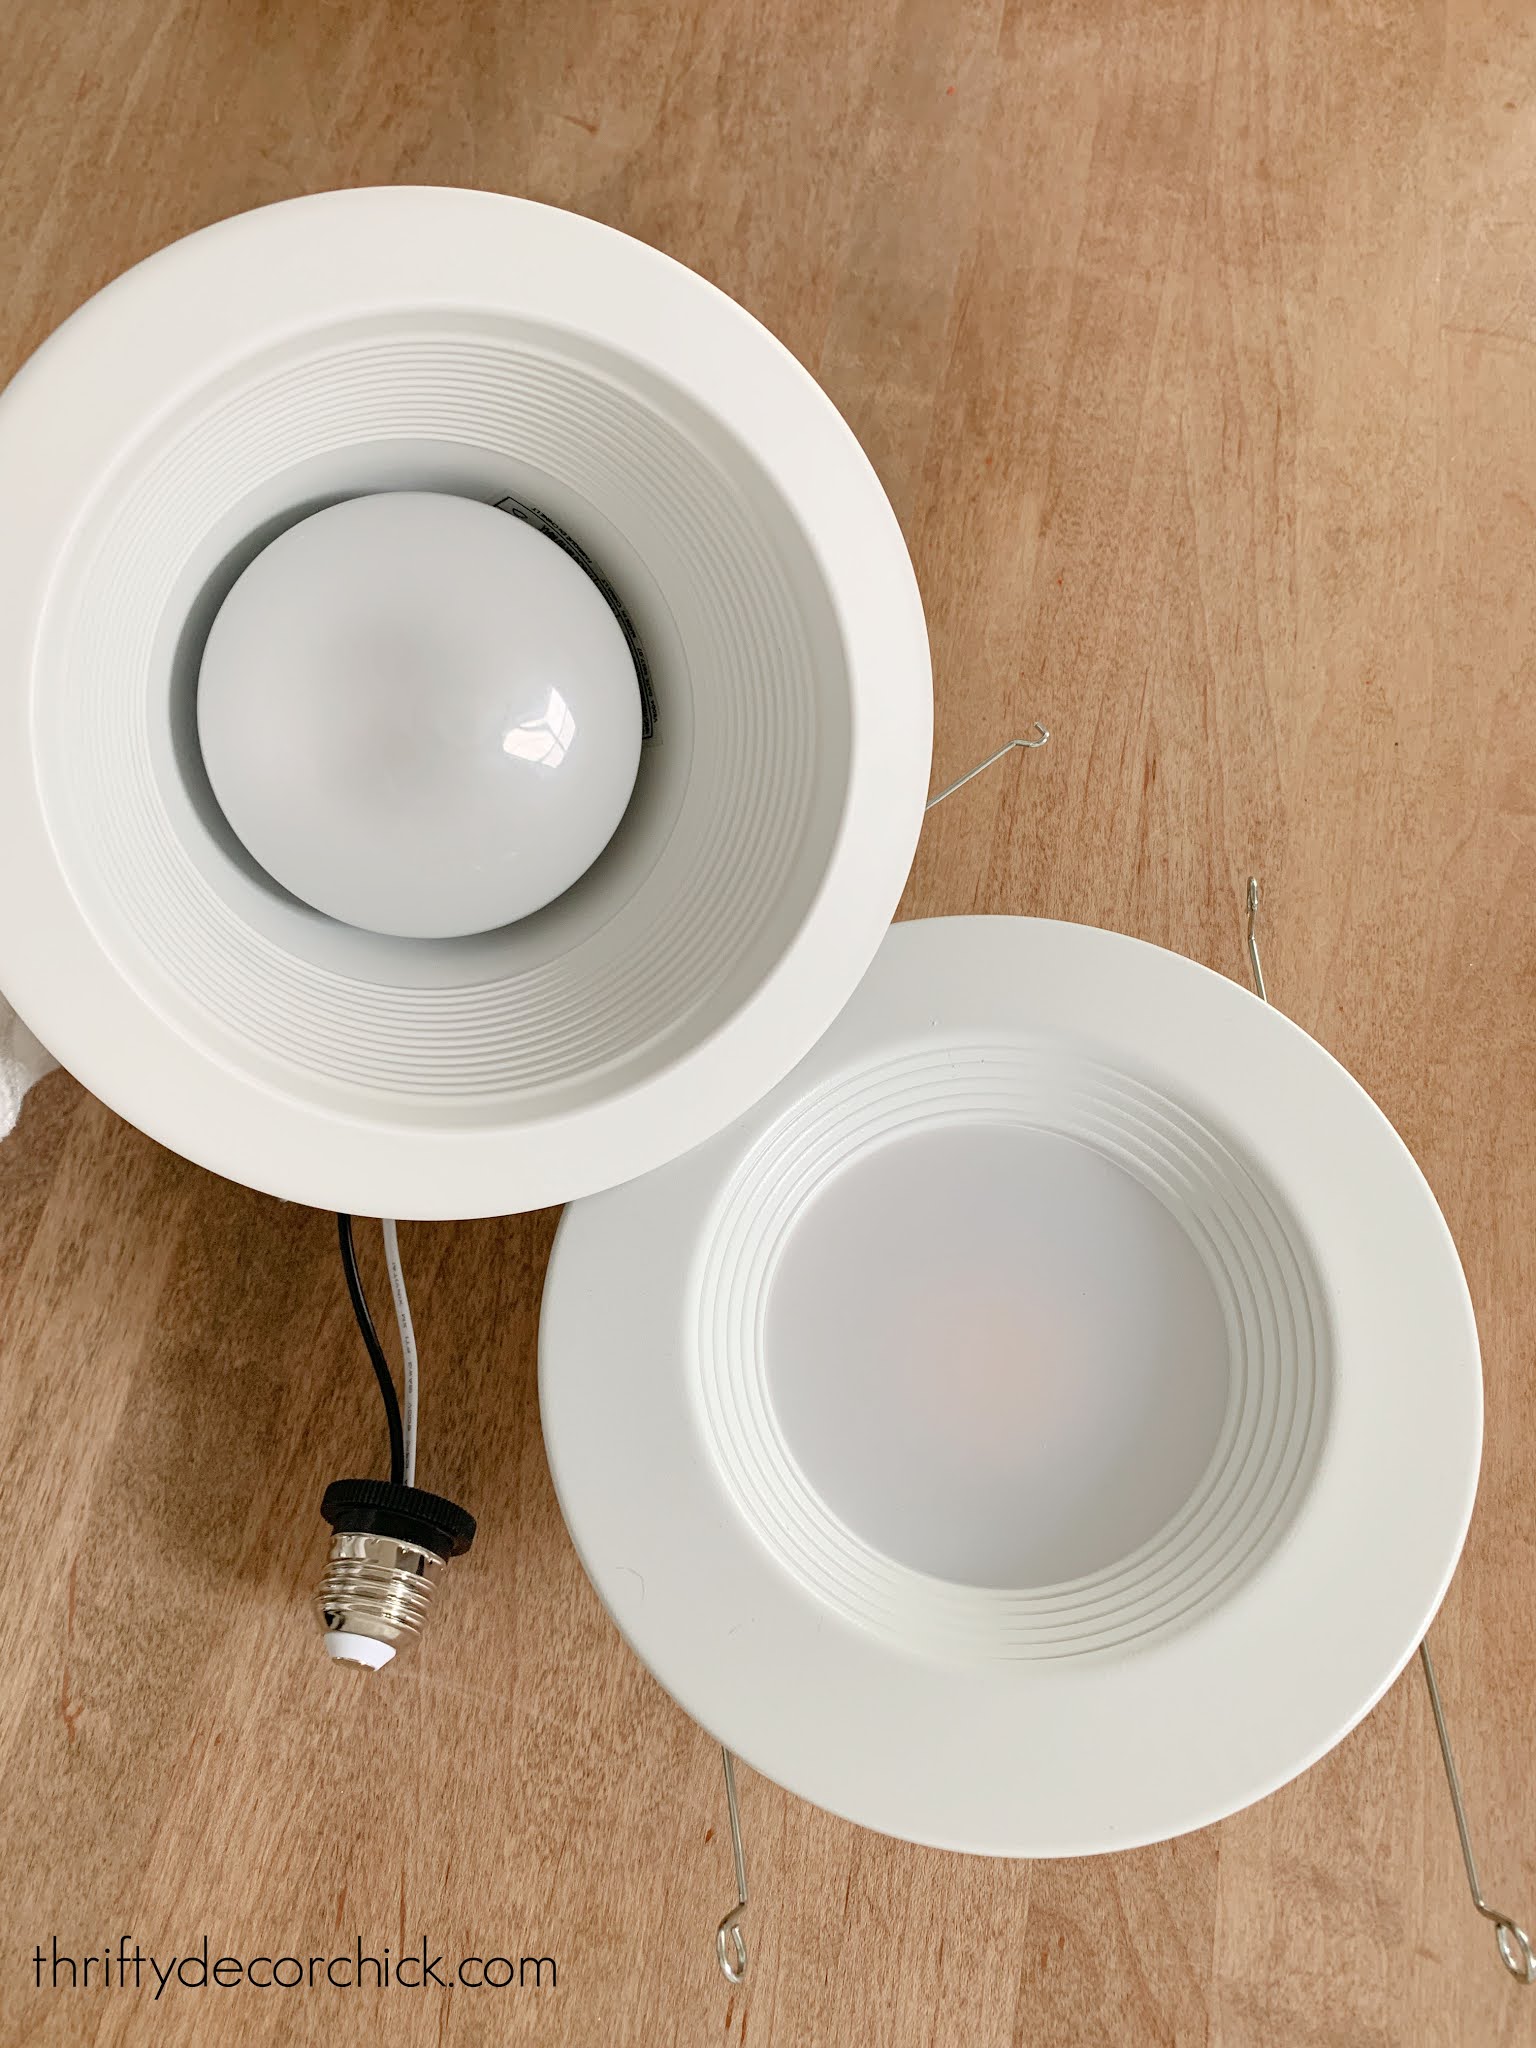
Mine came with a bracket that didn’t work for our fixtures, so I had to remove
them:

And replace them with the wire clips that come with the lights:

See how I have the clips pulled all the way out? Our ceiling holes are six
inches. For five inches you want to install them closer to the fixture. (All of the instructions are included!) Smaller options are available as well.
That’s the only prep to get them ready for installation!
To replace your old
fixtures, first TURN OFF THE POWER at the breaker box. This process is
almost as easy as replacing a light bulb, but you will be up inside the
fixture where there are wires. Always better safe than sorry.
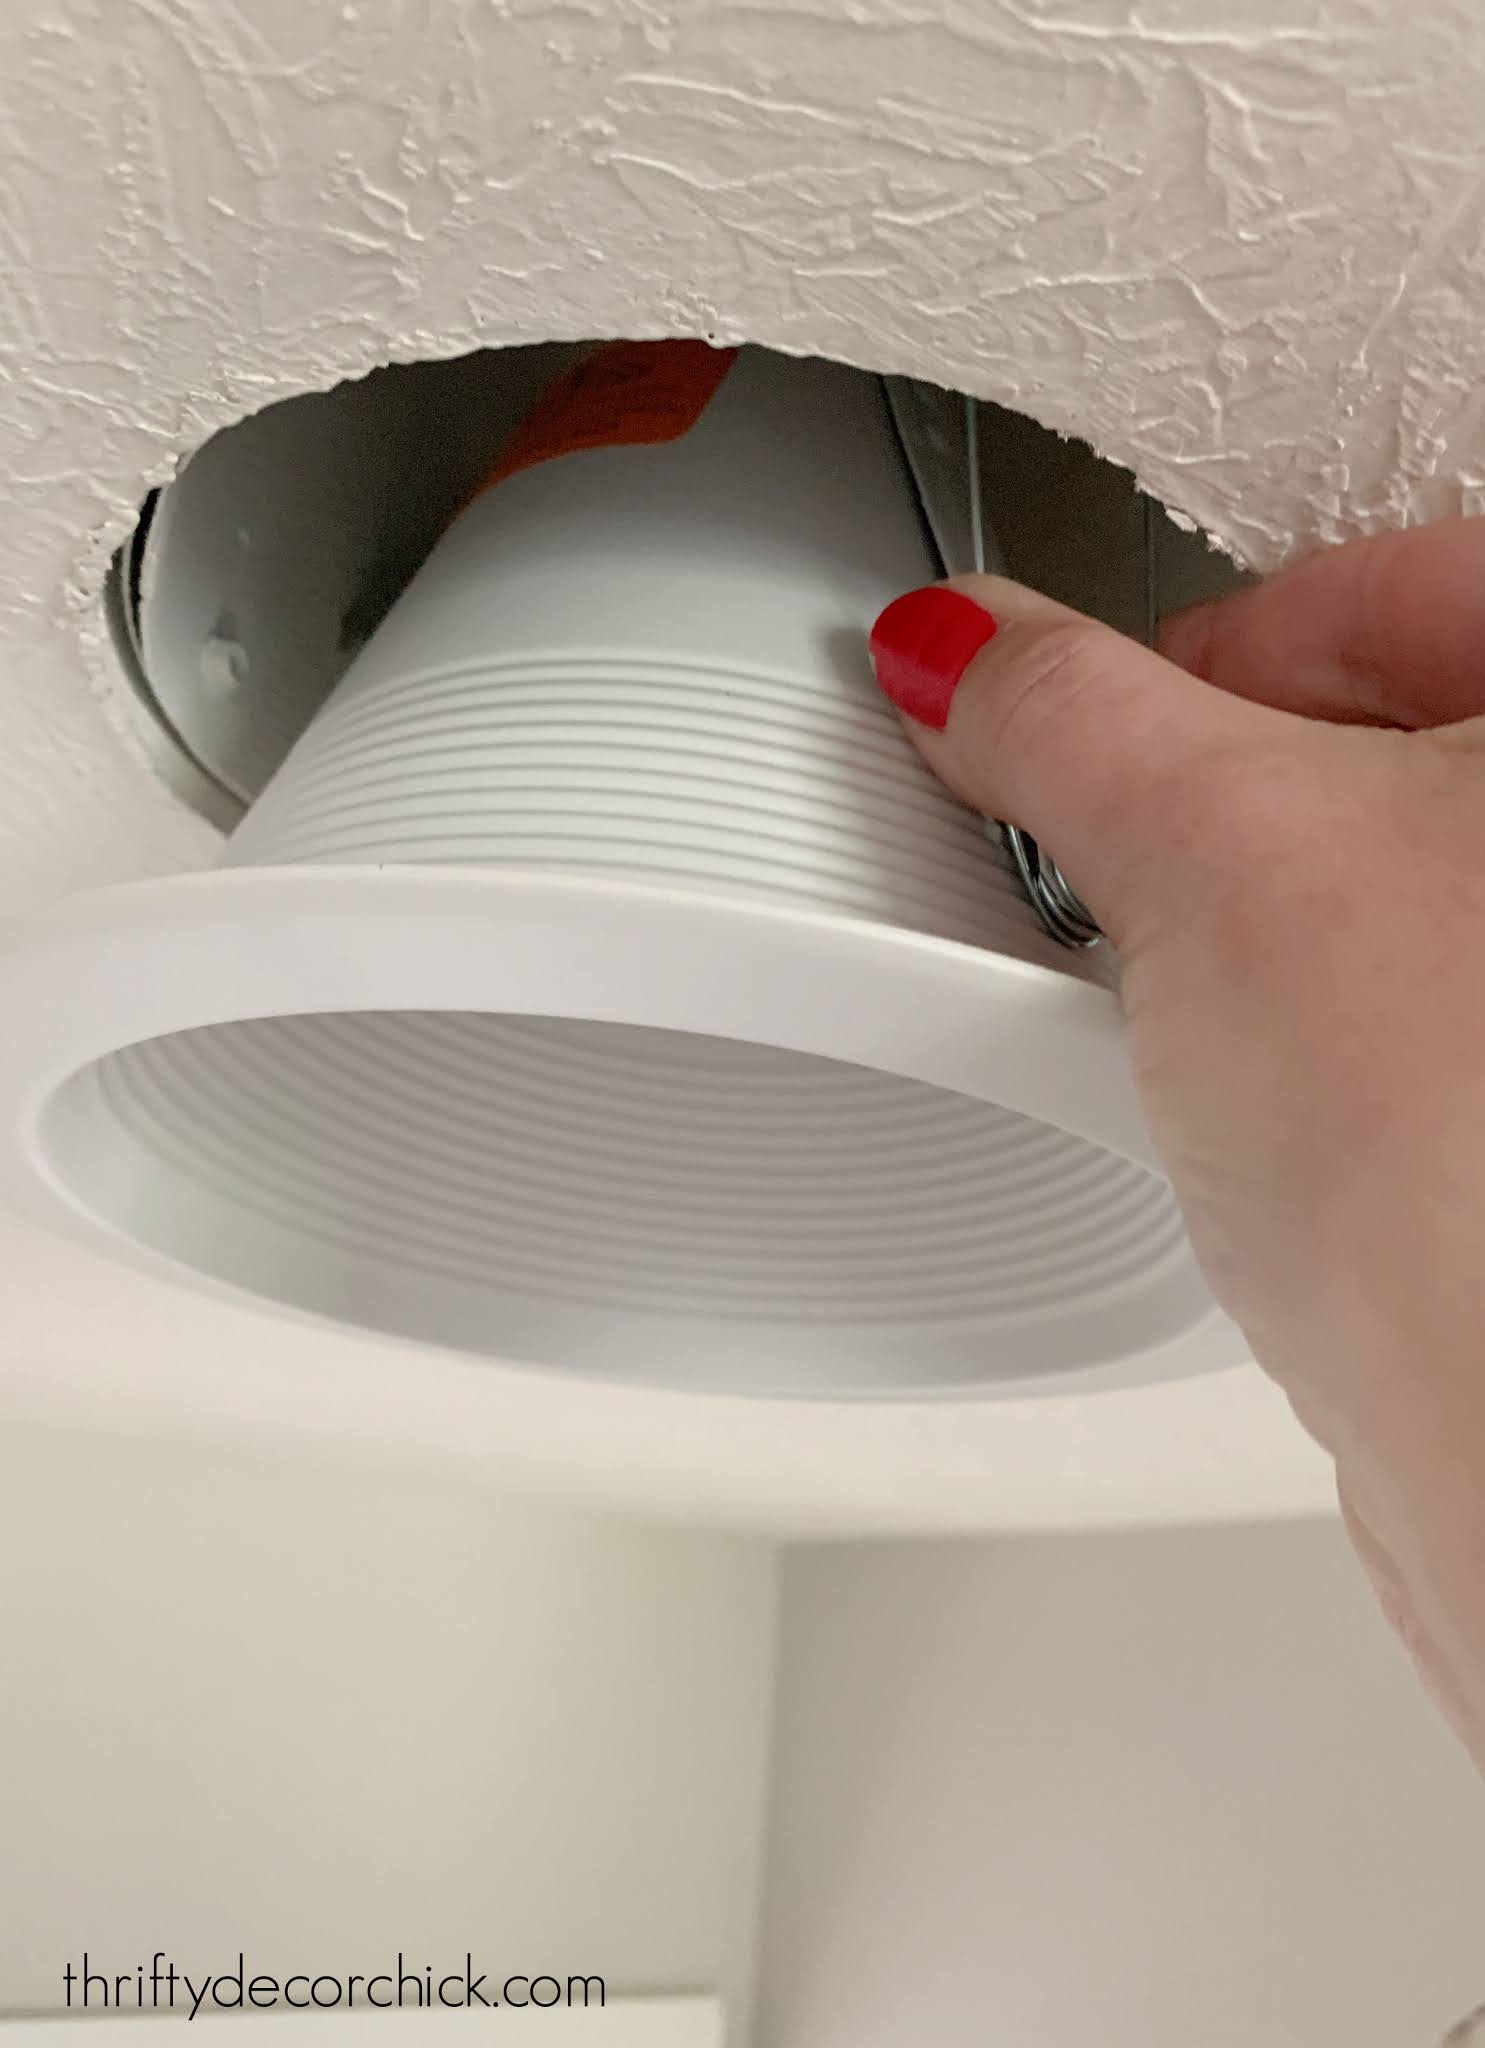
Remove the light bulb and then just pull down on the metal trim:

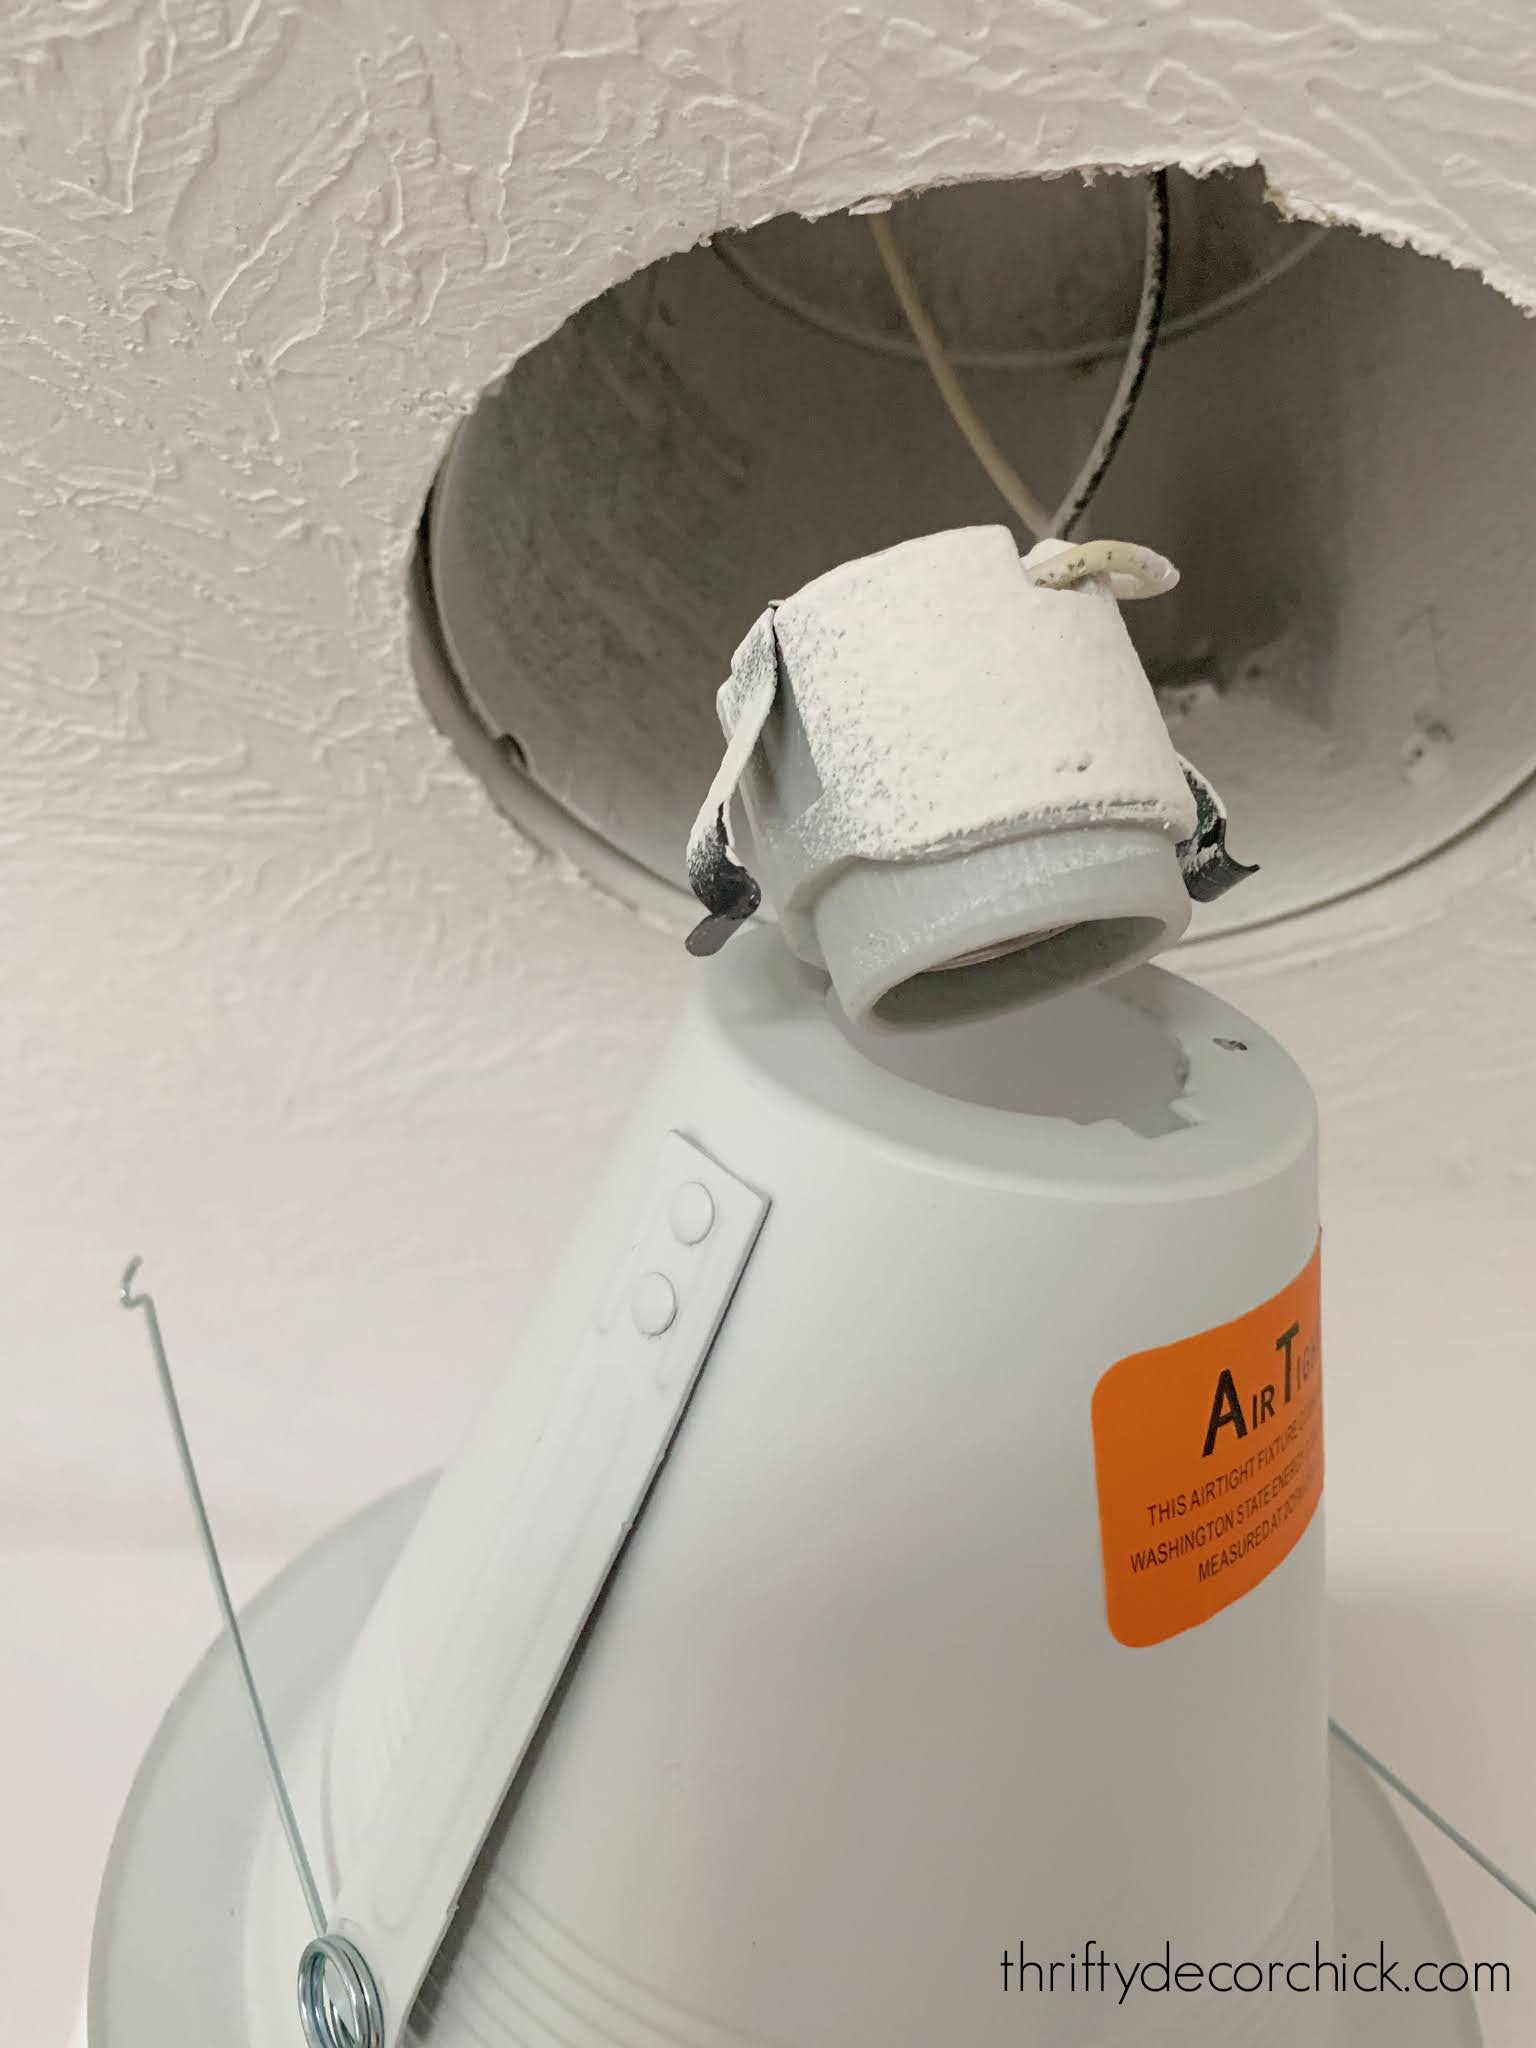
Grab the metal clips and squeeze to remove them from the ceiling
fixture:
Then grab the part where the bulb screws in and squeeze the two metal brackets
on the side to remove it from the metal can:
Now you’re ready to install the new one!
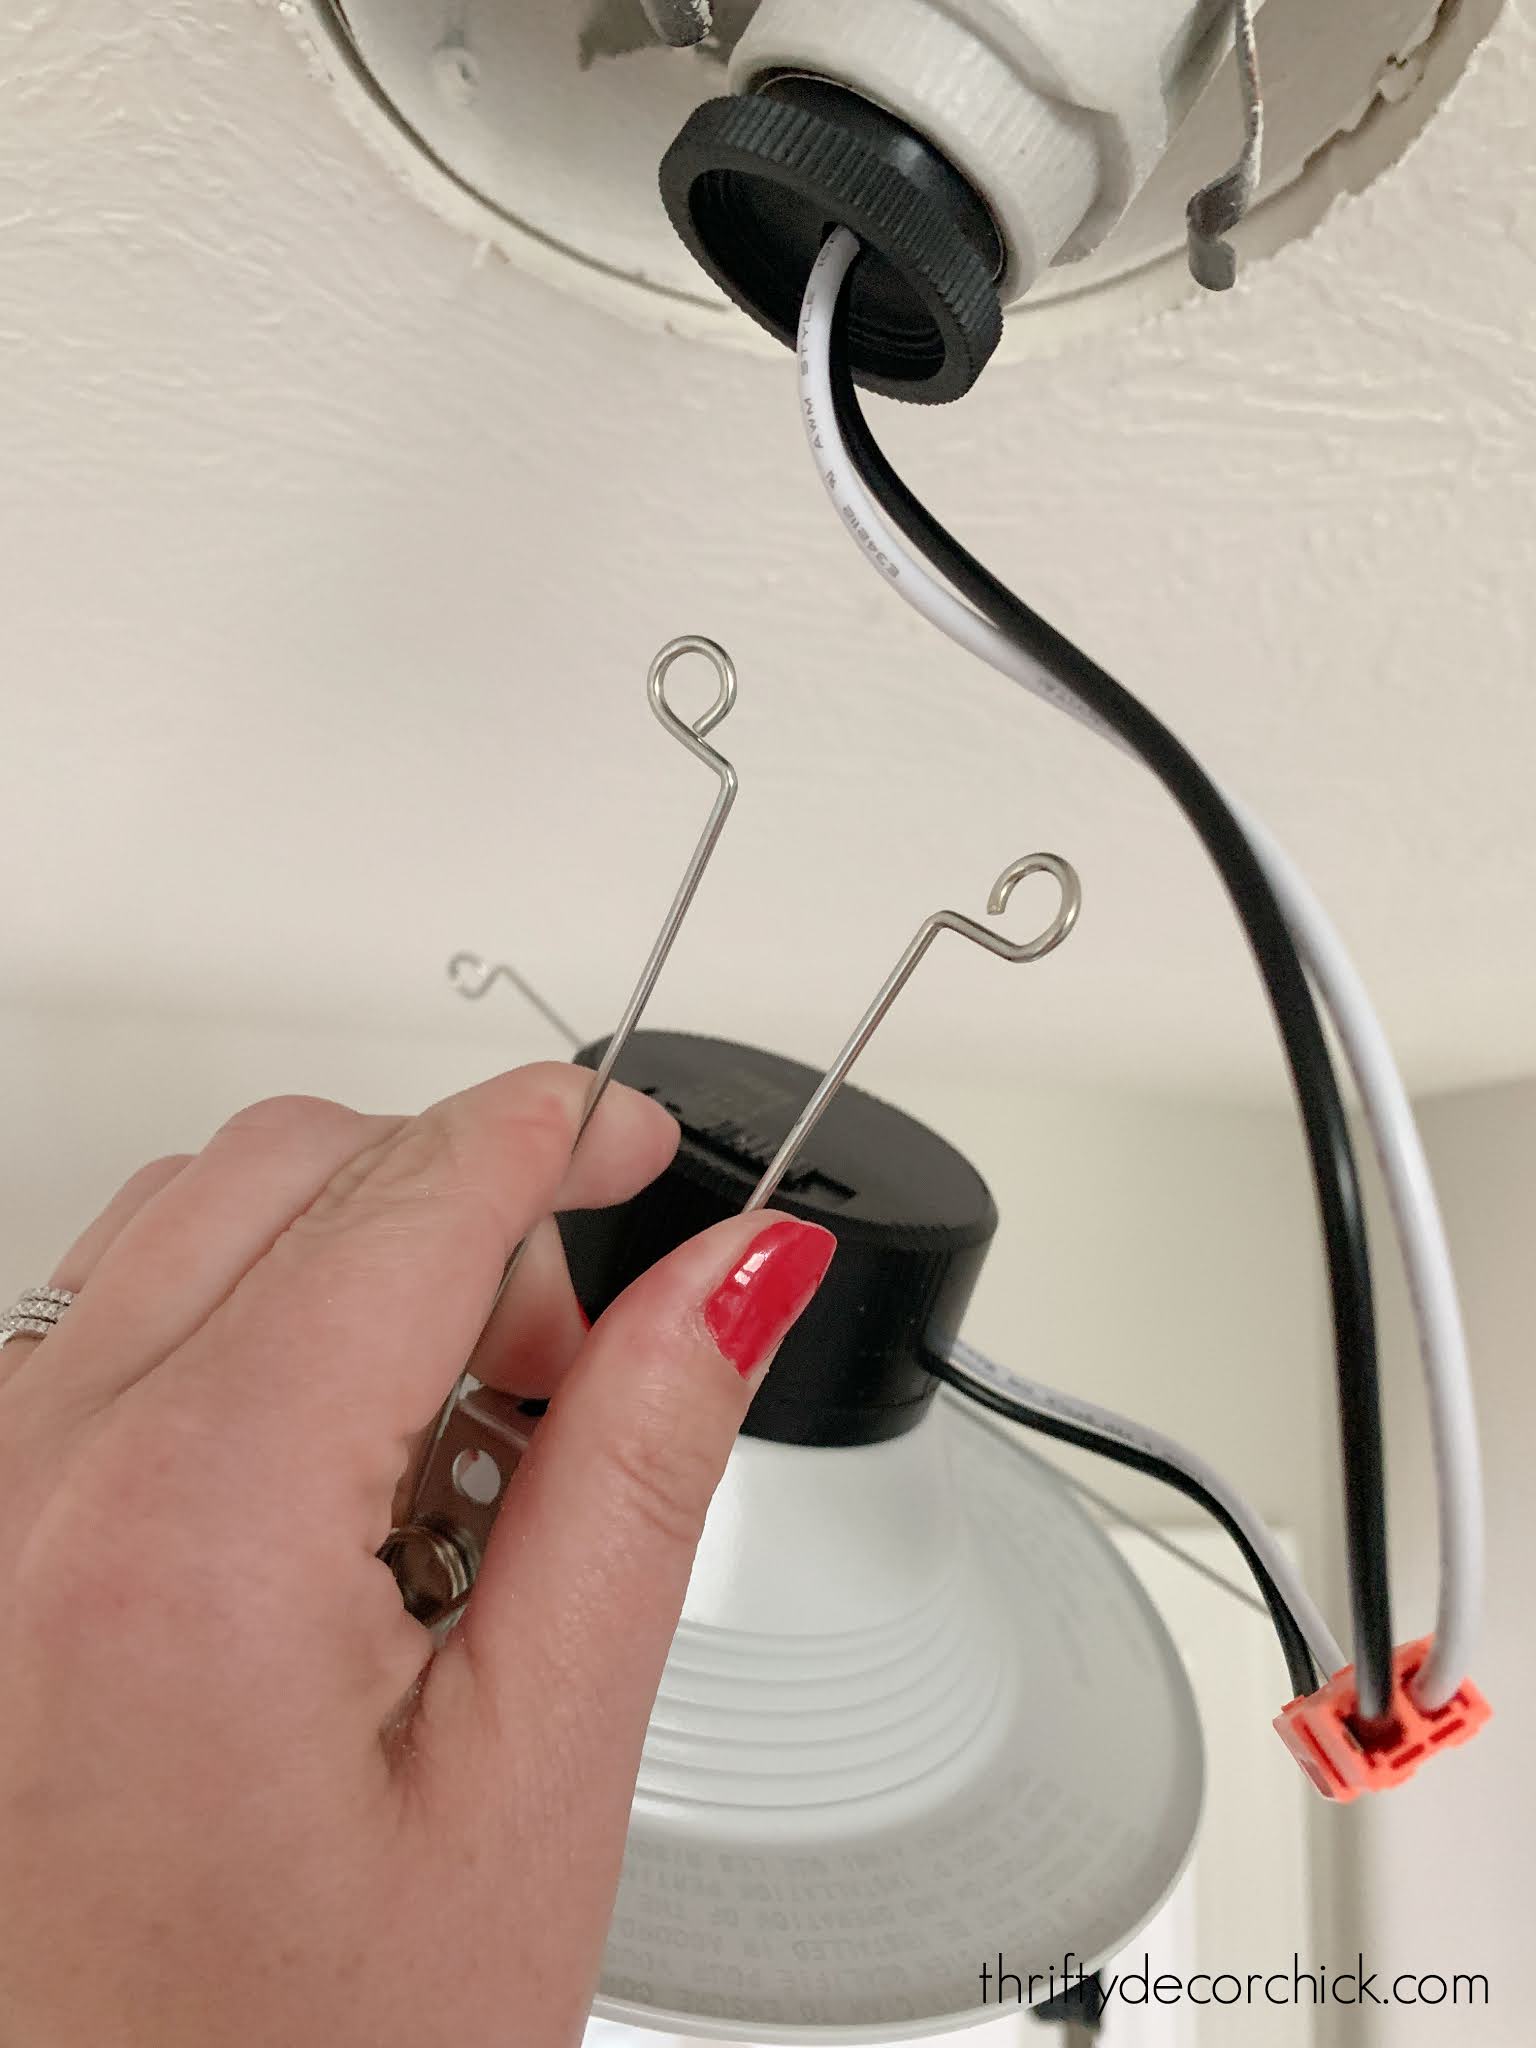
Take your LED light and screw it into the fixture that is already wired…like a light bulb:
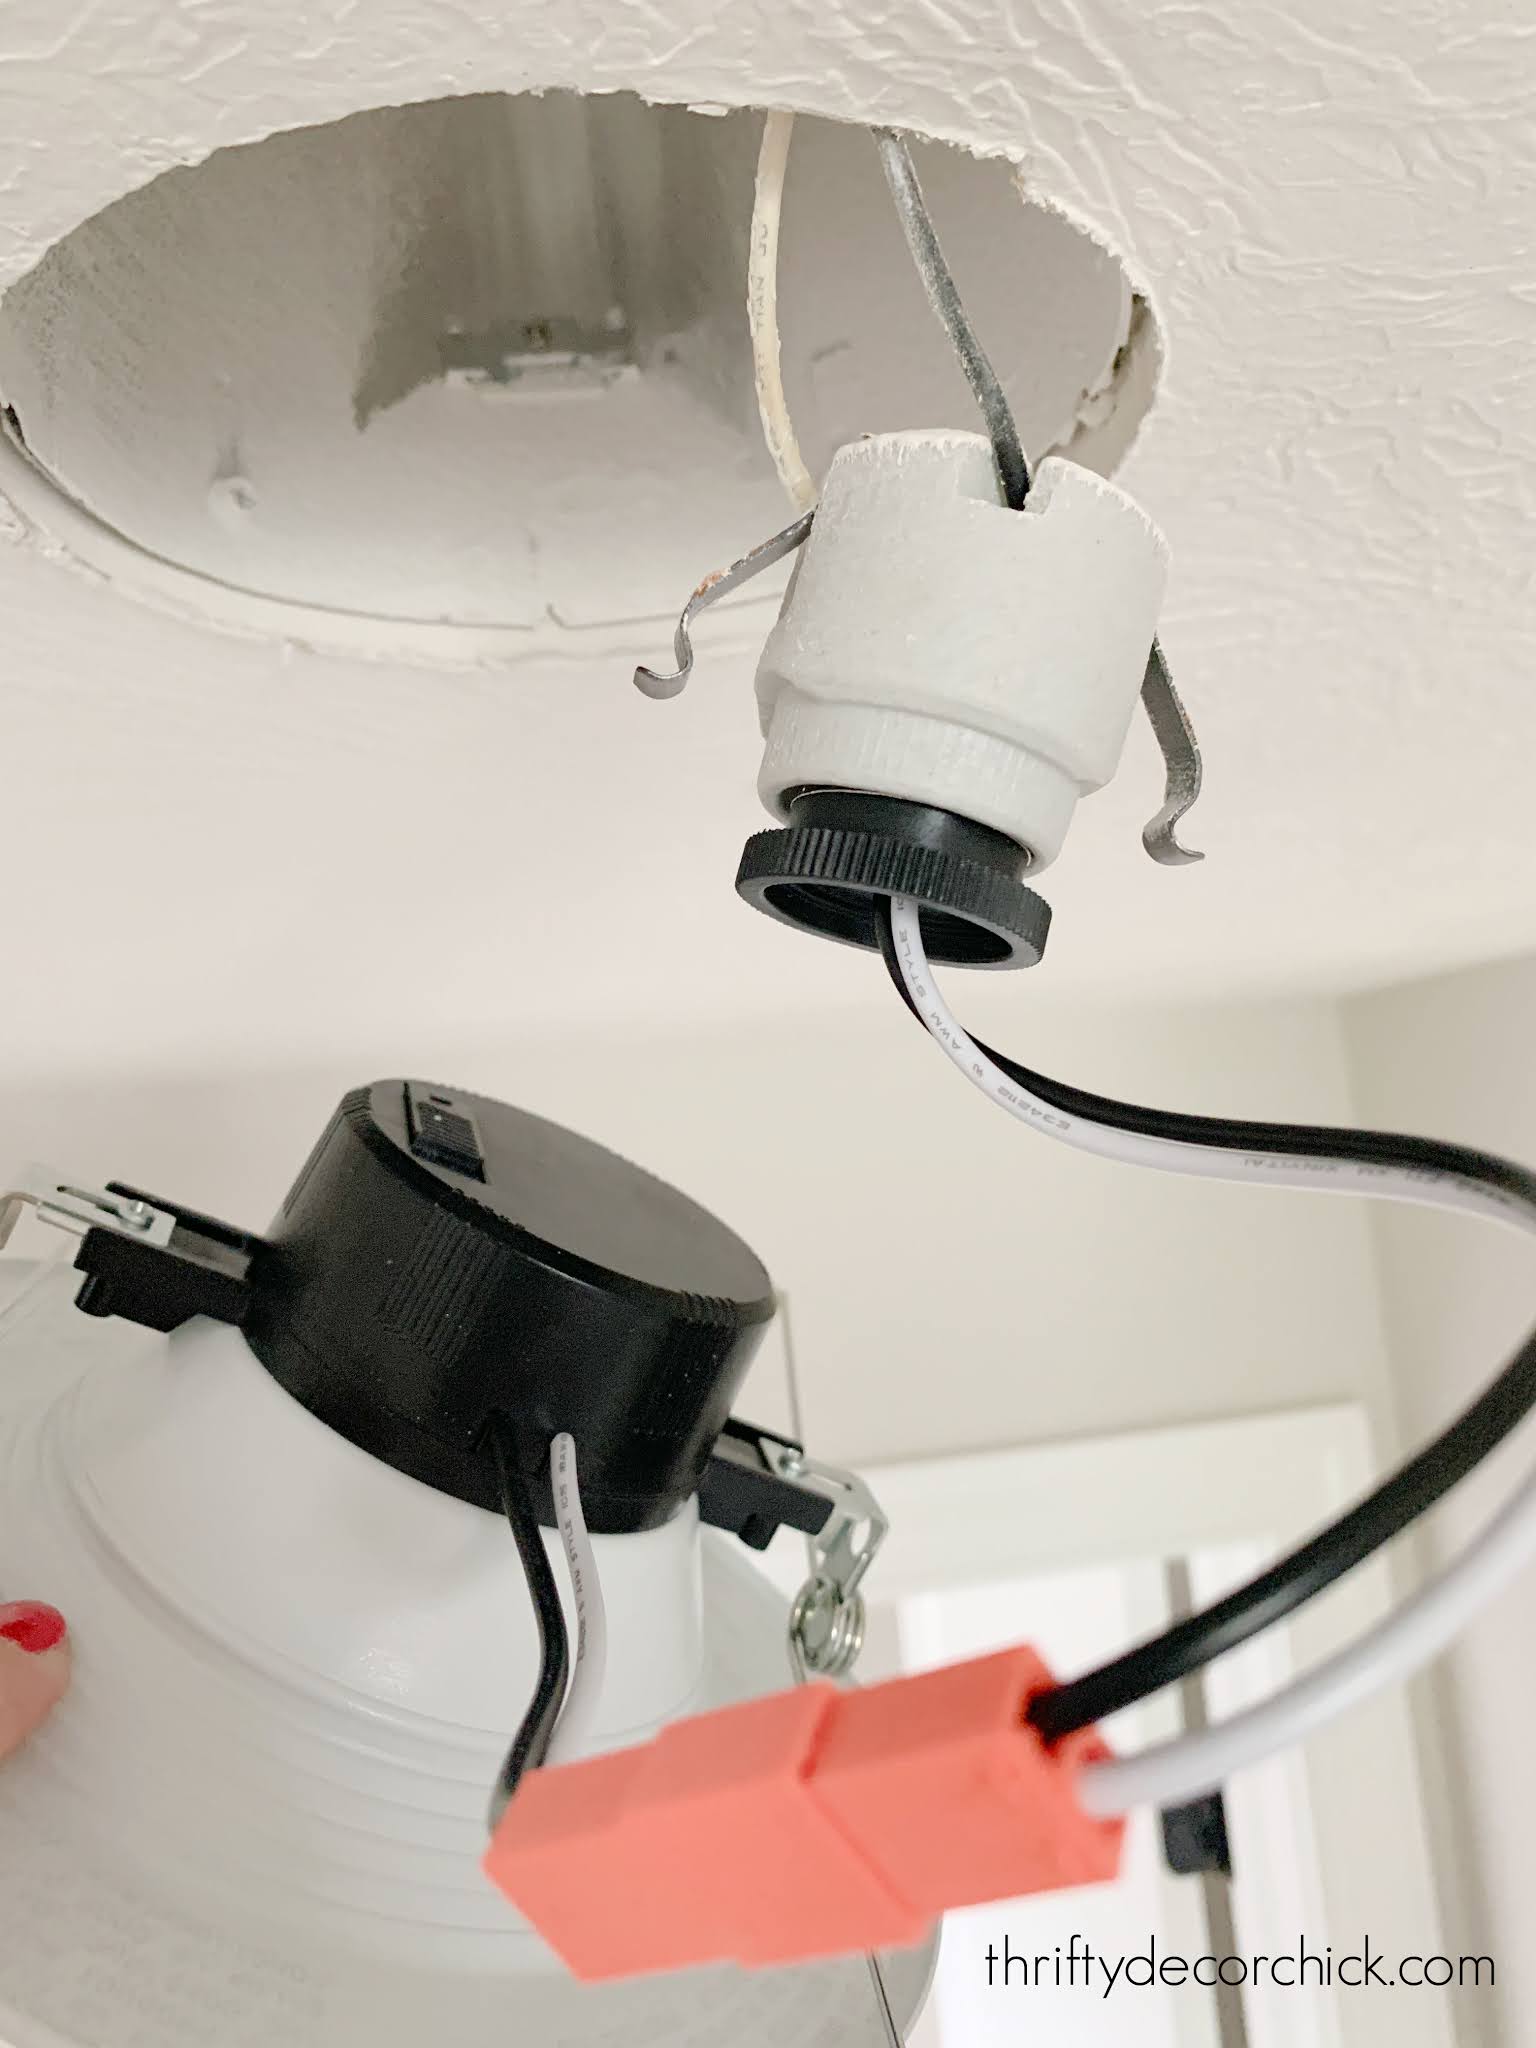
Grab the metal clips and squeeze them into the brackets inside the ceiling
fixture:

Make sure the wires are tucked in above the fixture and then push it up into
the ceiling. That’s it!
Attaching the new light with the metal clips is the hardest part, and even
that isn’t bad. I found it helpful to wear rubber garden gloves when I was
installing a bunch of cans at a time.
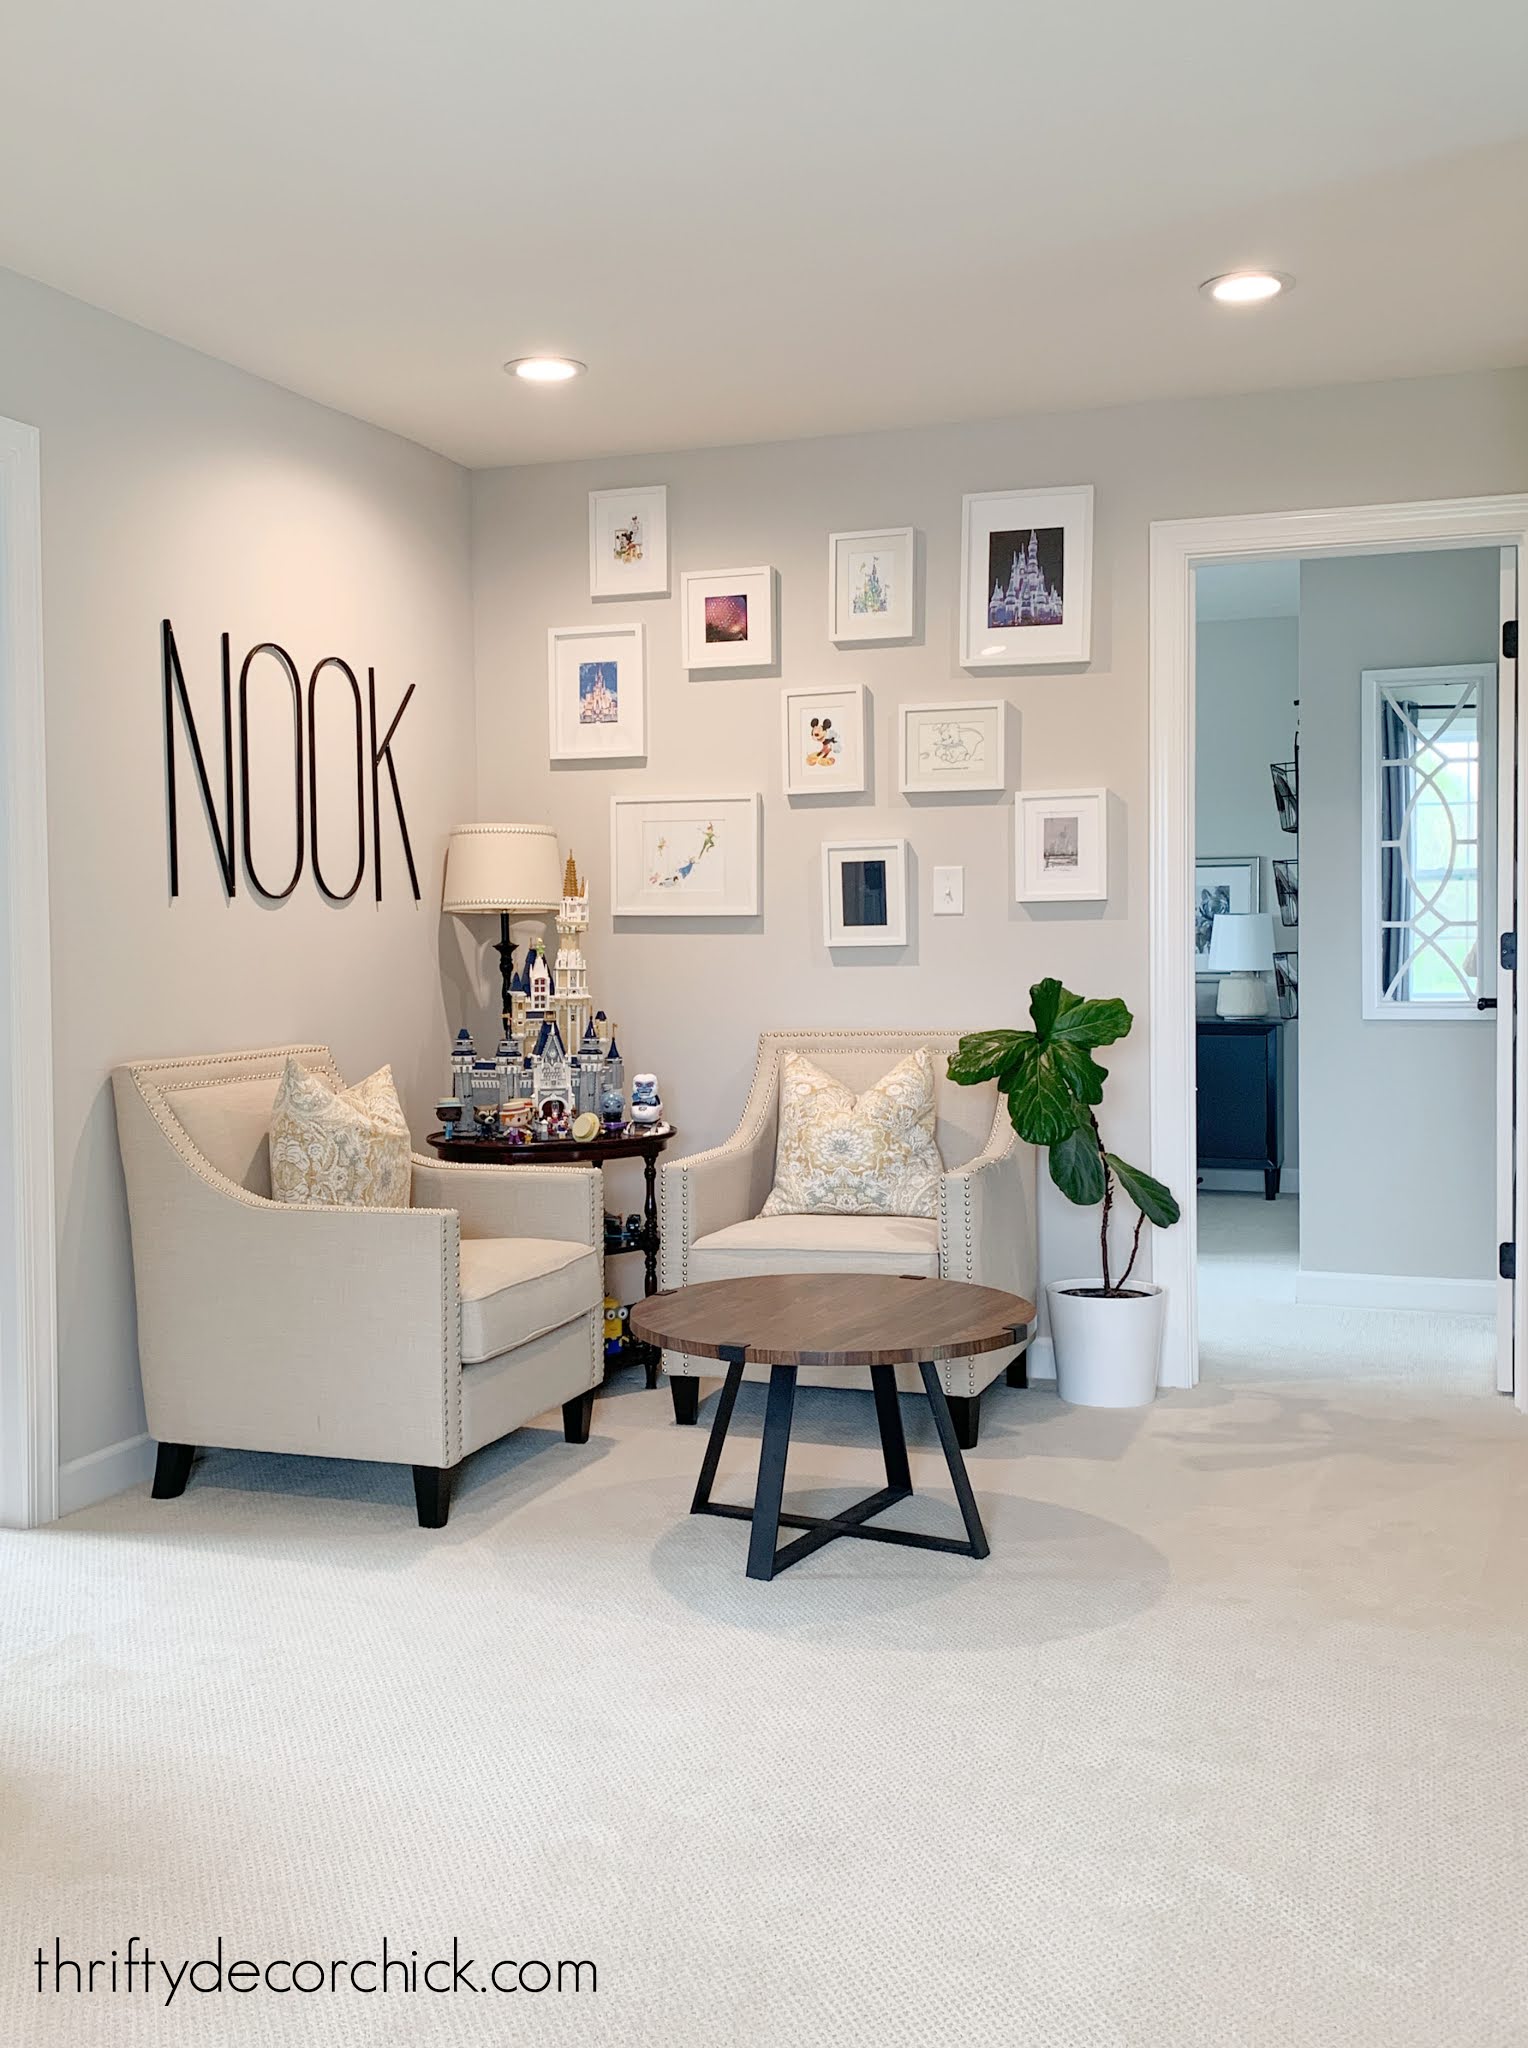
These lights aren’t just money savers, they look much better (in my opinion)
than the standard recessed trim kit. The new ones don’t create a dark hole in
the ceiling when the lights are off:
You can get LED can lights that are completely flush with the ceiling as
well.
I’ve replaced all of the recessed lights in our house — and it was a
lot! But once you get the hang of it, it only takes a couple of minutes
each.
It’s hard to capture the huge difference in
photos, especially if you are keeping the warmth at a softer level like the
originals.
The LED versions have 70 more lumens than the incandescent bulbs we had
before. So at the very least, even at the warmest light, they are still
brighter! Here’s the before:

And here’s the after!:

I used the warm white setting and it’s much brighter and way less
yellow!
Here’s another view before:

And after — see how the lights wash the walls with more light?:
You can’t beat it — brighter, cleaner light for less money!
-
In general, I prefer the warmer tones in living spaces and bedrooms. But
in rooms with no windows or very little (like a basement) I always go with
the cooler lights. Bathrooms are the perfect place for daylight or cooler
bulbs — you’ll see what your makeup TRULY looks like! -
Depending on how many bulbs and what warmth you use, you may want to
consider
adding a dimmer switch
as well. If you go with a cooler tone it can be really bright! -
The metal trim on the standard recessed lights tends to yellow over time.
I’ve heard that’s due to the high heat from recessed bulbs. LED bulbs will
cool down rooms with can lights, especially if you use halogen
bulbs before! -
Overall these save a ton of money — our electrical bill dropped by $70
and I’m not even done replacing them all. We’ll make up the cost of the
new fixtures in just a few months!
Have you changed out your old recessed can lights with brighter, energy saving
LED versions? I’ve finally embraced the LED — I used to hoard incandescent
bulbs. 😂 Now I appreciate how far the LED options have come!
Here are a few LED can light options. You’ll save money by buying a set:

