I tested three ways to clean filthy door and window tracks. See my favorite method here!

Our window sills and door tracks were GROSS and desperately needed to be cleaned. Our sliding back door track was by far the worst spot. YUCK.
I can’t believe I forgot to take a photo of the full before, but don’t you worry, you’ll get to see plenty of the nastiness as we go.
Before tackling these fithy spots, I wanted to figure out the best way to clean the sills and tracks. Otherwise I knew it would take forever to get all of the grime out of the little crevices.
I did some research and found three hacks/tools for cleaning out your dirty window sills and door tracks. I tested all three for you and am sharing my results!
This post may contain affiliate links for your convenience.
I may earn a small commission when you make a purchase through links.
Sill and track brush cleaning set
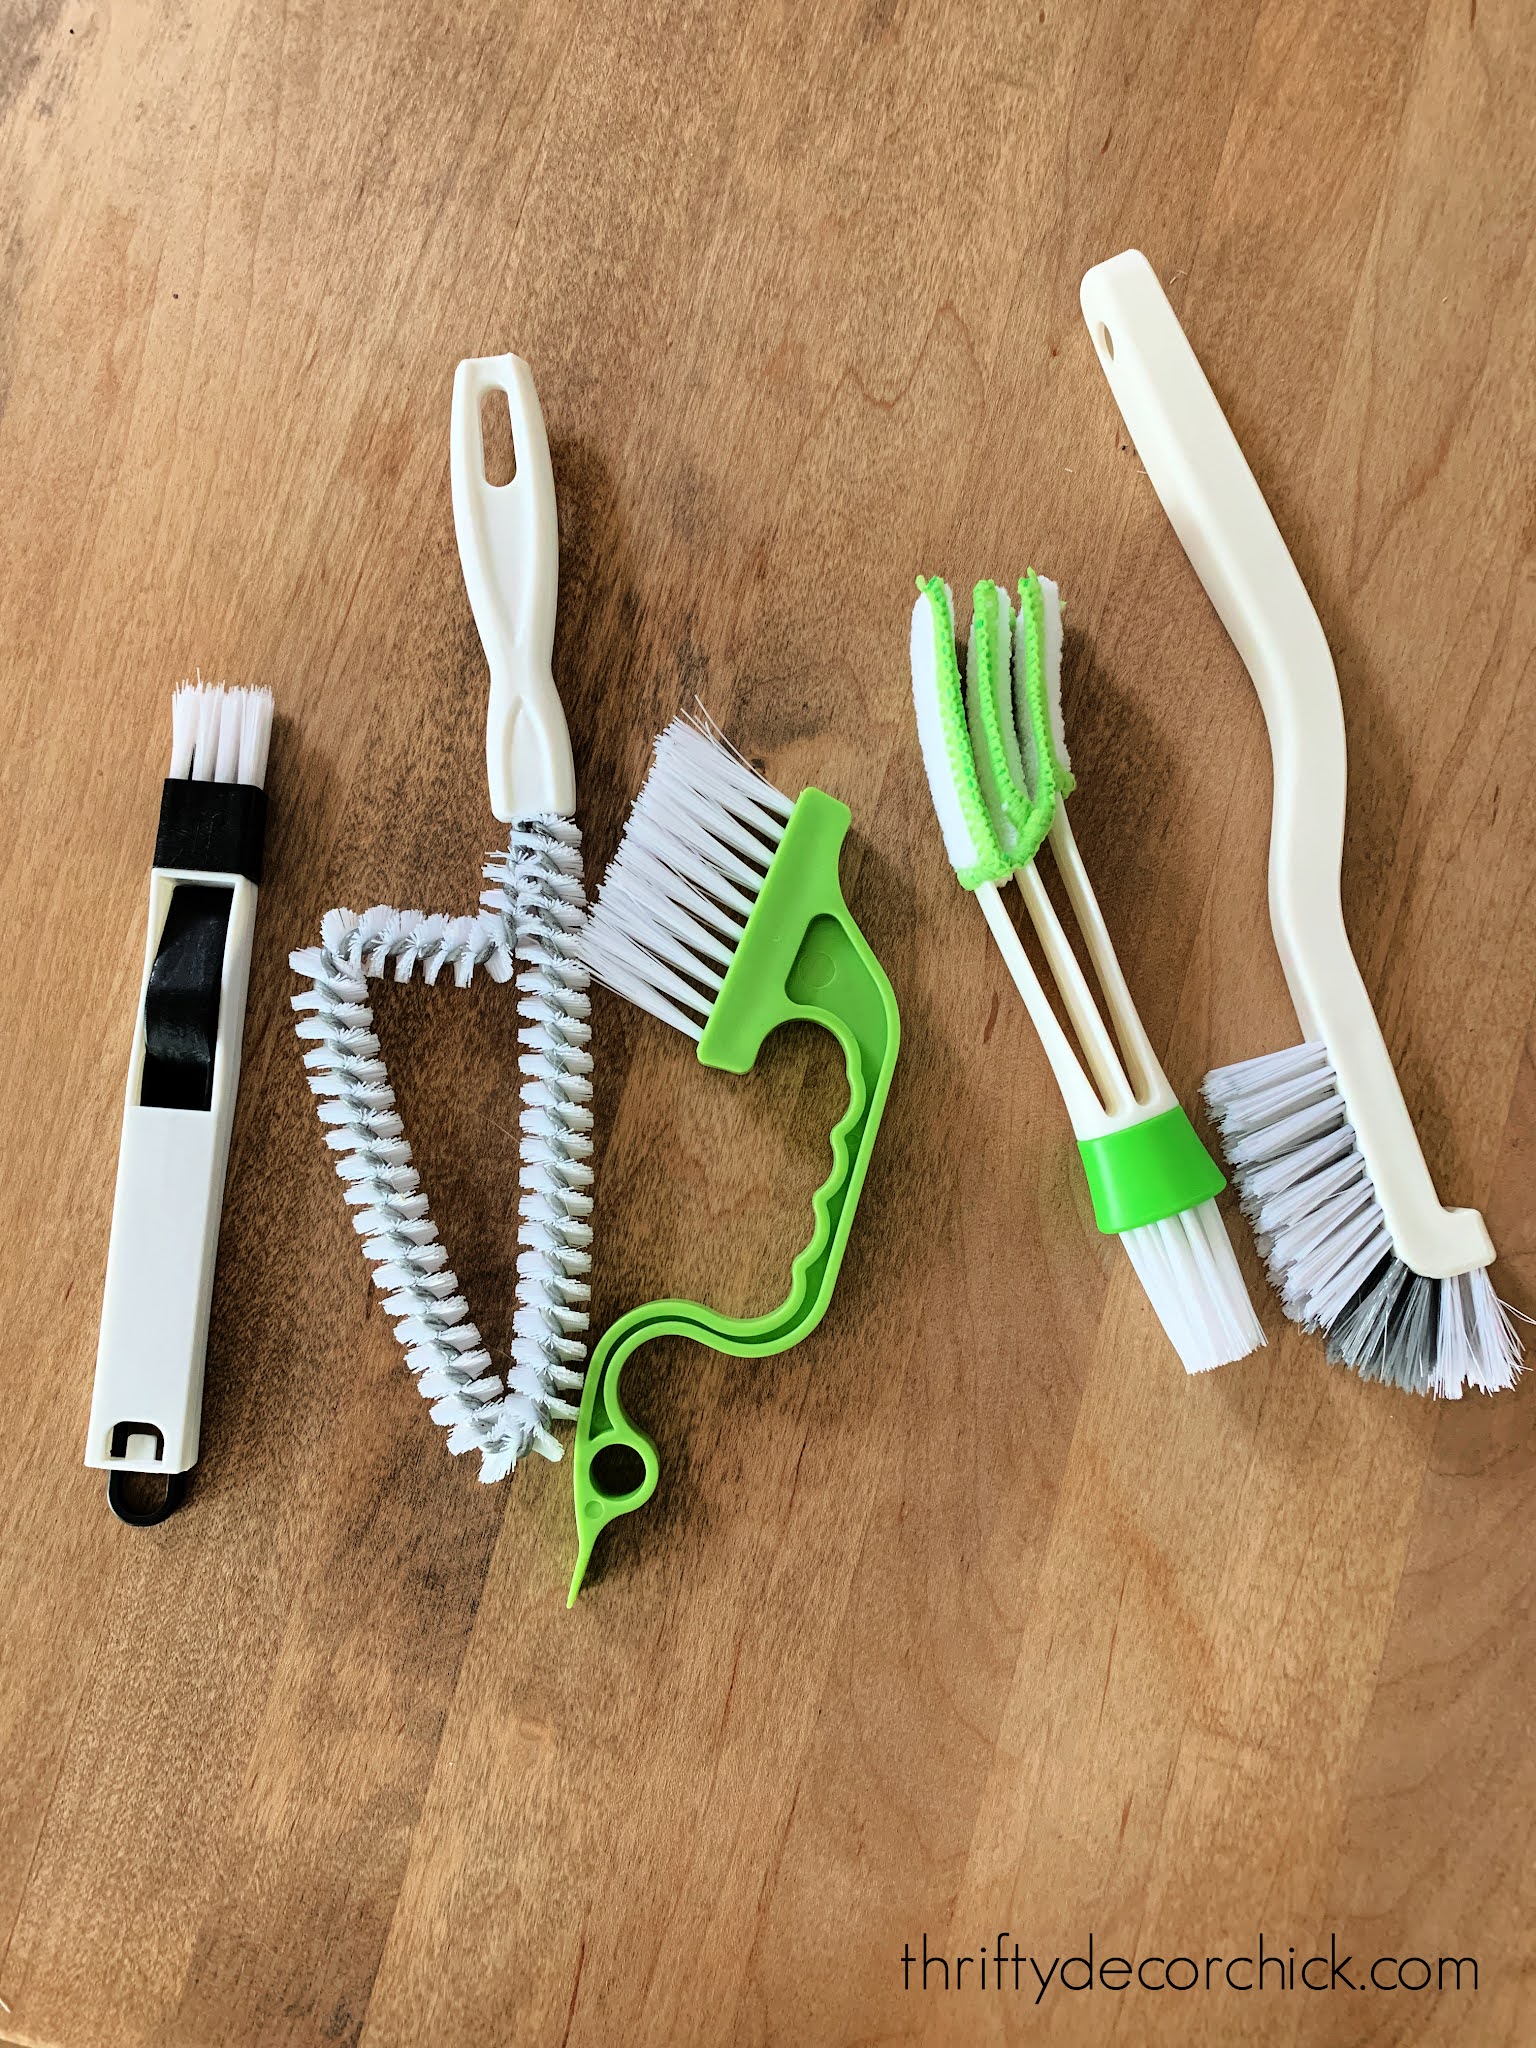
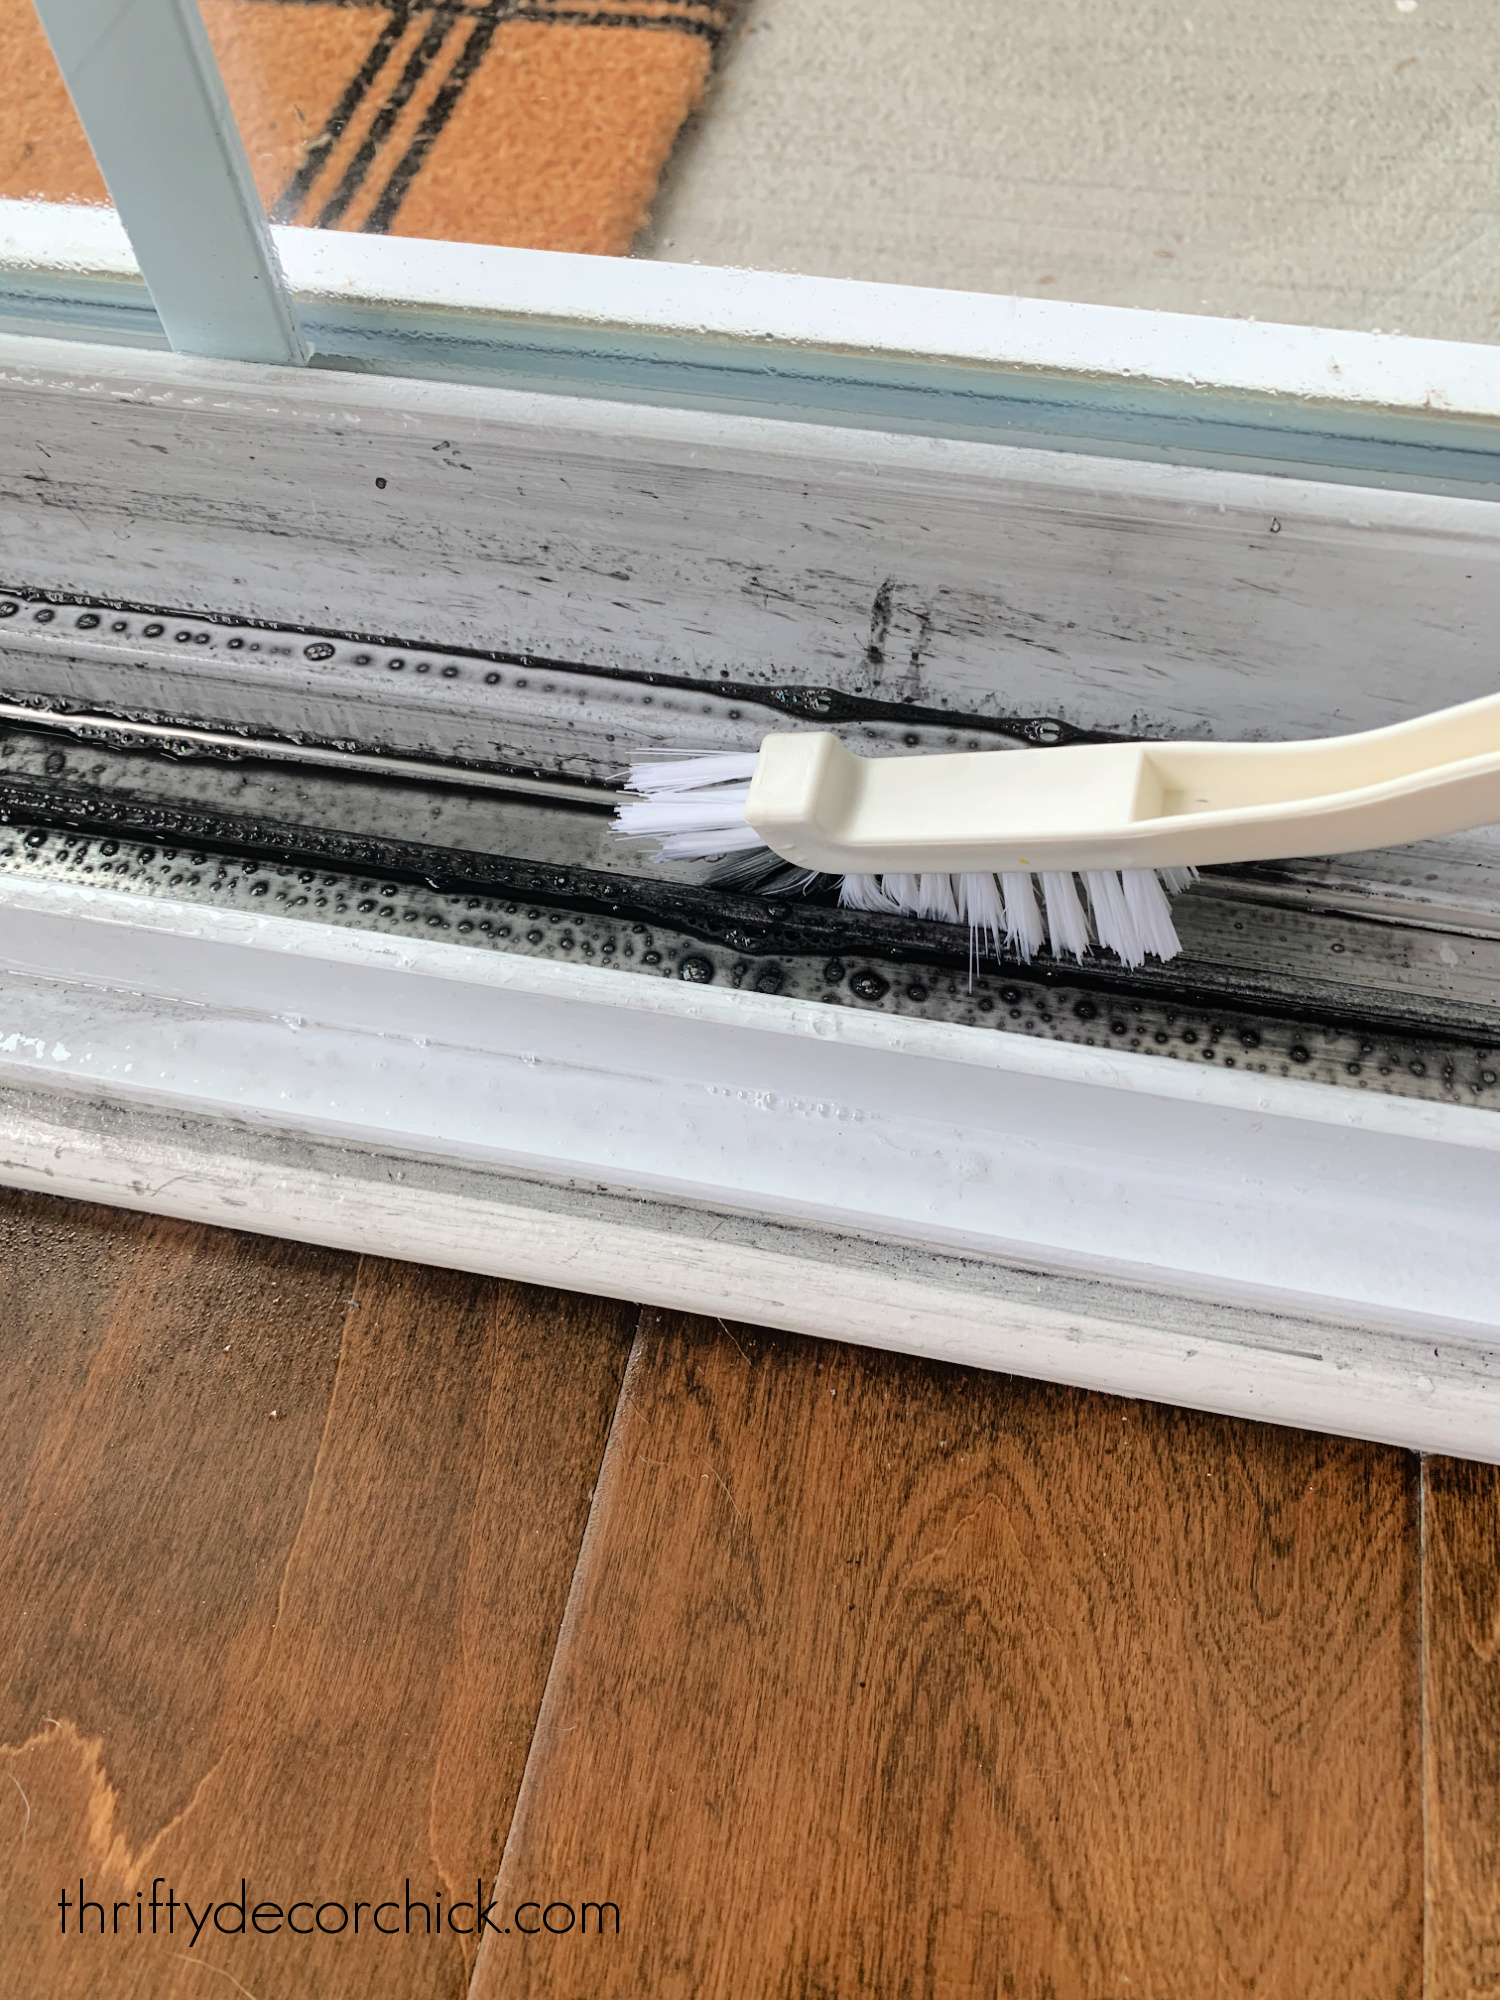
I first sprayed the whole track with a cleaning solution, then started in with this brush.
It did a great job of cleaning the dirt off the bottom of the track, but didn’t get into the corners much at all.
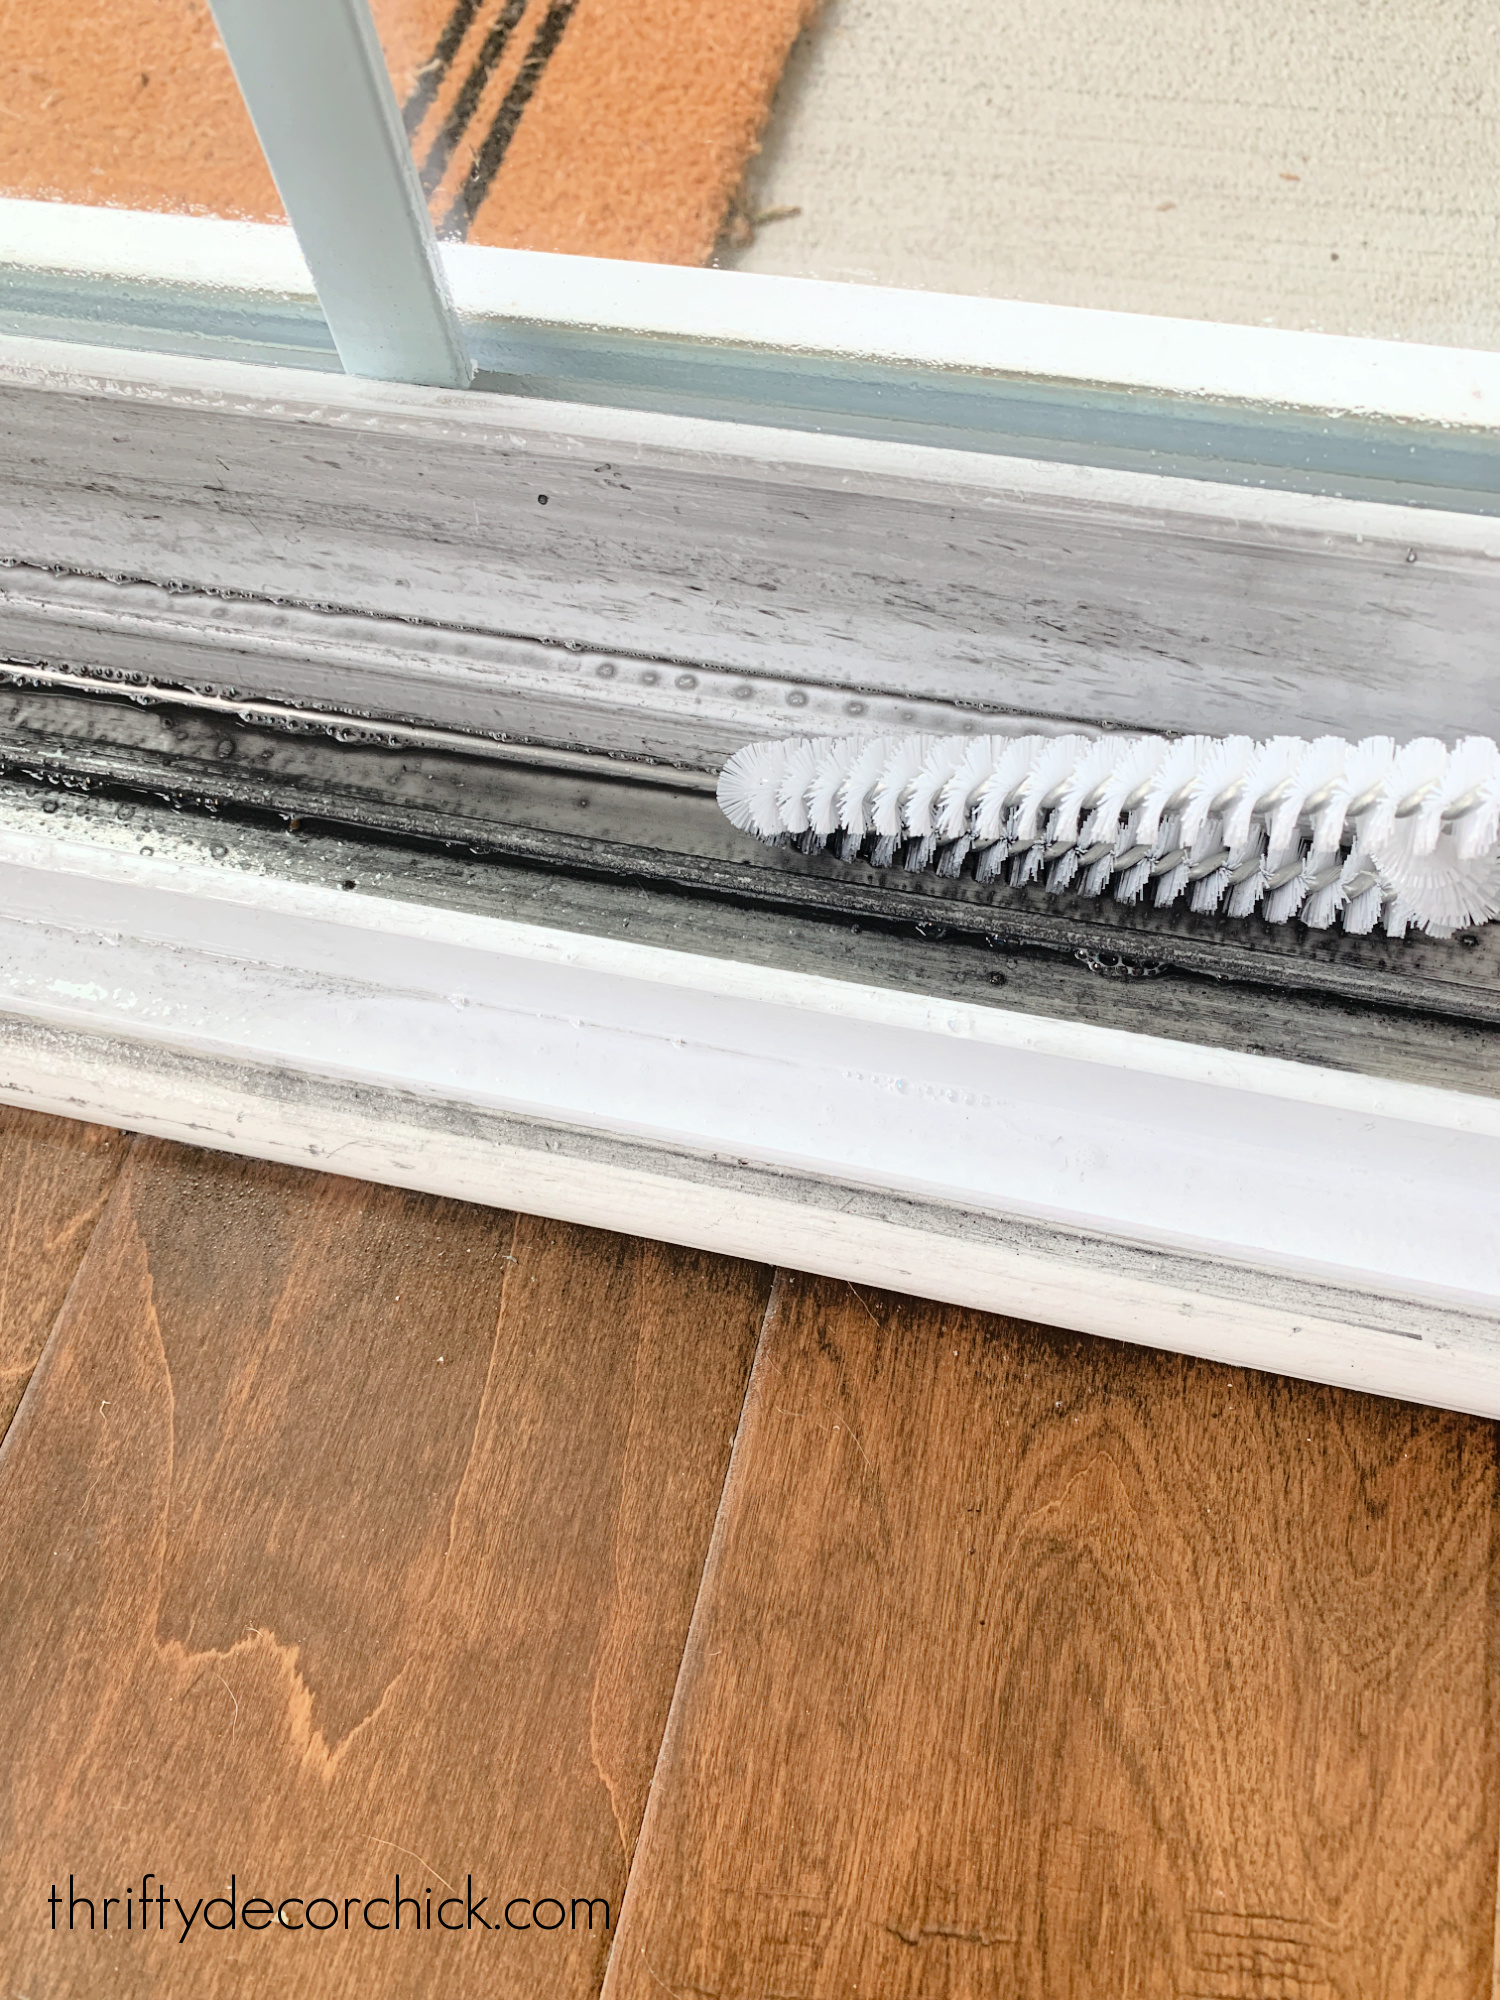
So I tried another one in the kit that worked MUCH better:
This one has plastic bristles as well, but they have more give. It was so much easier to get into the little crevices.
It did a good job! But even after scrubbing, rinsing and wiping it up, there was still plenty of dirt in there.
Next up, I tried an idea I had seen on Pinterest TONS of times. It looked so simple, I was excited to see how it worked!
The cut sponge window sill technique
For this one, you grab a scrub sponge and mark where you need to cut so the sponge will fit perfectly into the door track or sill:
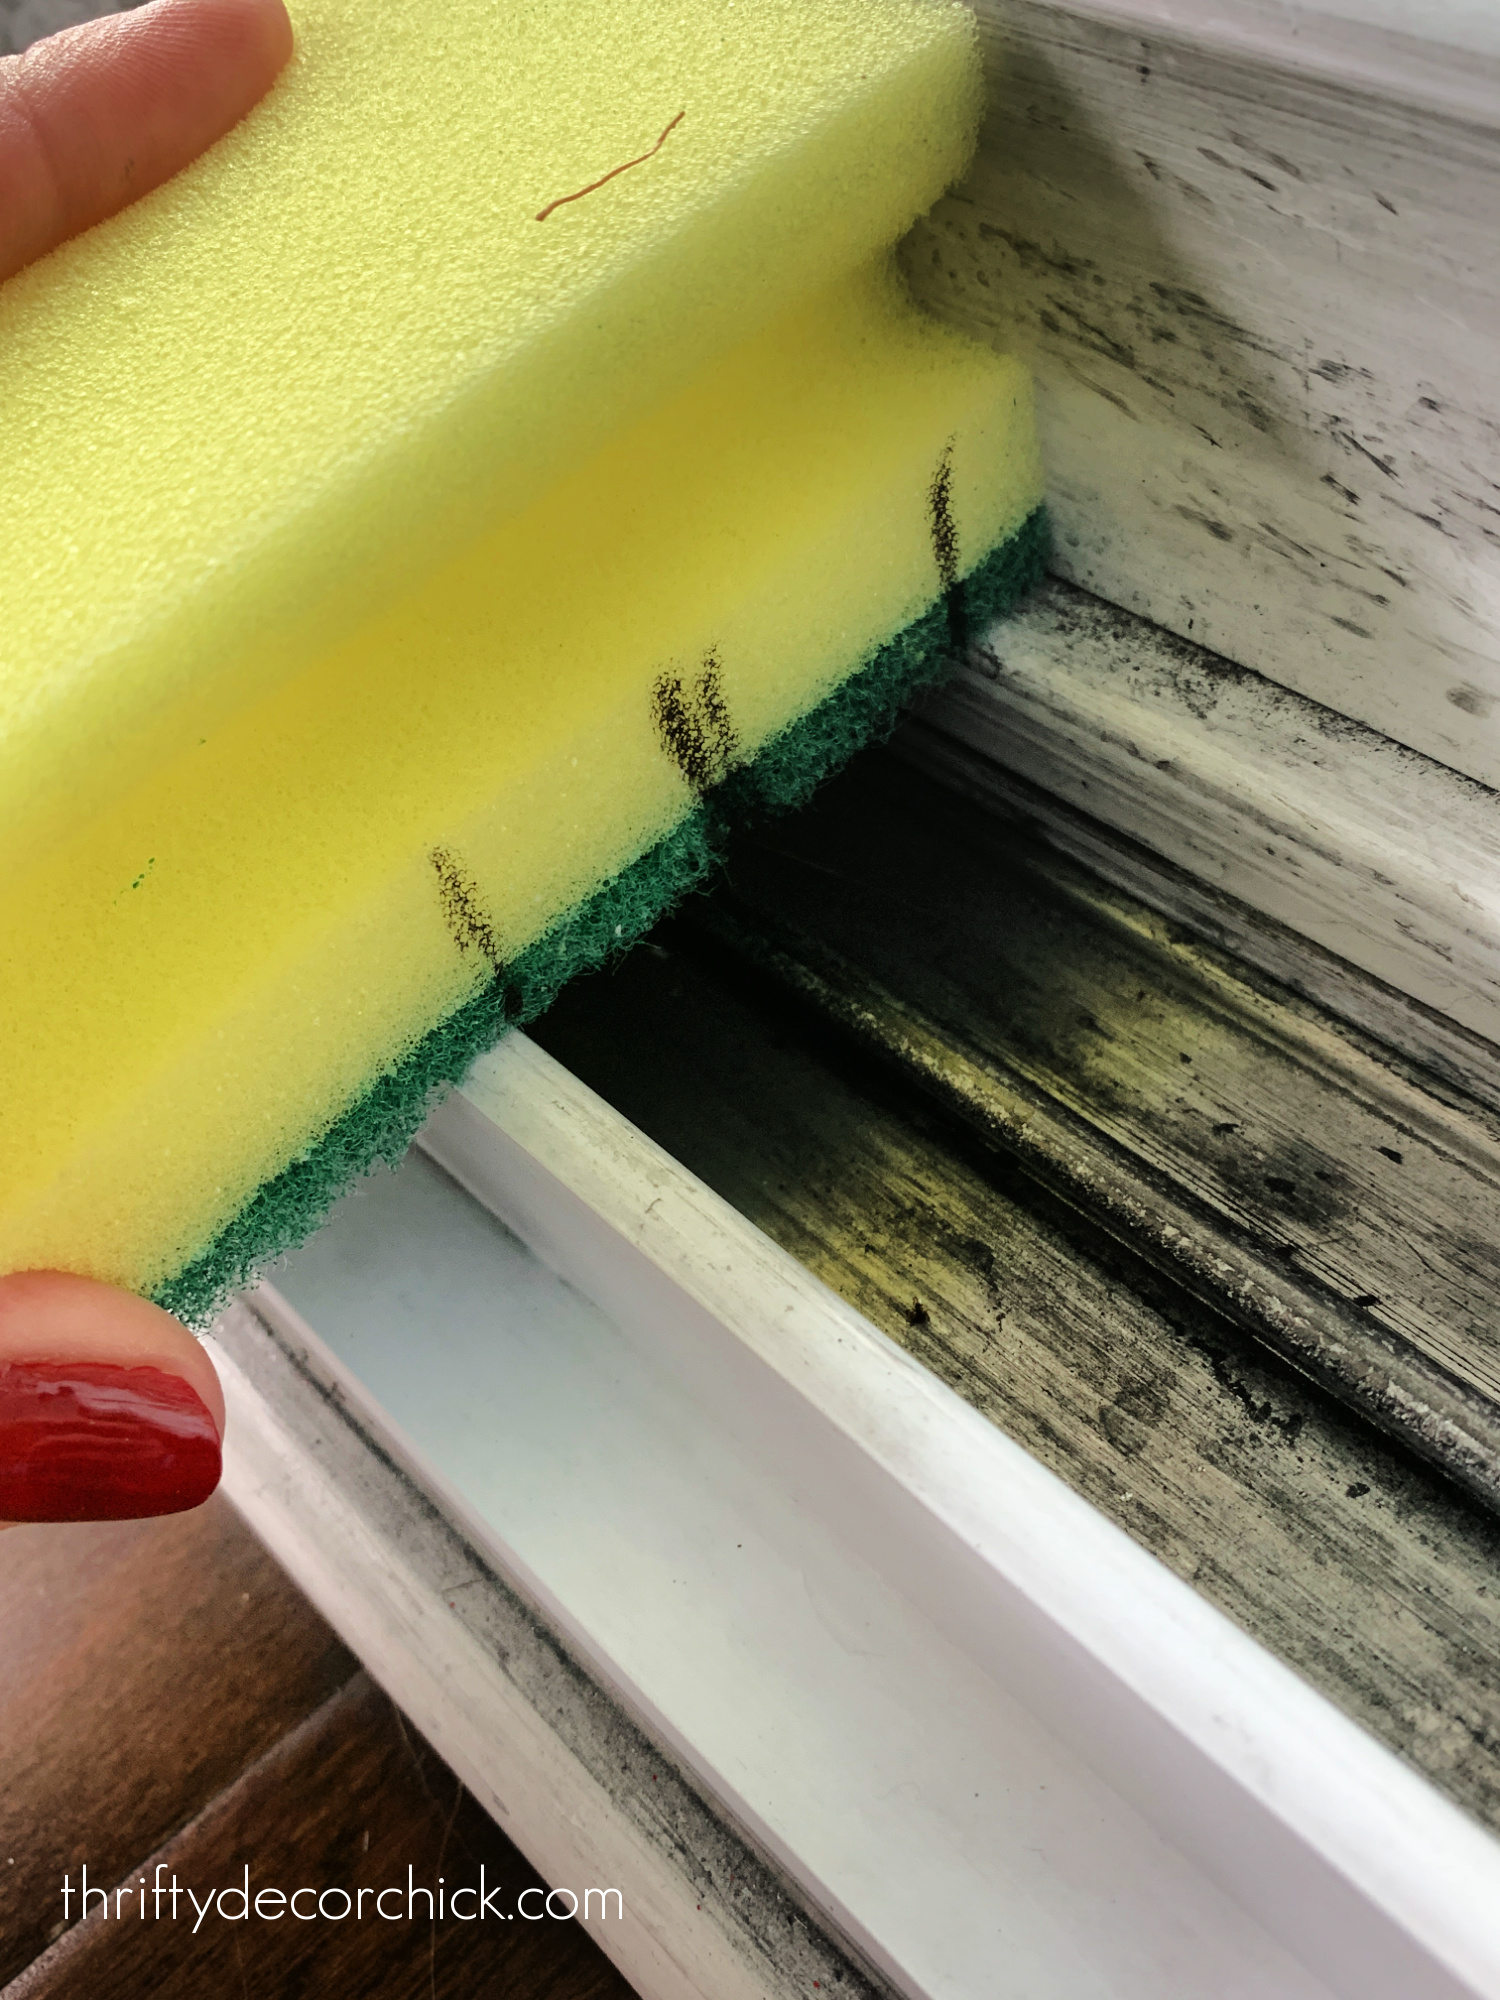
My first inclination that this wasn’t going to work well was when I noticed in all of the photos online the yellow, softer side of the sponge was being cut/used.
I knew that wouldn’t be enough to get the grime and goo, so I did it with the green scrub side down.
Thing is, it’s not easy to cut a straight, clean line into that green part.
I tried a sharp razor blade and it was difficult. I really had to dig it in to get it cut and quickly realized this was not a safe option. The sponge is too small to get good, multiple cuts with a razor blade (safely).
Then I tried scissors, which worked much better. But it wasn’t a clean line and was still difficult to get it cut just right.
Finally, I decided to just try the softer yellow side like all of the instructions show. I used a sharp knife and started to slice into it when the most hideous squeak noise…five million times worse than fingernails on a chalkboard…erupted from the sponge.
NOPE.
Couldn’t do it.
I ended up trying it with my horrible scissor cuts and it was just a big, fat no:

I didn’t get the notches in the sponge deep enough, but even so I could tell immediately it wasn’t going to work.
If you keep up with cleaning your door tracks regularly, using a sponge would probably be a great option! The brushes I showed you first worked WAY better though.
My final experiment was by far the winner! Of course it costs the most, but I cannot WAIT to try this out on all kinds of stuff around the house. (And the price really isn’t bad considering how much we’ll use it.)
Handheld steam cleaner (for the win!)
Holy cow, this thing is amazing!! Where has it been all my life?
He uses a steam cleaner in the cars he details and it’s amazing how well they clean. I had to get one…especially since I thought it may work well on our door track!
It comes with a bunch of little attachments. From the reviews that I read, the grout cleaner attachment is amazing. The videos are impressive!:

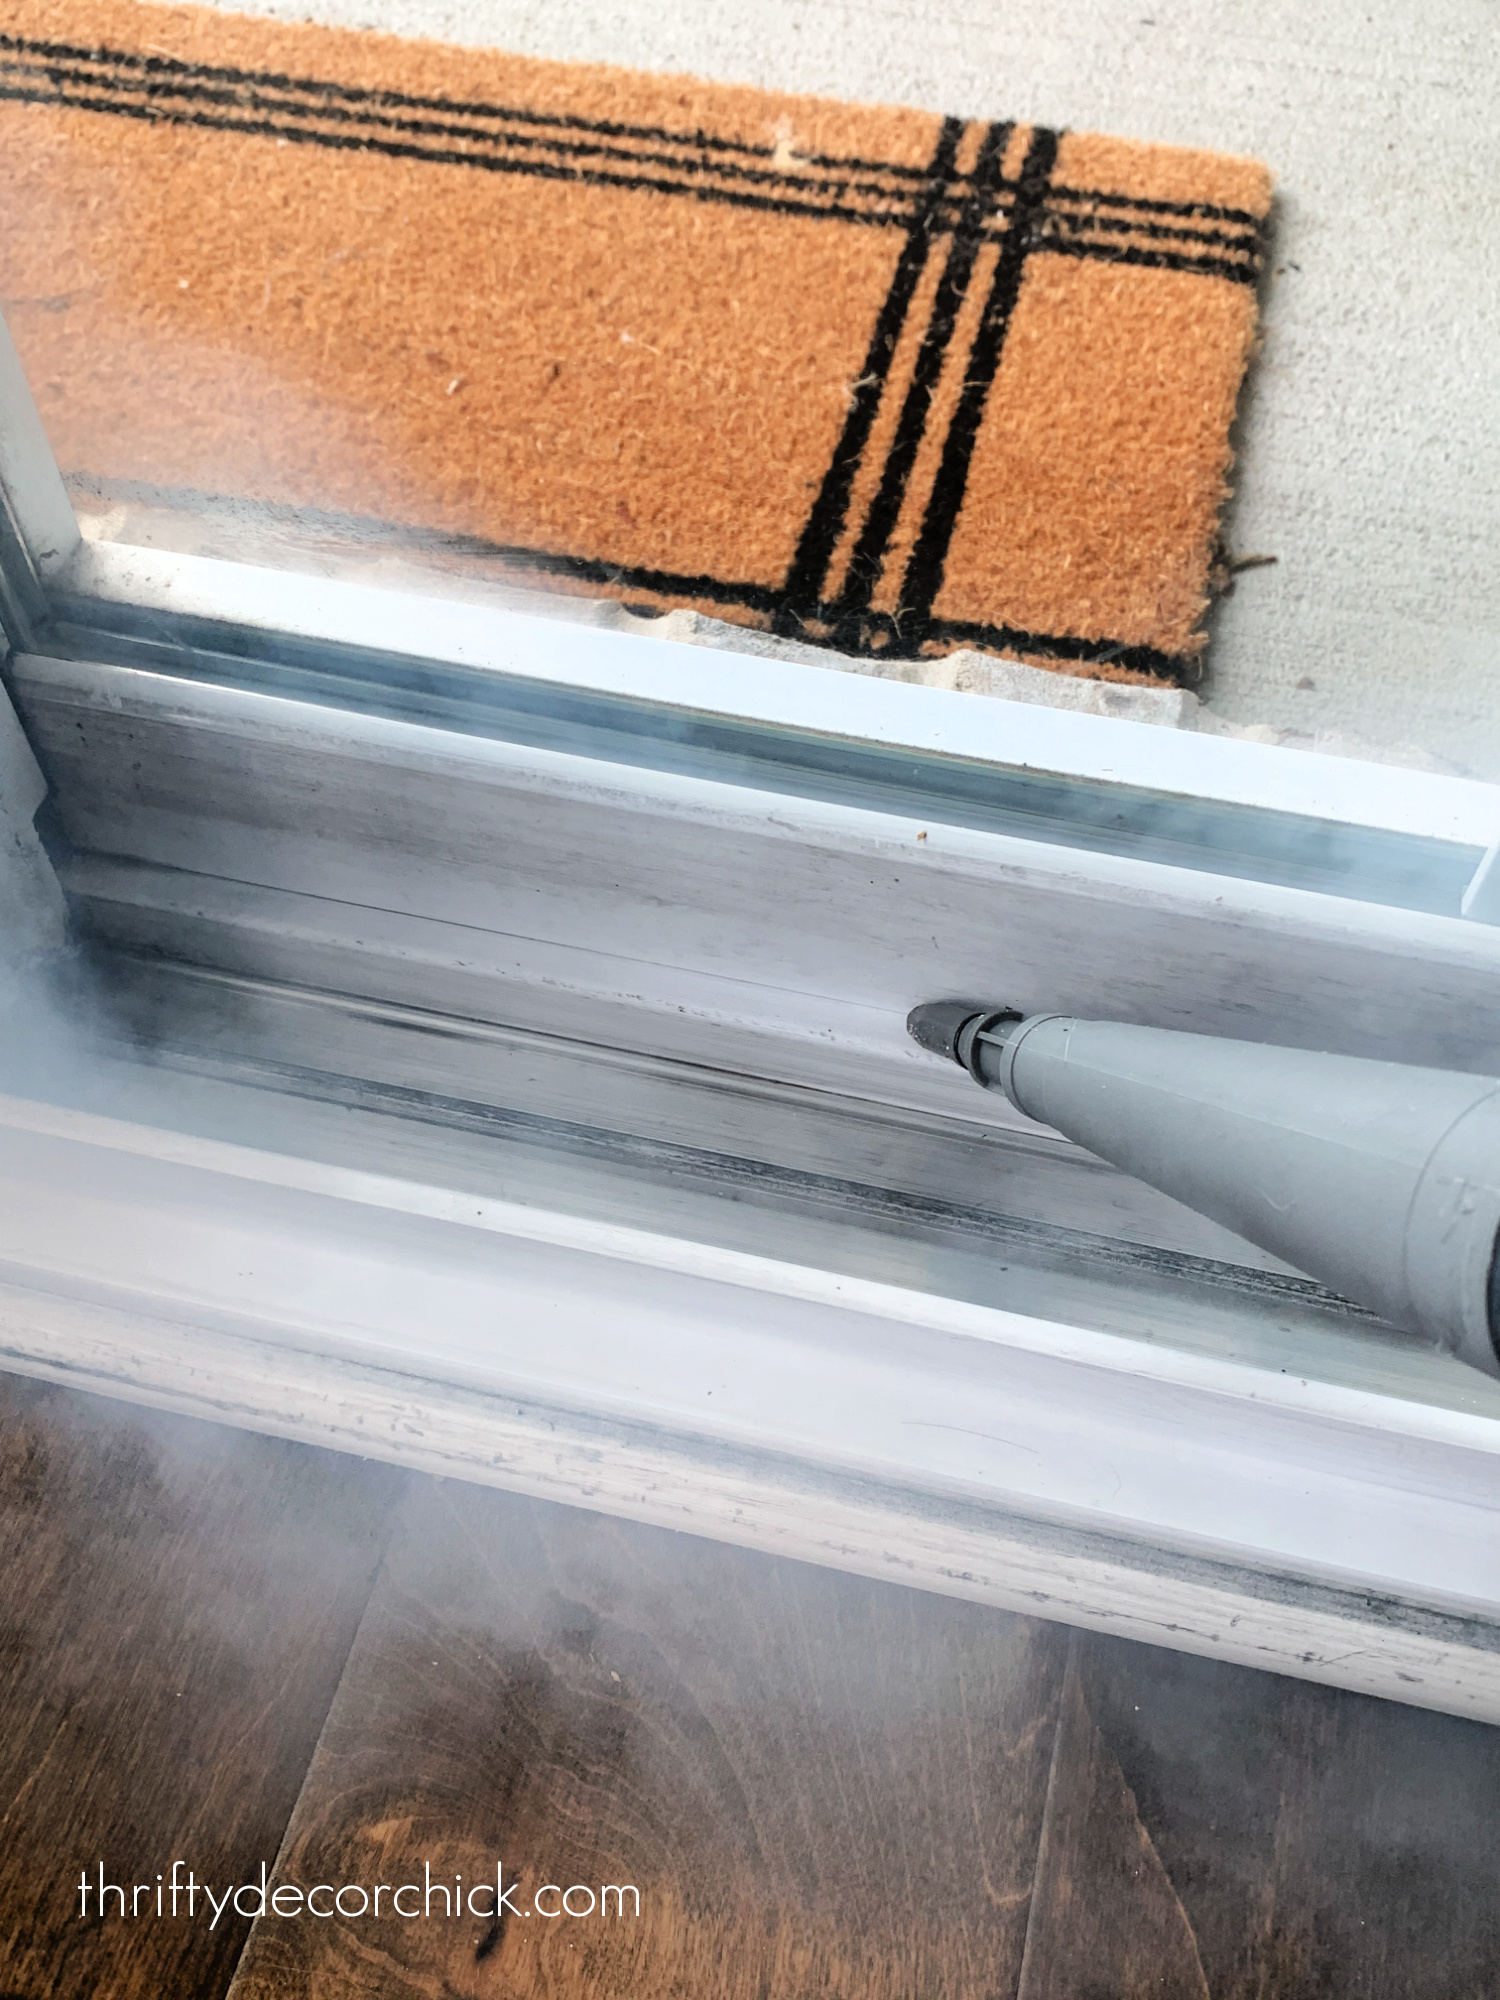
I used the basic nozzle attachment and was amazed at how quickly the dirt and grime melted off of the track.
Immediately I knew this one was the winner:
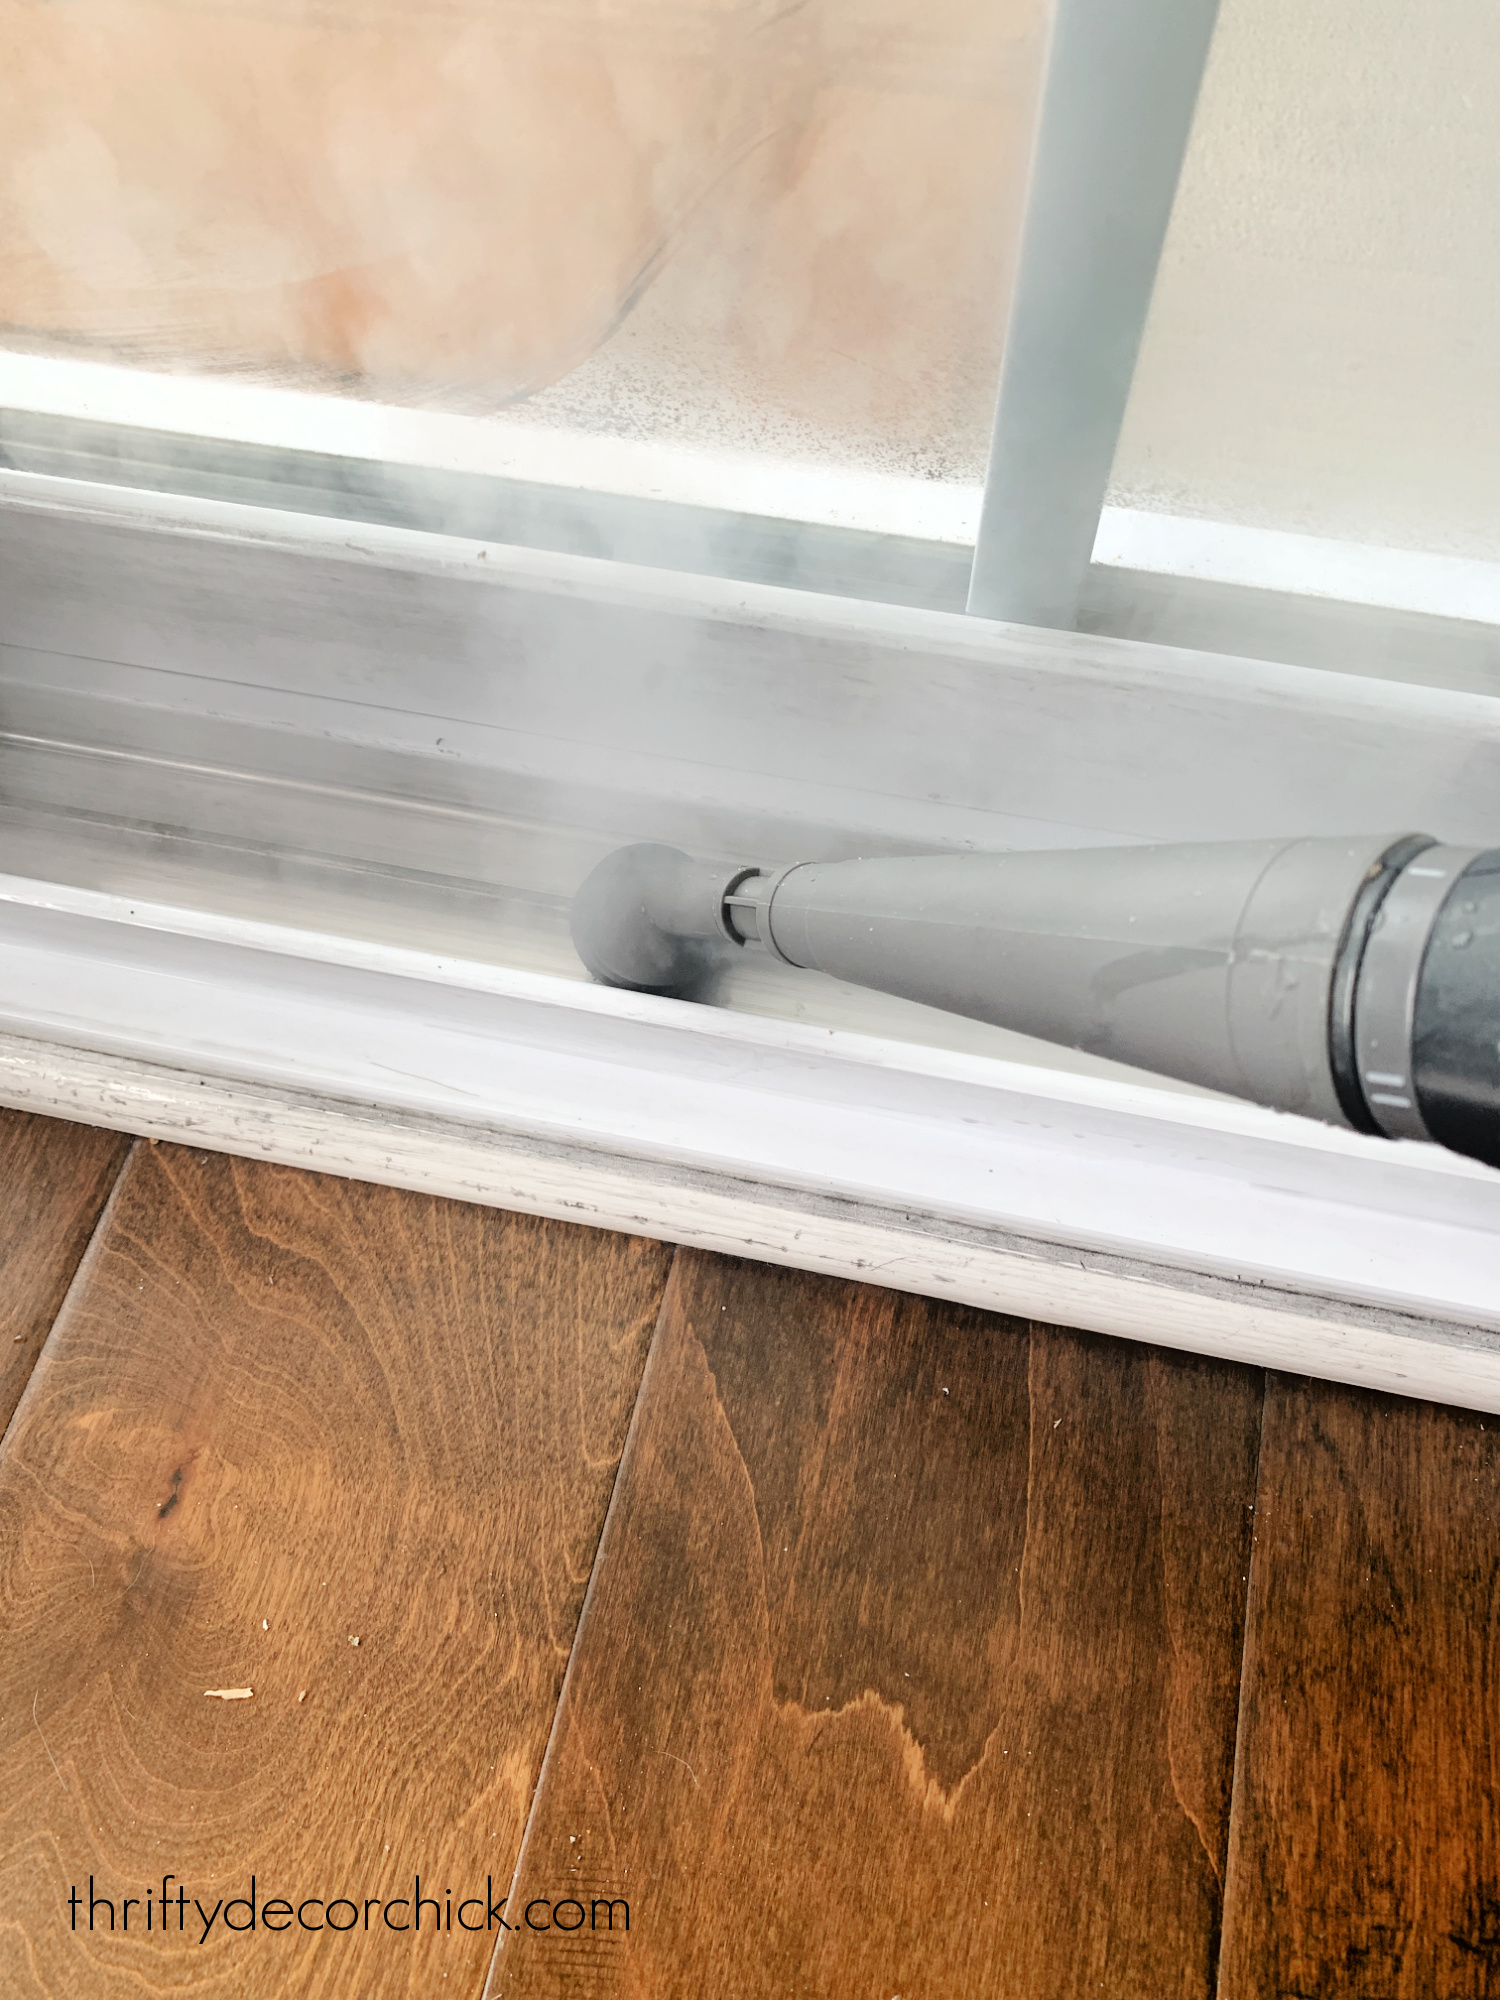
It was perfect for getting into the little crevices and corners. There’s an angled attachment that makes it even easier to get into those tight spots.
There are small, round brush attachments that are awesome because you can really scrub the surface in combination with the steam:
By the way, I tried to stay away from the actual window — I didn’t run the steam along the plastic right up against the window just in case it would affect a seal in any way. I have no idea if it would, but figured it was best to not chance it.
I went back and forth between the two attachments to clean and then direct the dirty water towards the drain holes:
When it was clean, I finished up with a magic eraser to get as much of the black marks off of the plastic and metal as possible.
The combo of those two did the best job by FAR. I was thoroughly impressed with this steamer.
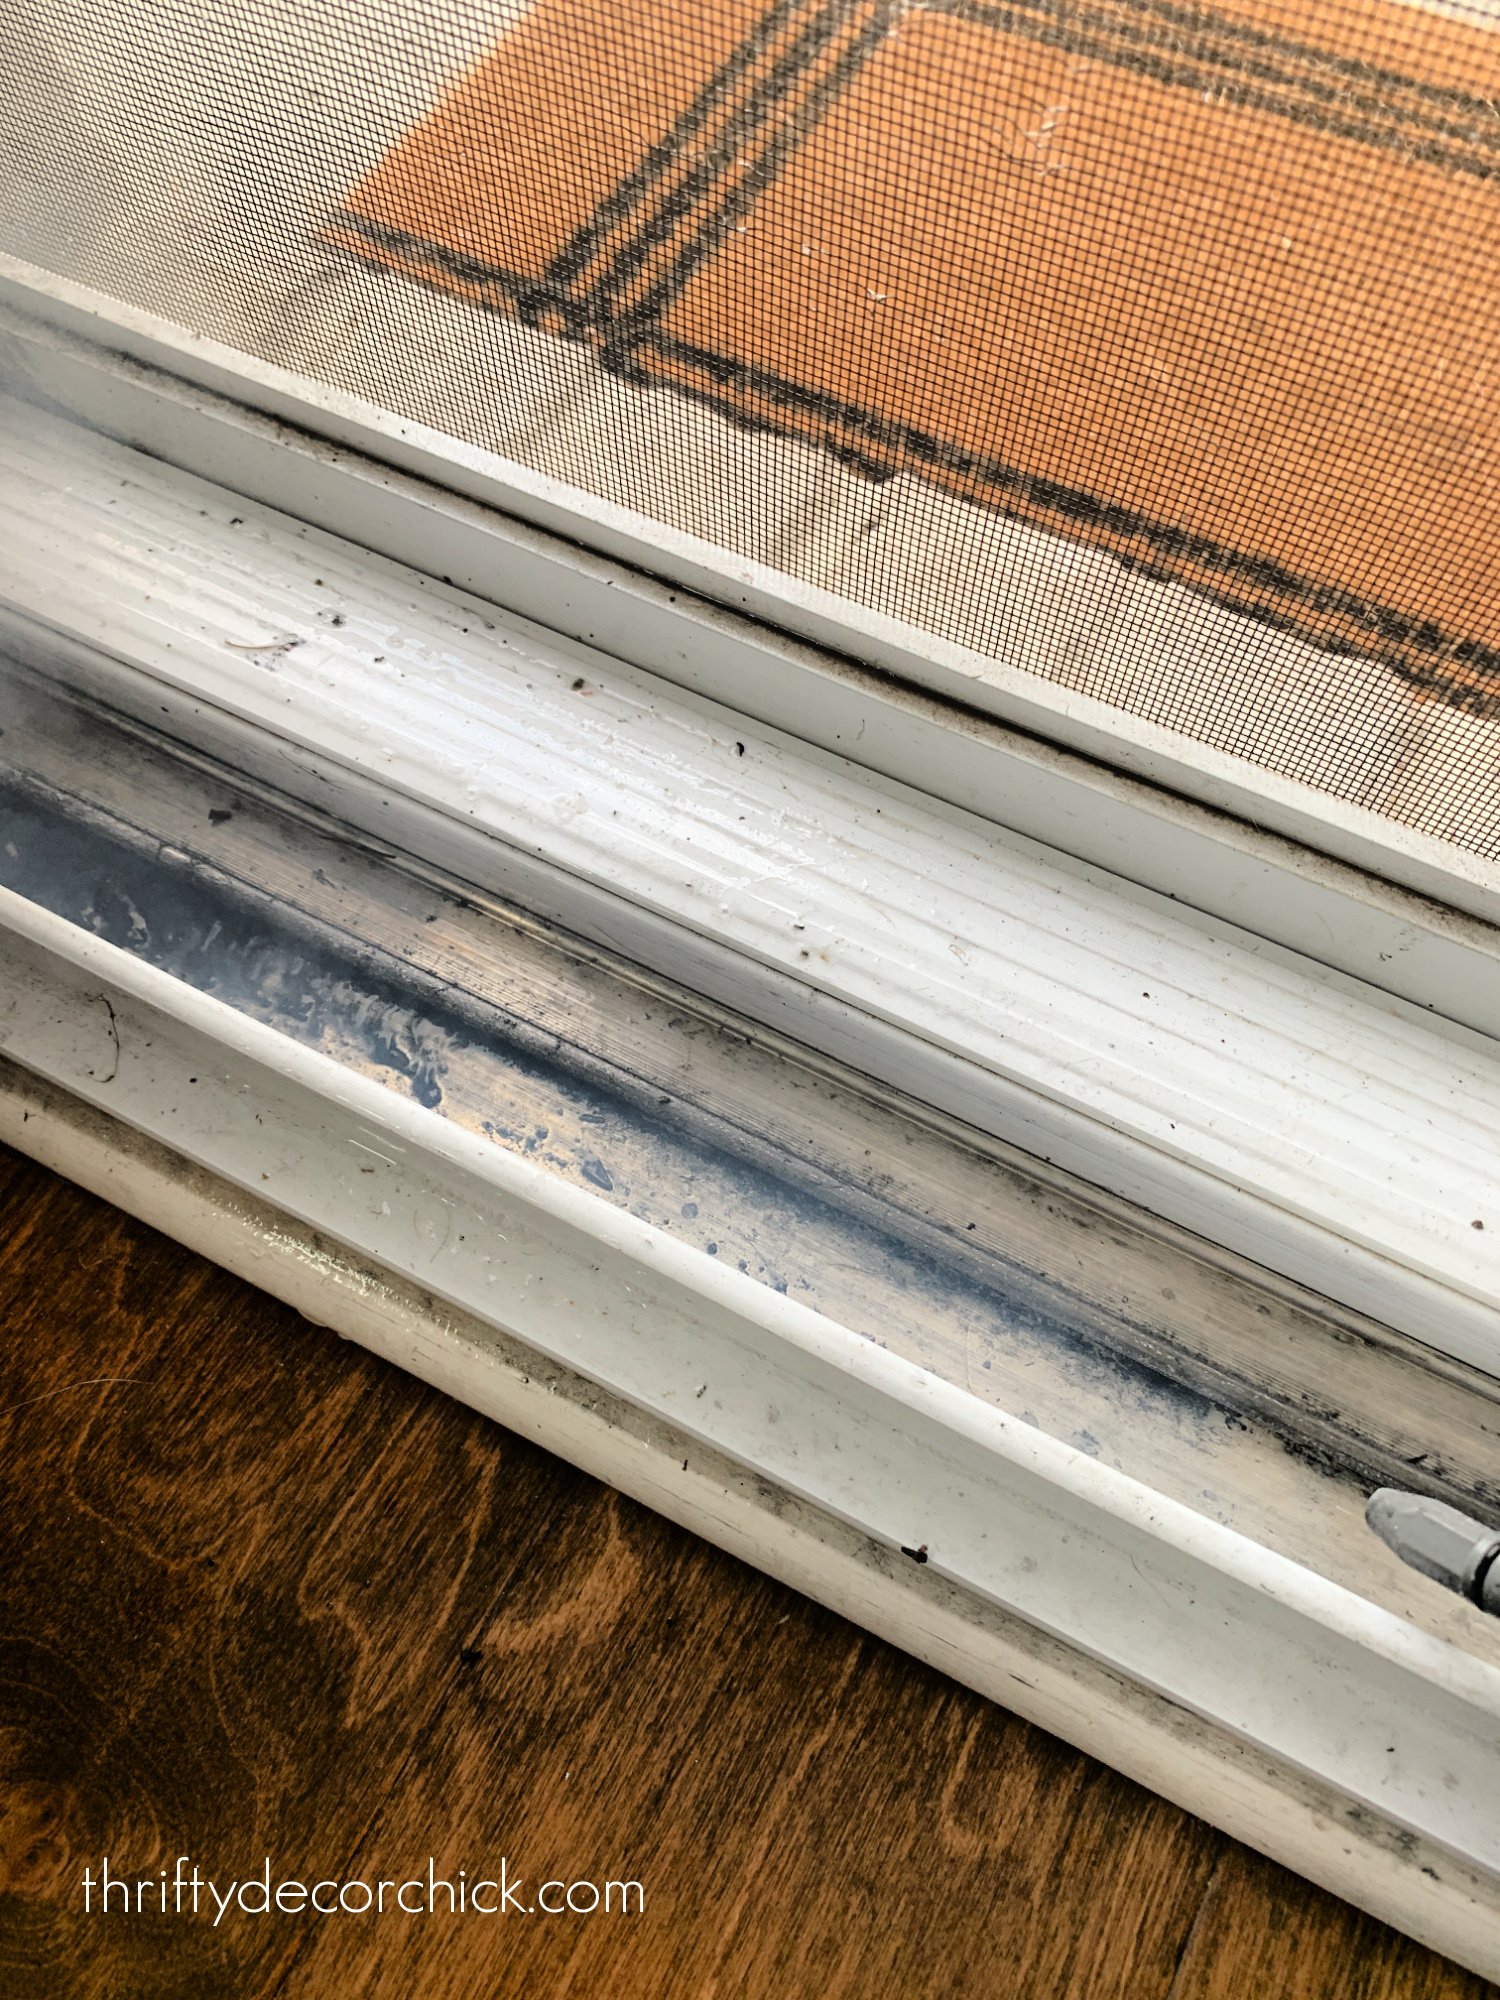
Here’s a look at how this section looked after I started using the steamer:

And how it looks after…clean and dry:
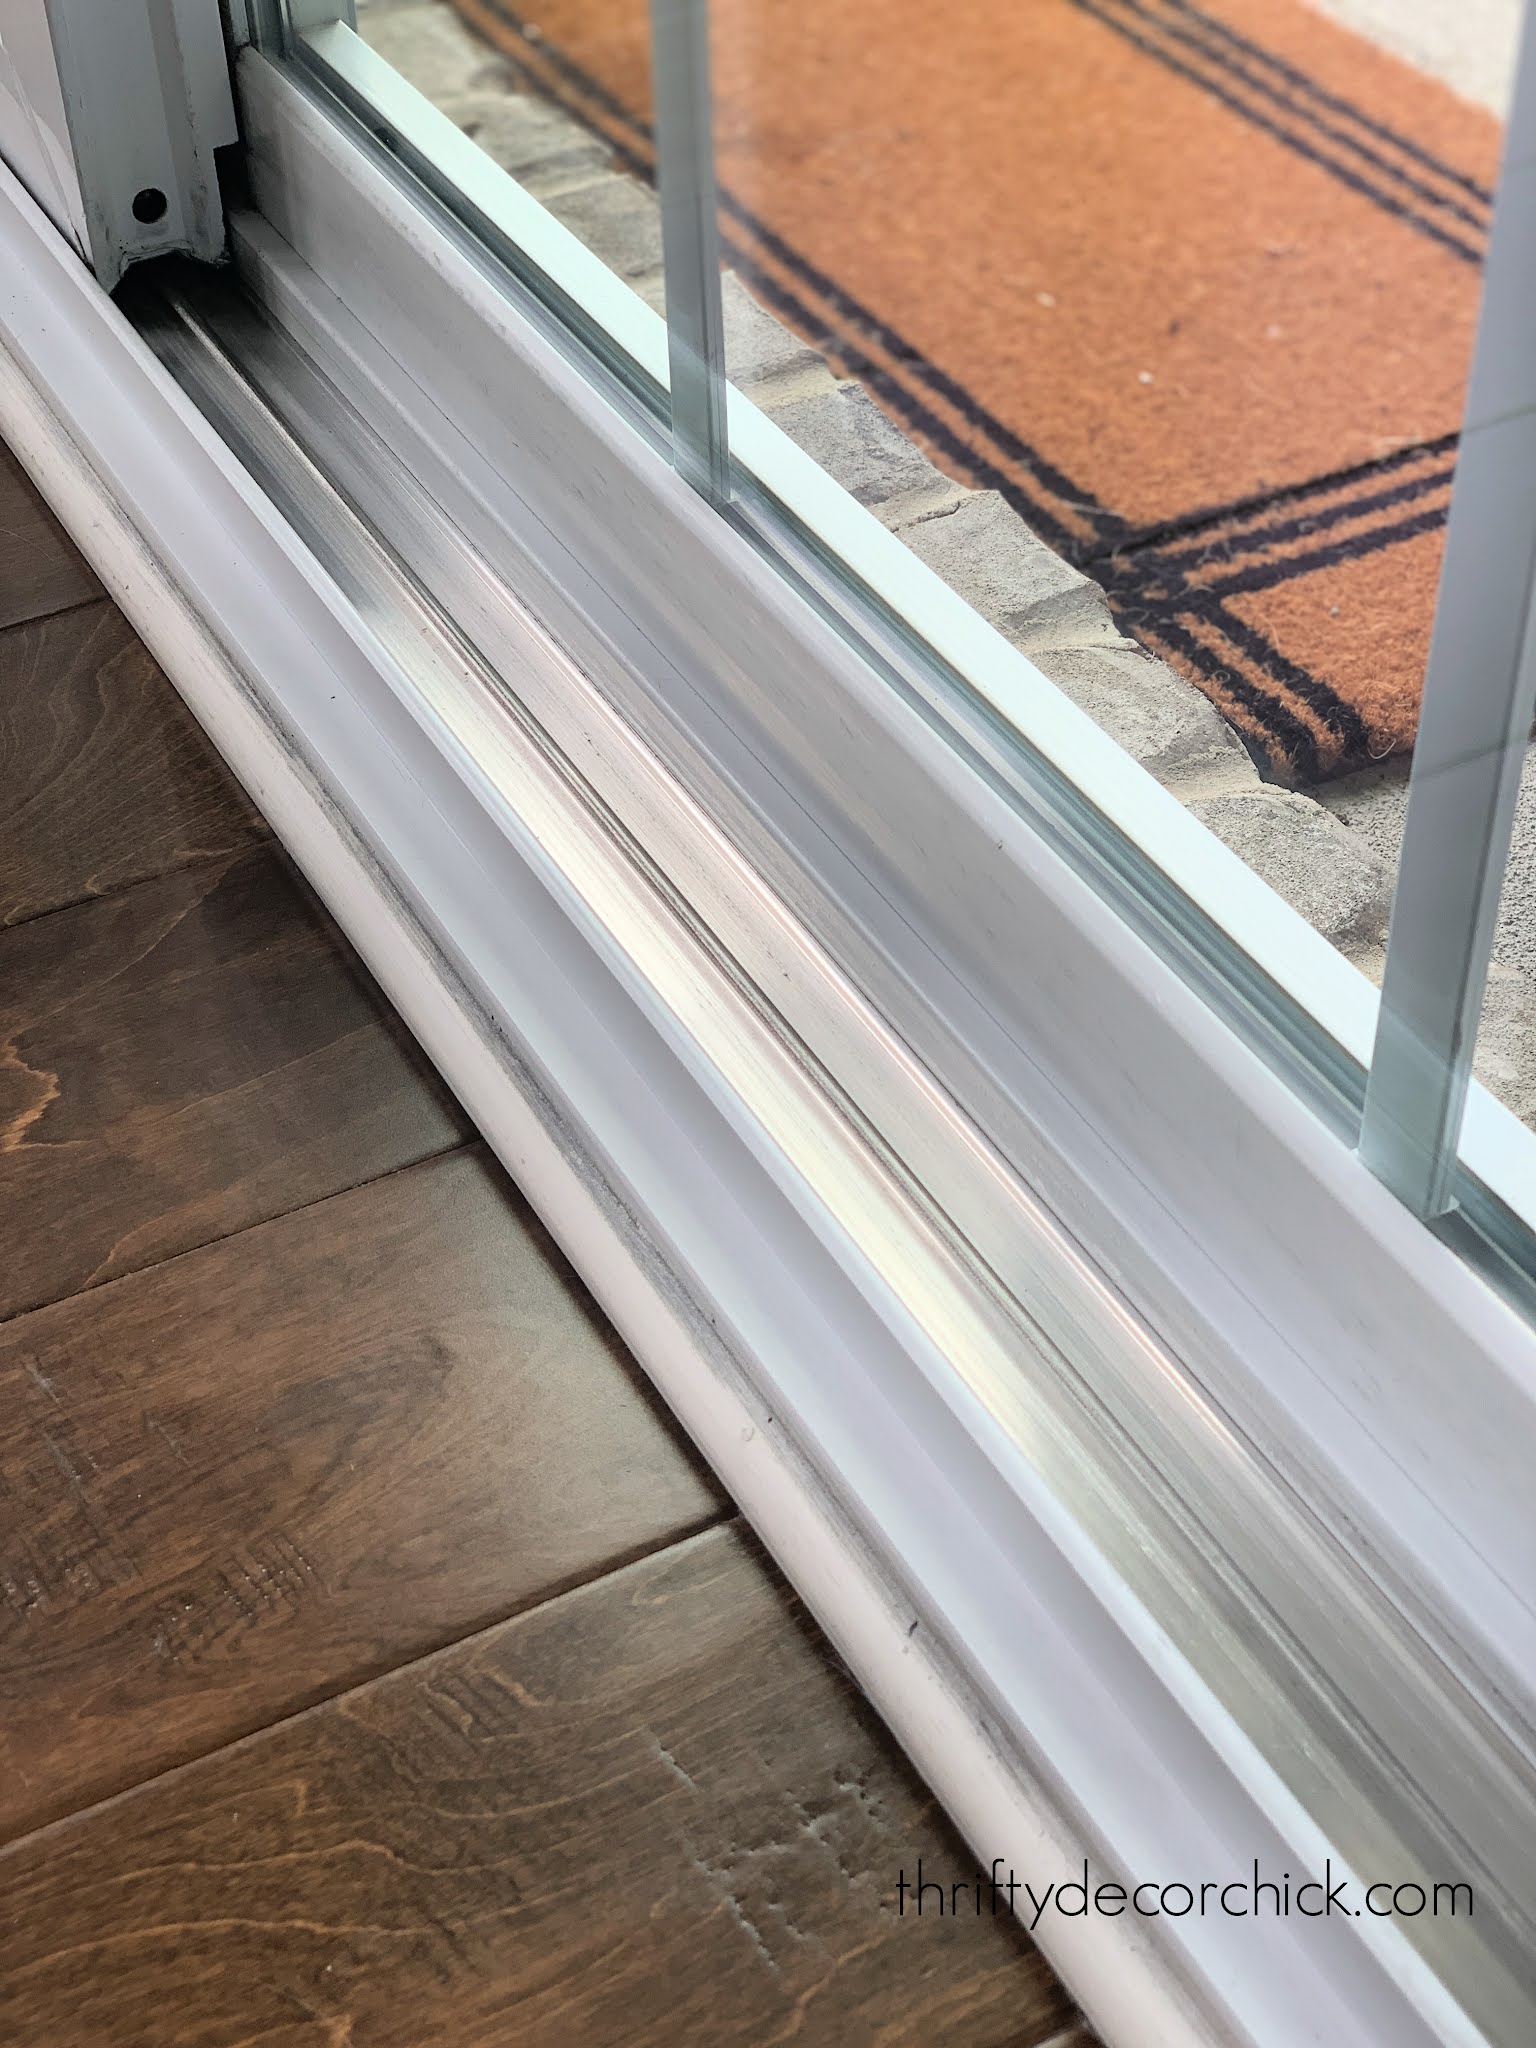
The the metal track where we walk in and out has some stains that won’t come out, but overall this side looks SO MUCH BETTER:
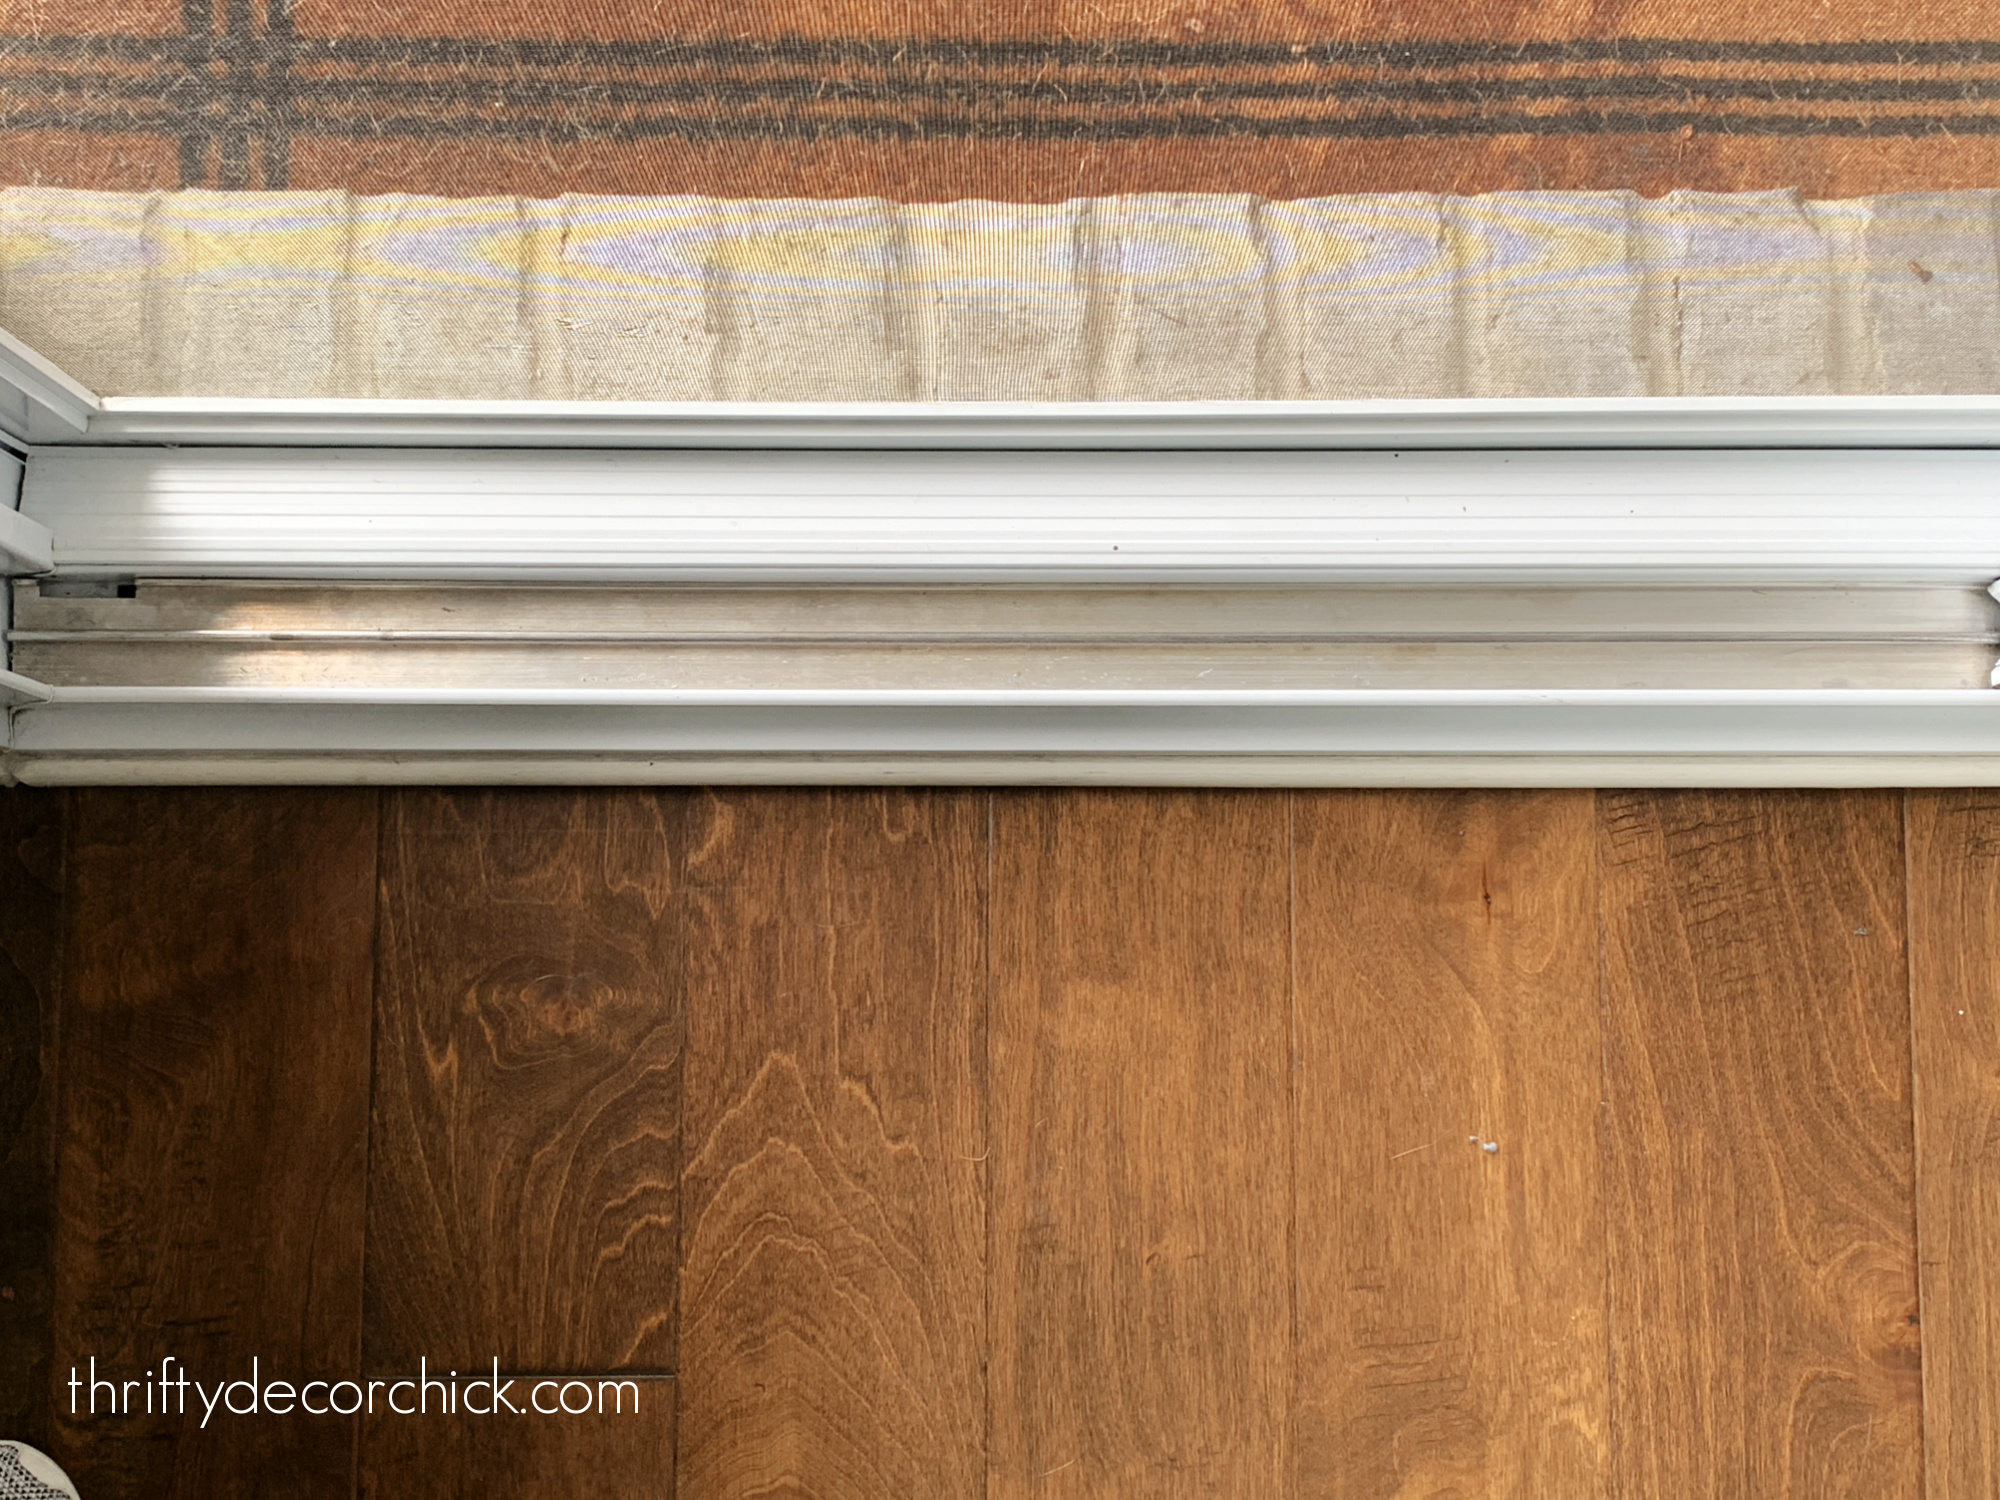
Man, I wish I had taken a before pic. It was filthy.
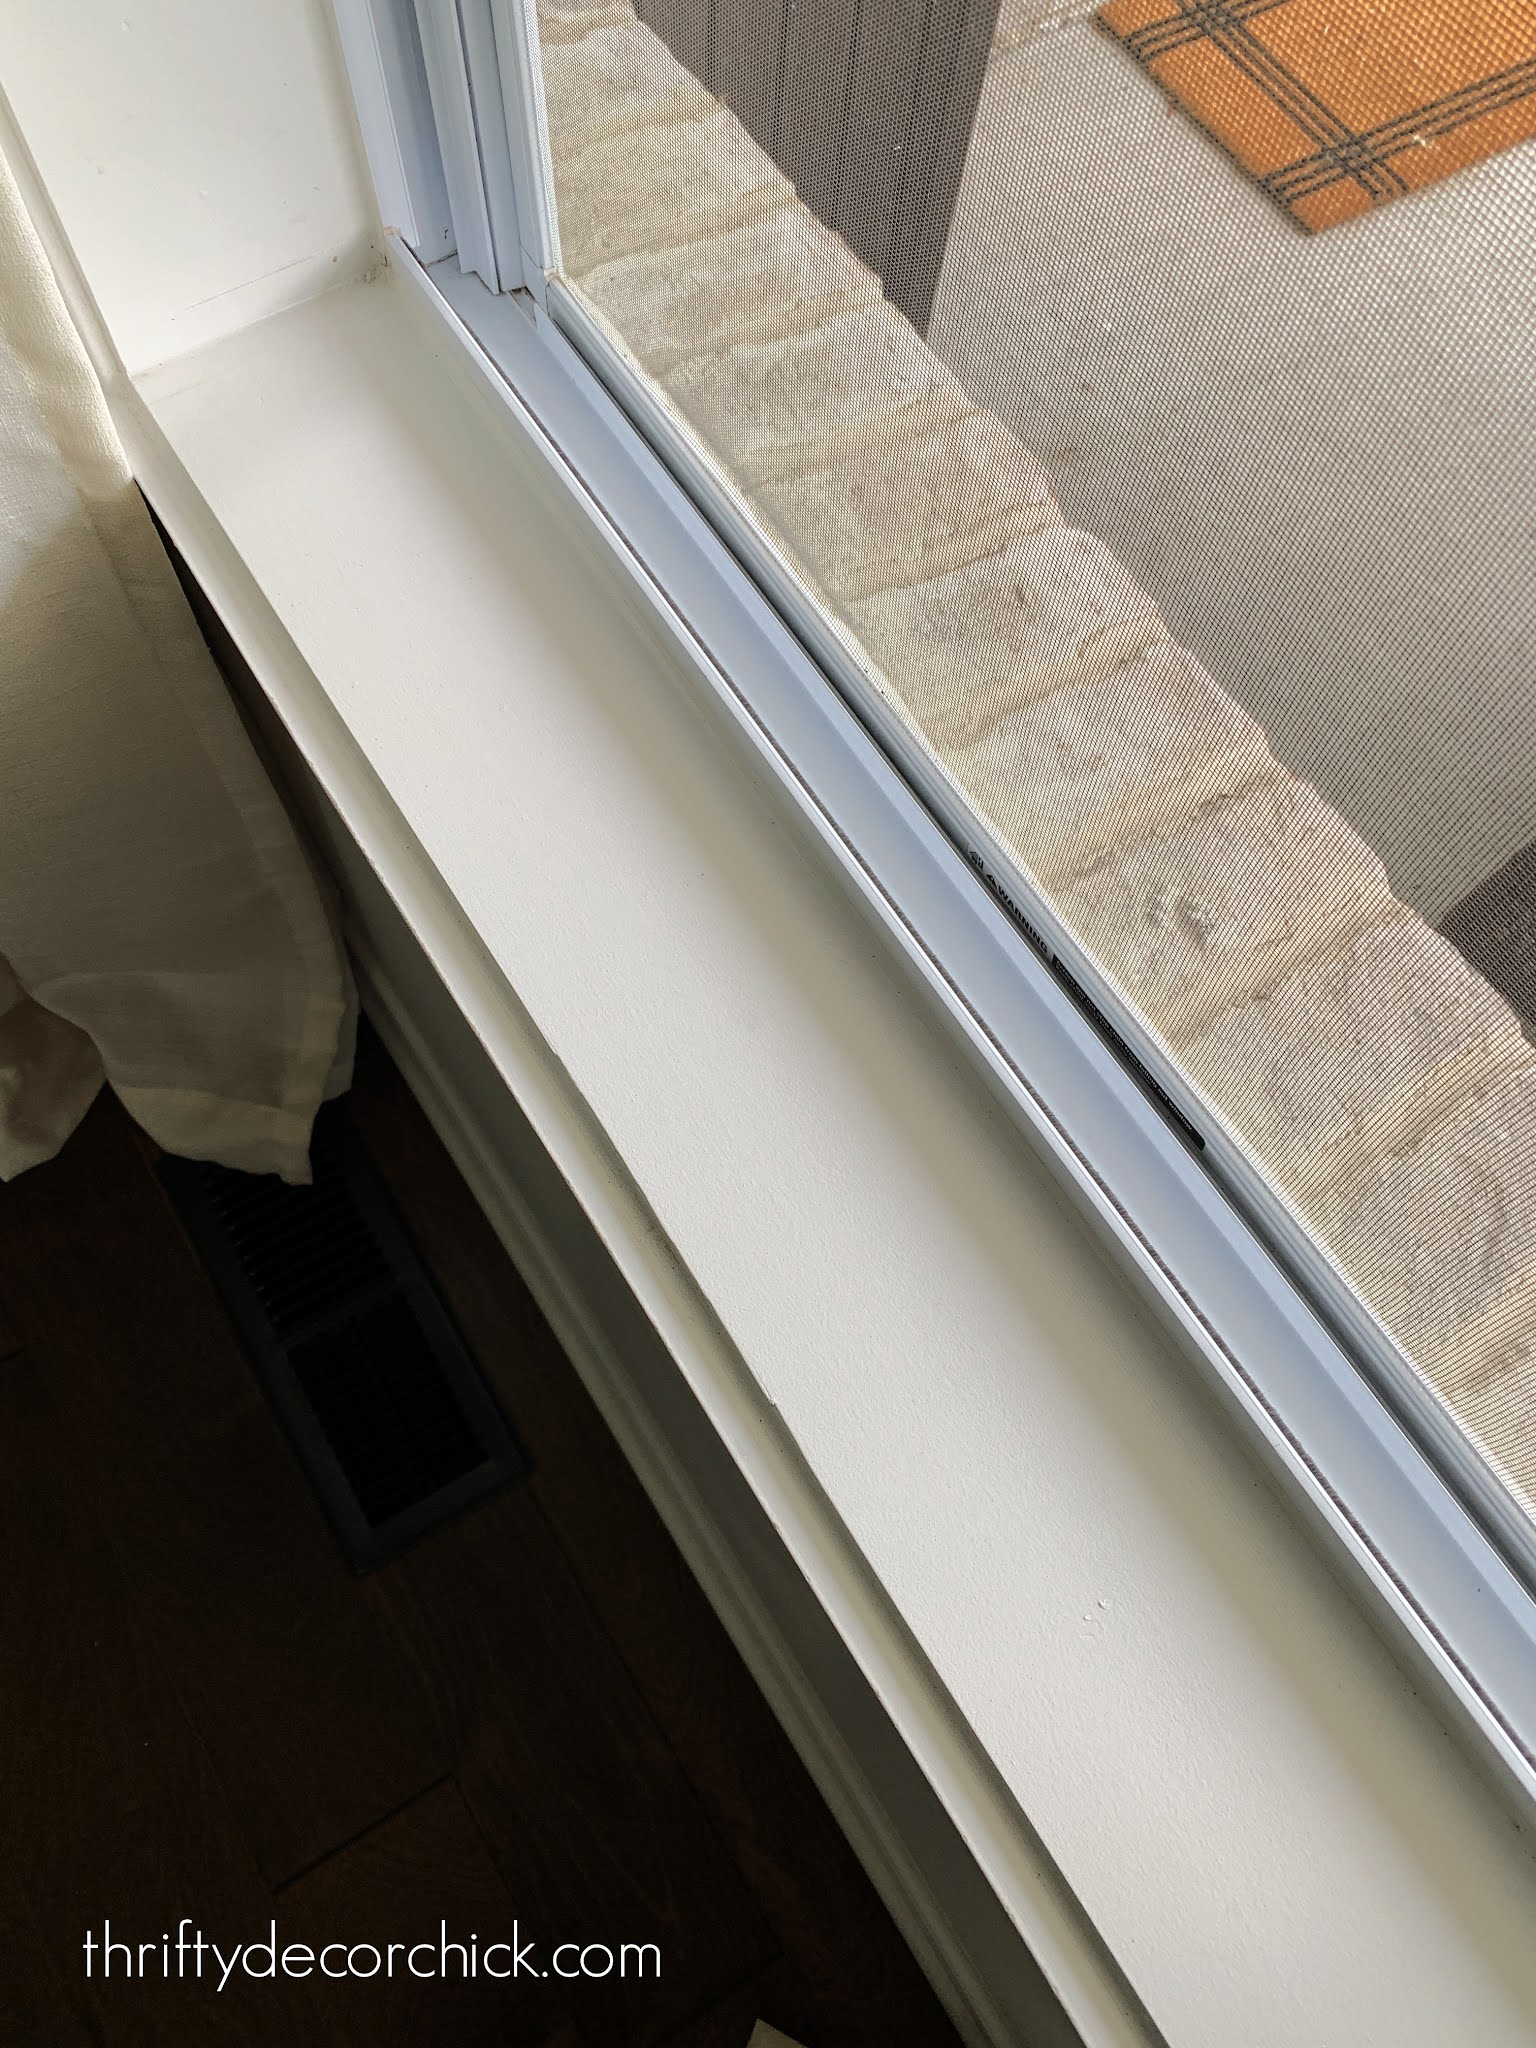
Next I started on the window sills:

Excuse the dirty kitty paw prints. 🙂
Normally I’d pull the screen out, but I this one was stuck. No worries, it still turned out crazy clean!
This little detail brush was especially helpful after it had dried:
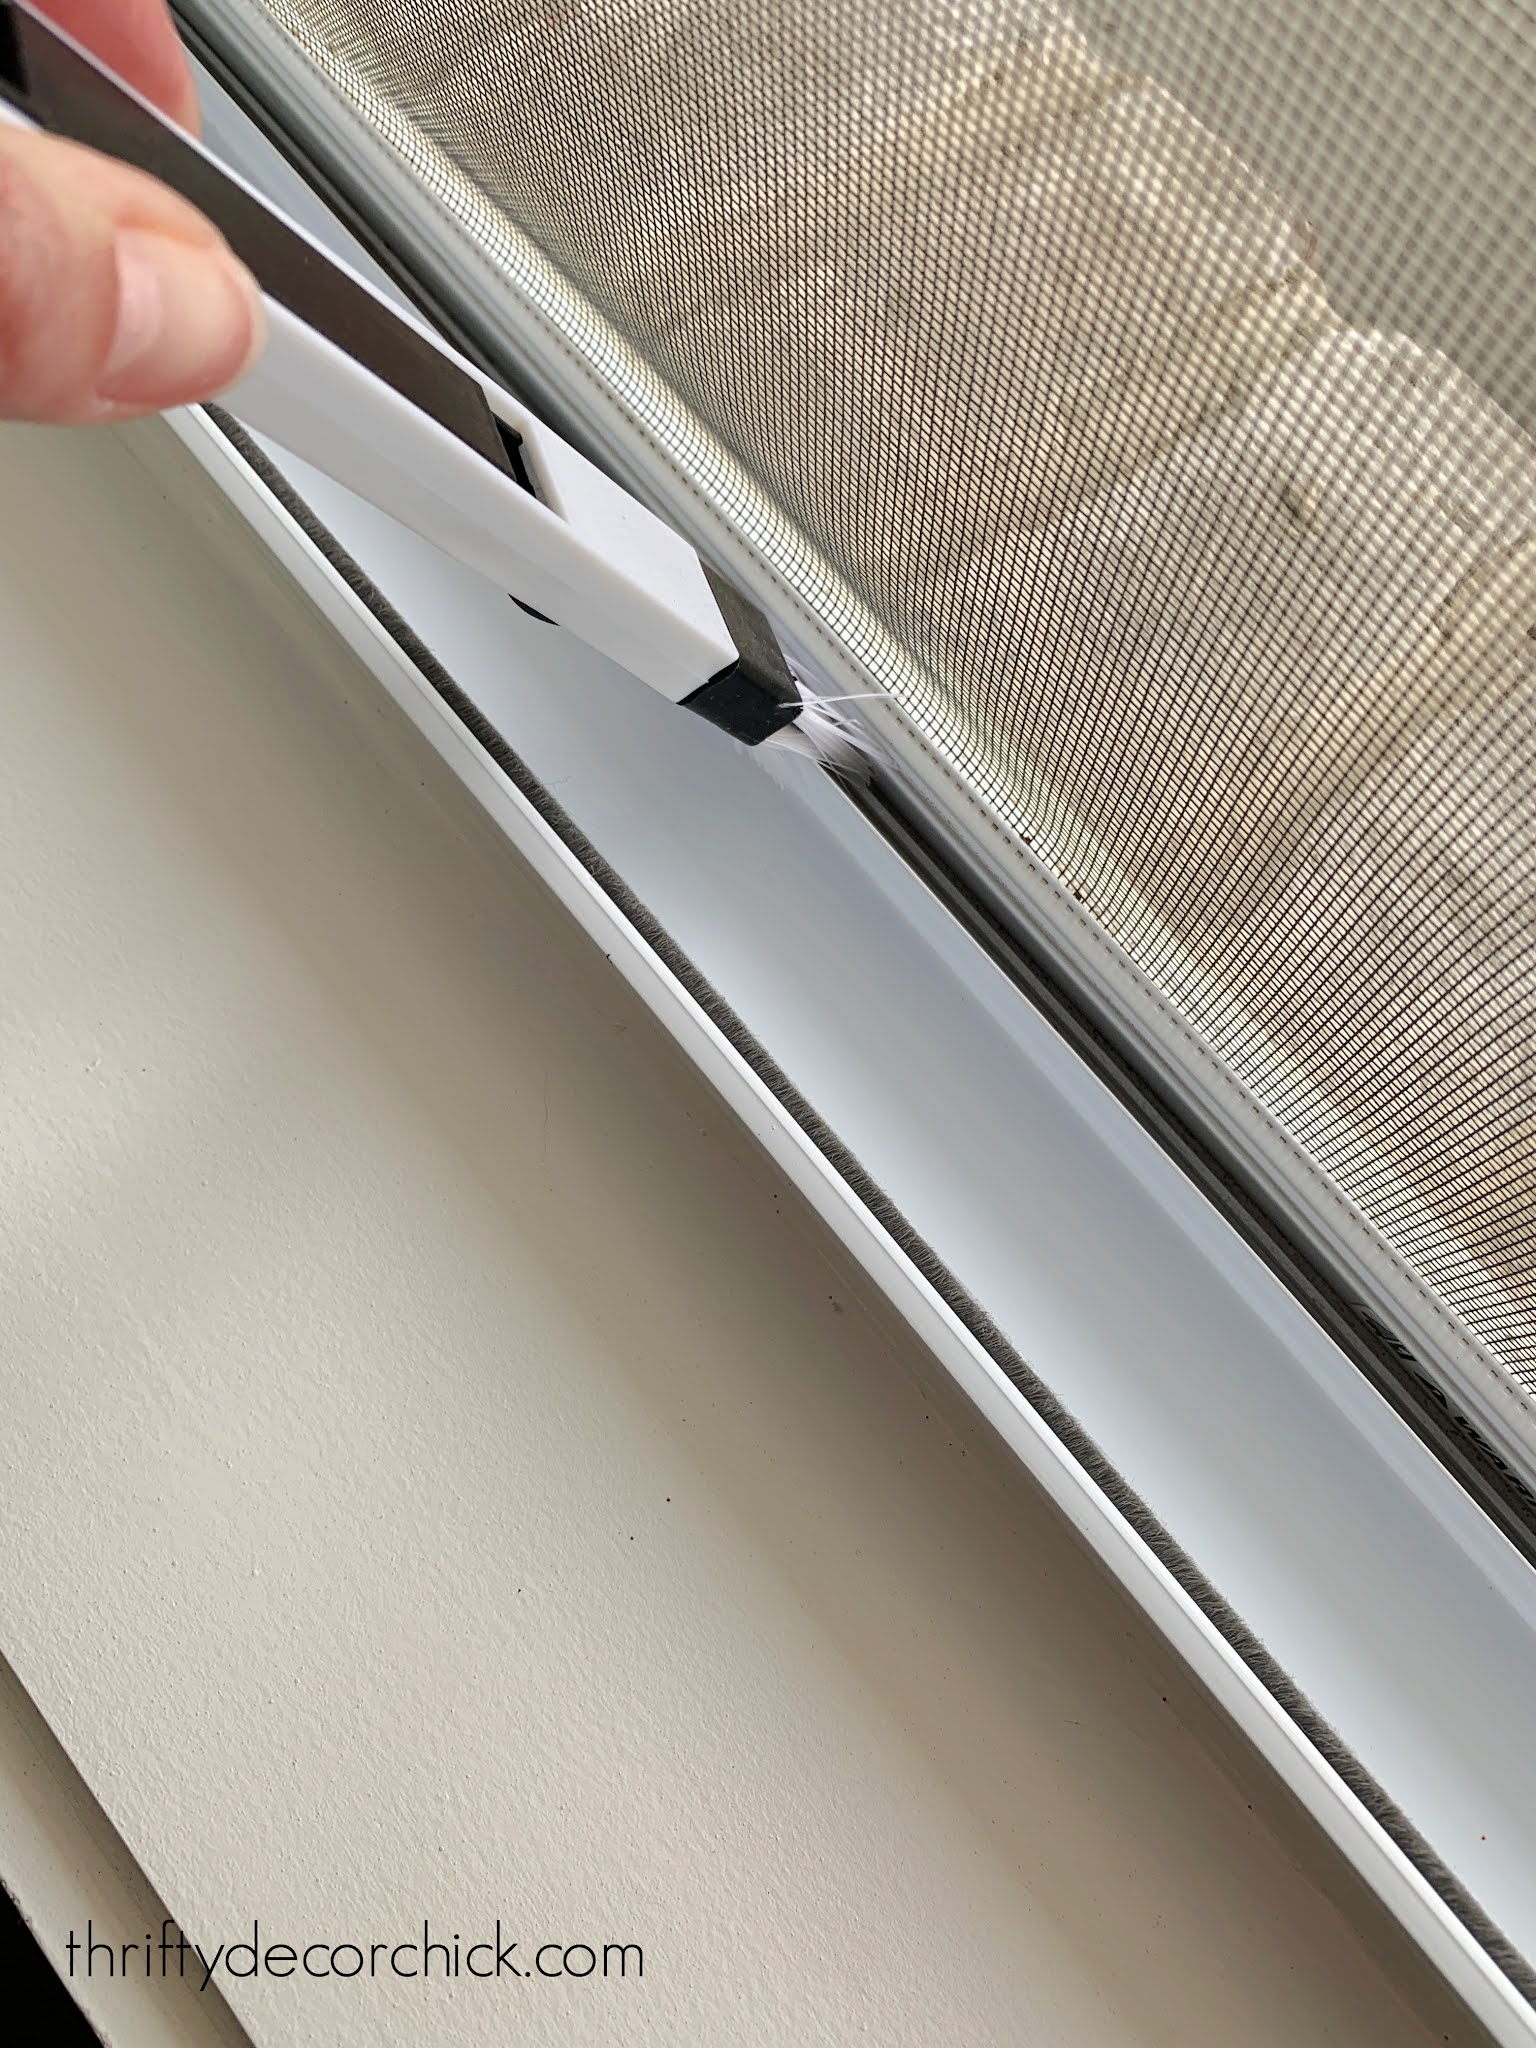
I used that one to brush into hard-to-reach spots to get any remaining dust/dirt, then vacuumed it up.
I can’t even believe how much better the tracks on the windows and doors are looking! It really is noticeable, at least to us.
Only 583 windows to go! (Feels like that anyway.)
Pros and cons of using this handheld steam cleaner:
- This cleaning tool is for adults only — the top where you fill the steamer and nozzle get HOT.
- No cleaning solution needed — just the steam!
- If you use the tool without an attachment, the dirt sometimes spatters. I found the more dirty a spot, the more this happened. It’s easy to direct the spatters with the nozzle and clean them up though.
- I do wish it was slightly bigger with a larger water tank. I only had to fill it twice for the door track though.
- You can use this steamer for clothes too! They have a hose and fabric attachments you can buy as well.
- This is by far the quickest and most efficient way to clean the sills. It made very quick work of it — I would have been digging dirt out of the crevices forever.
- It truly “melts” the dirt and most of the time there’s no need to scrub afterwards. Just wipe with a rag.
- It’s $30, but we’ll use it everywhere. The car, bathrooms, even outside!
- This steamer has a long cord, which is nice if you’re tackling a few windows in one spot.
Have you tried one of the methods I tried? Any other great ideas you’ve used? Anyone had success with the sponge cutting? What did I do wrong? 😉