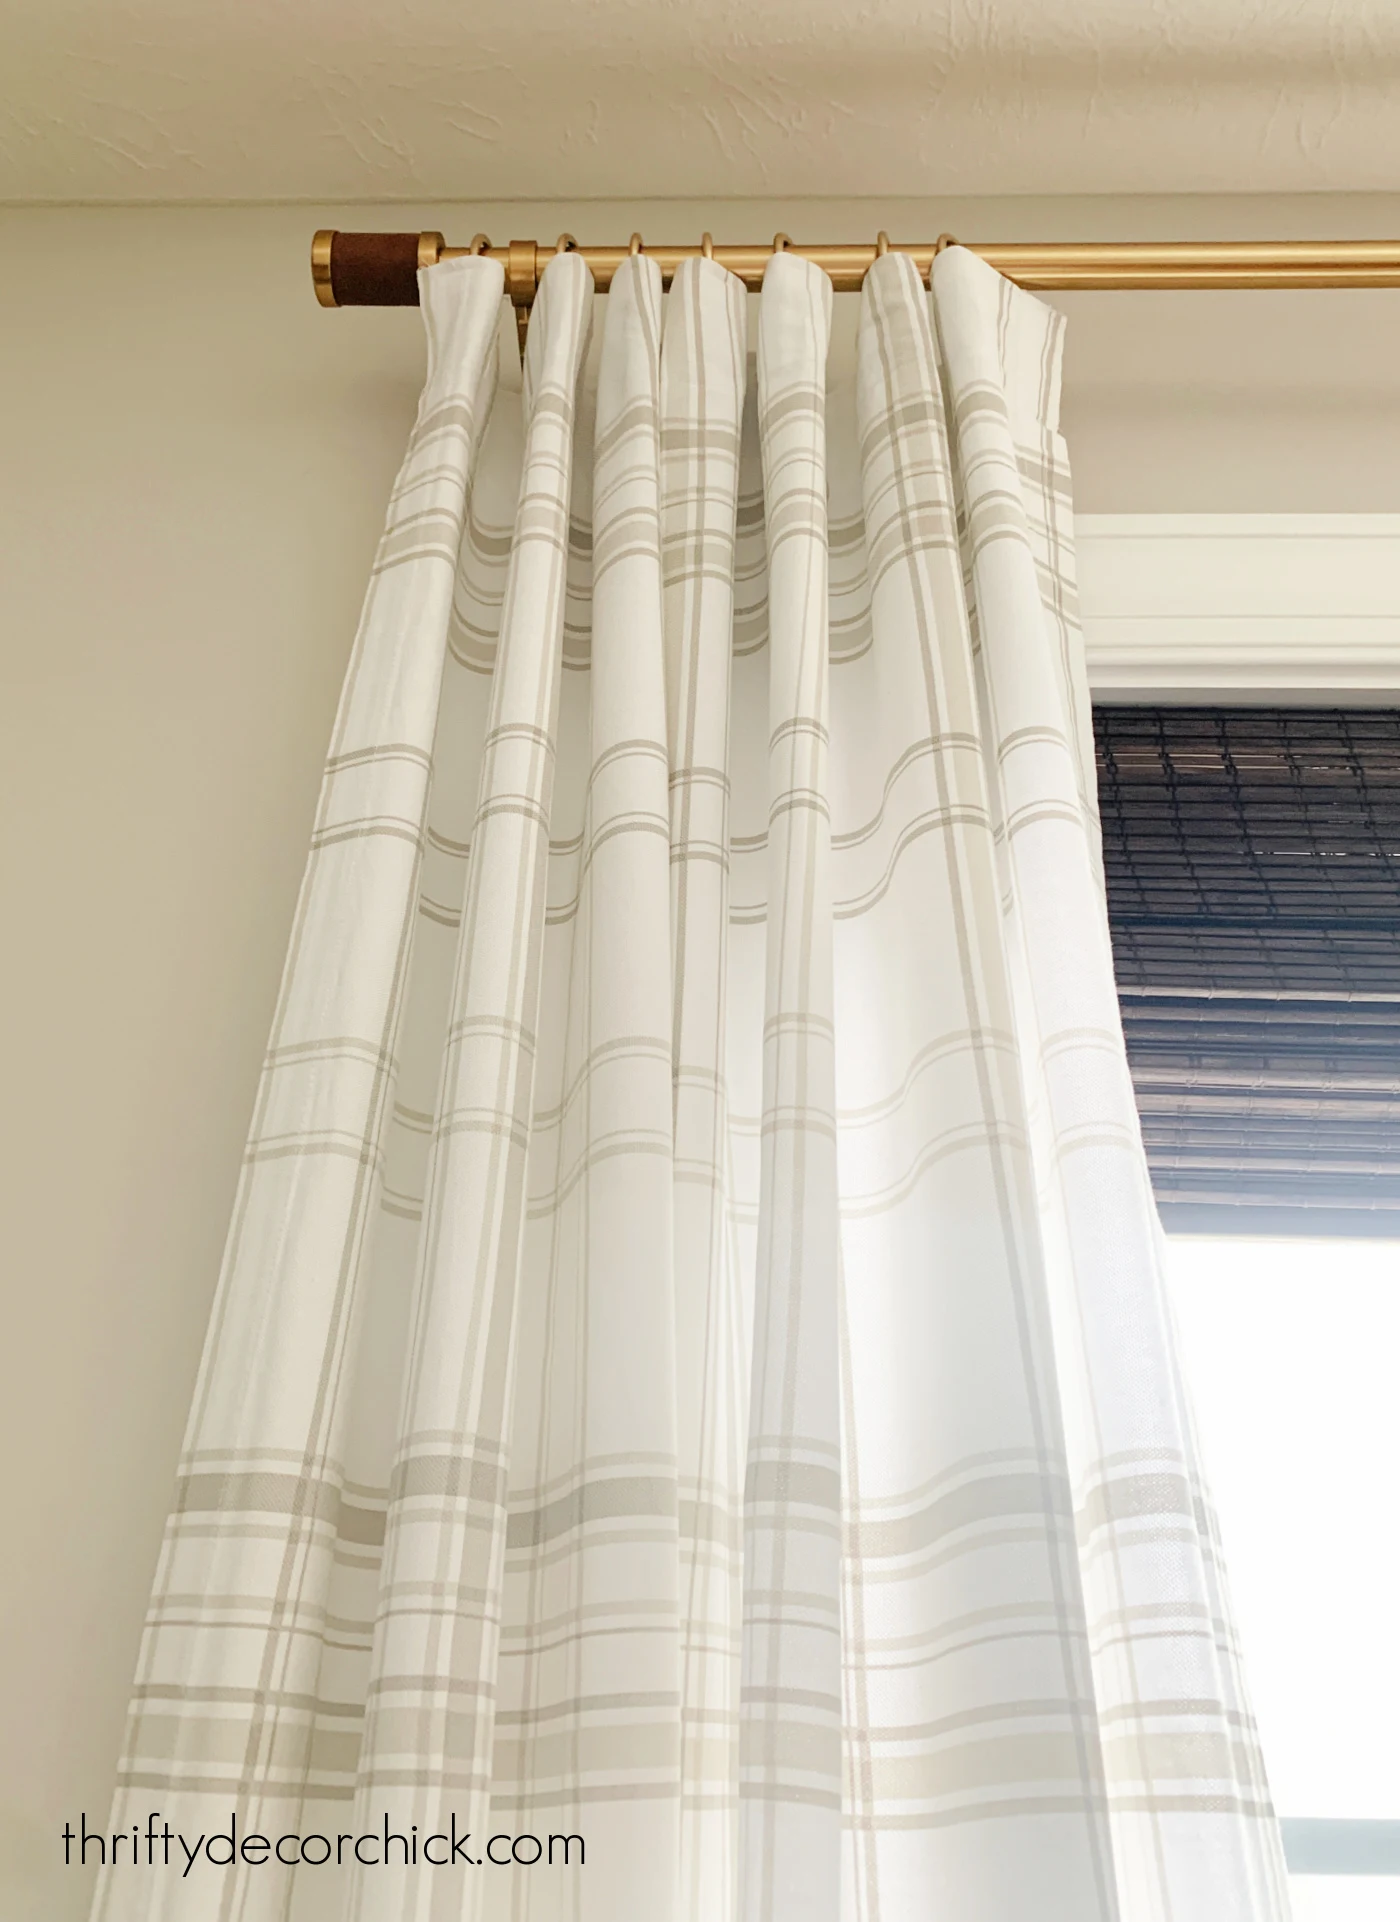
It gives the look of pinch pleat drapes, but this definitely works better with thicker fabrics.
My office drapes would look good for a while, but the cotton fabric was just too thin to keep them standing nicely.
So after a few weeks, I’d up with the messy, slumped pleats like you see above.
I’ve known about this easy fix for years (since my decorating days!), but haven’t ever taken the time to do it.

They are very affordable — I got ten yards of the tape and 20 hooks for $24.
That’s enough pleater tape to fix at least six standard curtain panels (most are around 54 inches wide). I did have to buy more hooks for another project.
It’s so easy, and you don’t have to know how to sew to do this. I’ll explain both methods!
If you look close, you can see that the tape has a dotted guide line at the top:

This gives you the line to follow as you’re sewing. So nice!
I pinned the tape to the back of the top of the curtains and then ran it through the sewing machine:
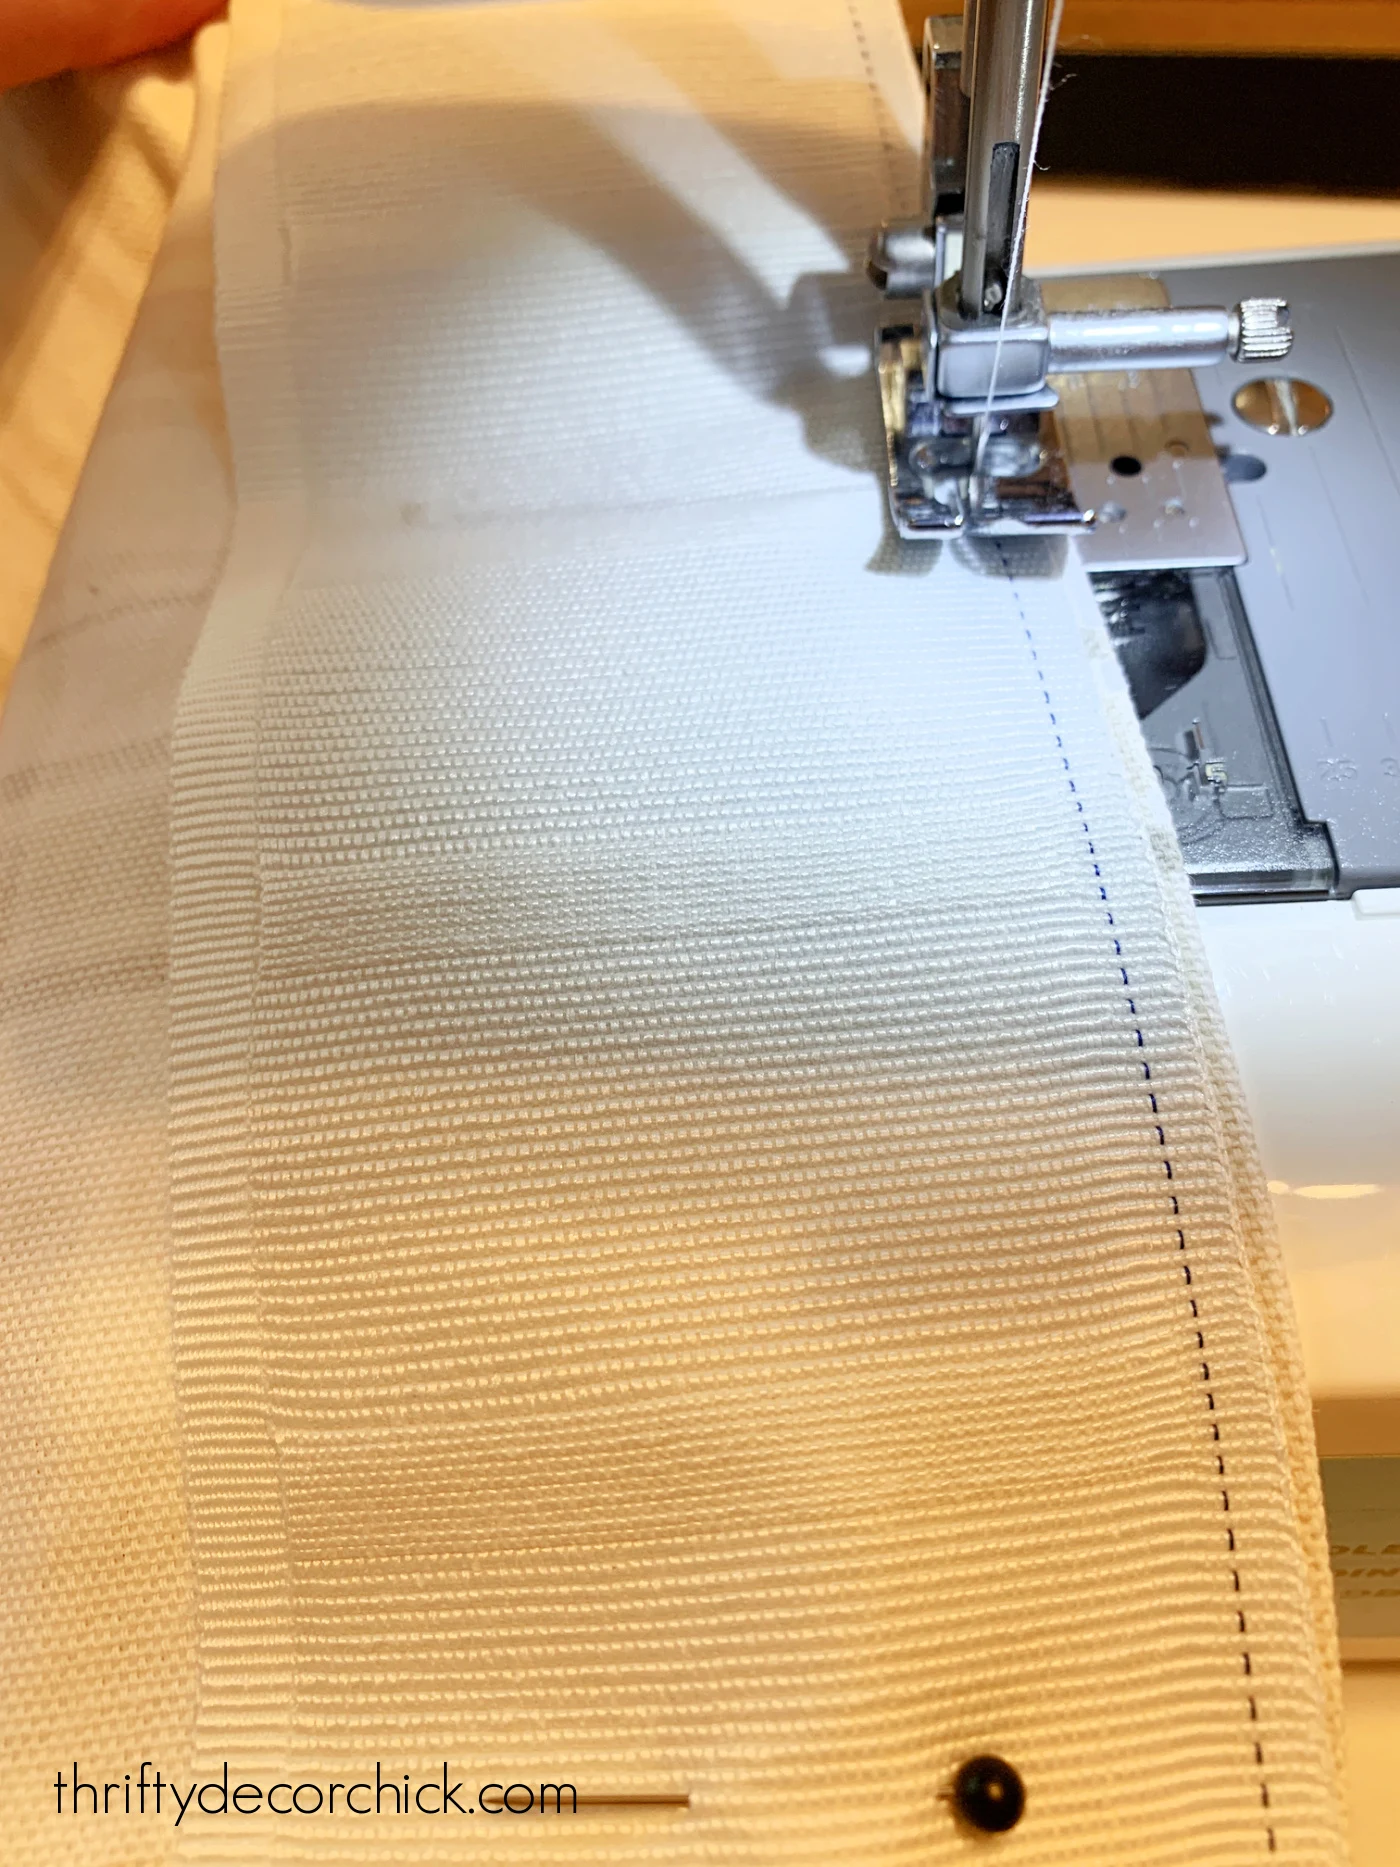
The little line was so helpful — sewing a straight line is harder than it looks. 😉 For me anyway.
I ended up sewing it along the sides and bottom of the tape as well, so it was extra secure.
Make sure you check the direction of your tape before sewing!
You need to be able to insert the drapery hooks from the bottom, so make sure those are not at the top of your drapes.
Then it’s time to figure out how you want to place your pleat hooks. They slide right into the little pockets on the back of the pleat tape:

This is the only part that takes some time!
You’ll want to figure out good spacing — I like odd numbers when it comes to pleats so I used seven hooks:

You want to space them out at the same width in between. Mine weren’t exactly perfect, but as long as you’re somewhat close you won’t notice.
There are a few ways to thread your metal hooks for a different look on the front of your fabric!
I used the most basic and easiest method of inserting the two outer prongs into two side-by-side slots:
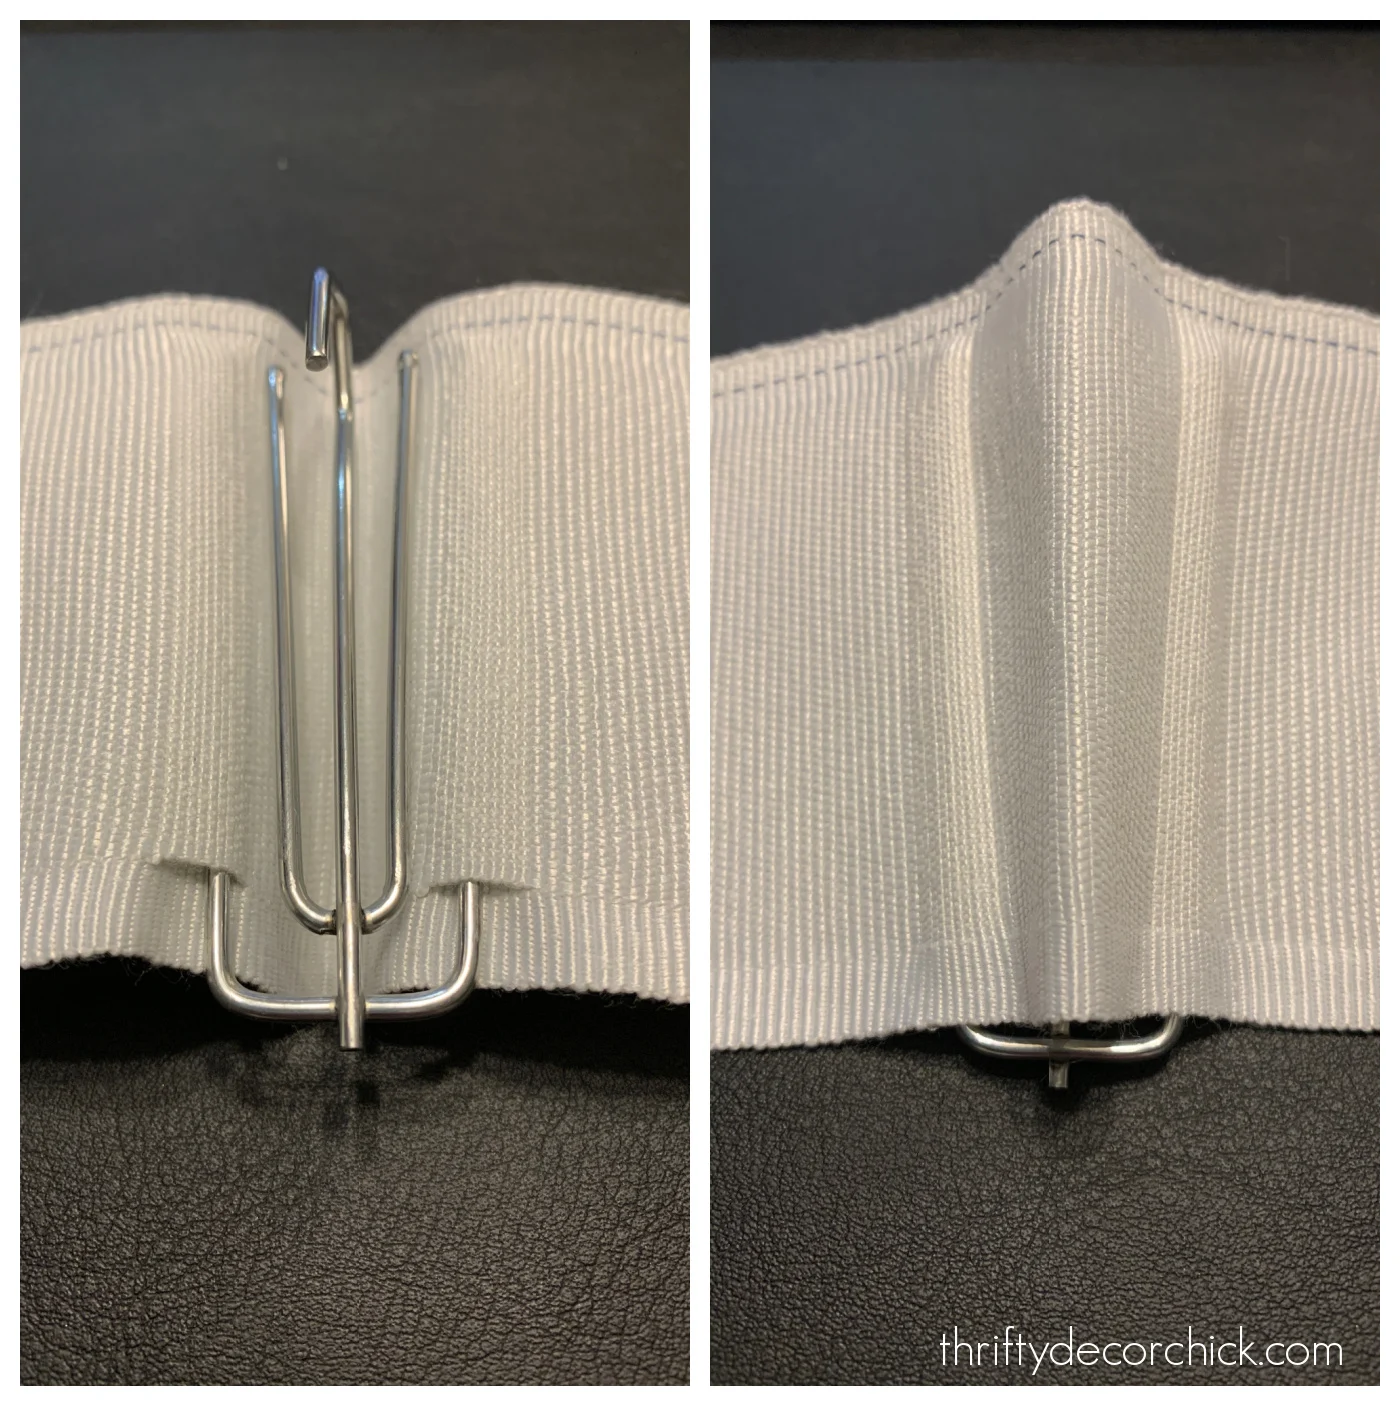
You can see the simple pleat that gives you on the front. This is an inverted pleat that creates uniform spacing between each drapery ring.
It is the least fussy in my opinion.
I loved the other options too — here it is with just the two inner prongs:

And with all four — this is the classic pinch pleat look:

These pleats will soften just a bit with the fabric on top.
Of course I’m a crazy person and couldn’t just take the drapes down and sew this tape on. Easy, right?
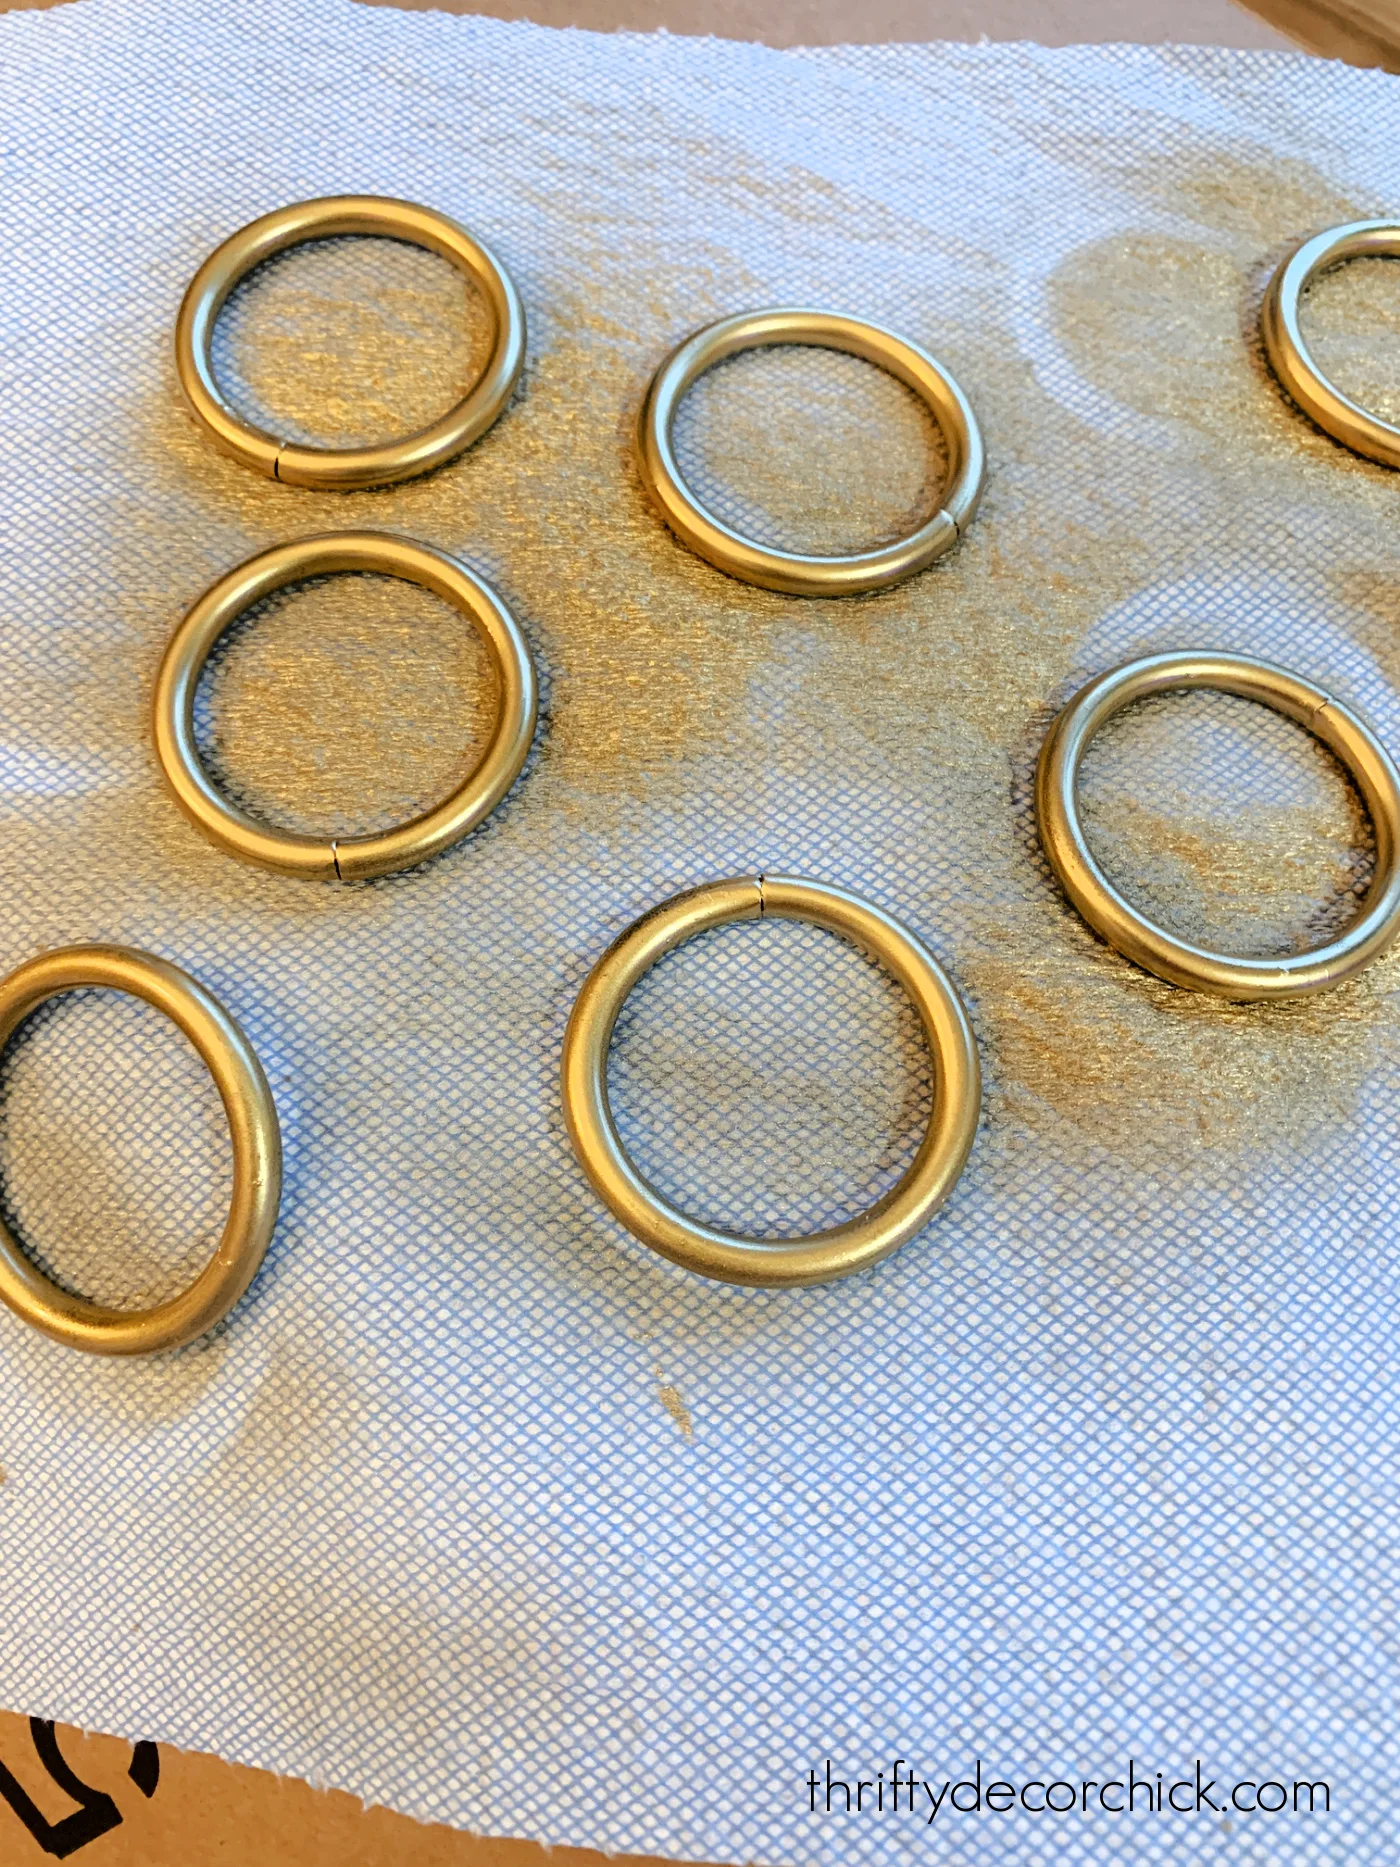
I took them down, decided they should be washed, then figured a new, larger drapery rod would look great, hung that, sewed a new bottom hem, then realized I needed to spray paint the old curtain rings:
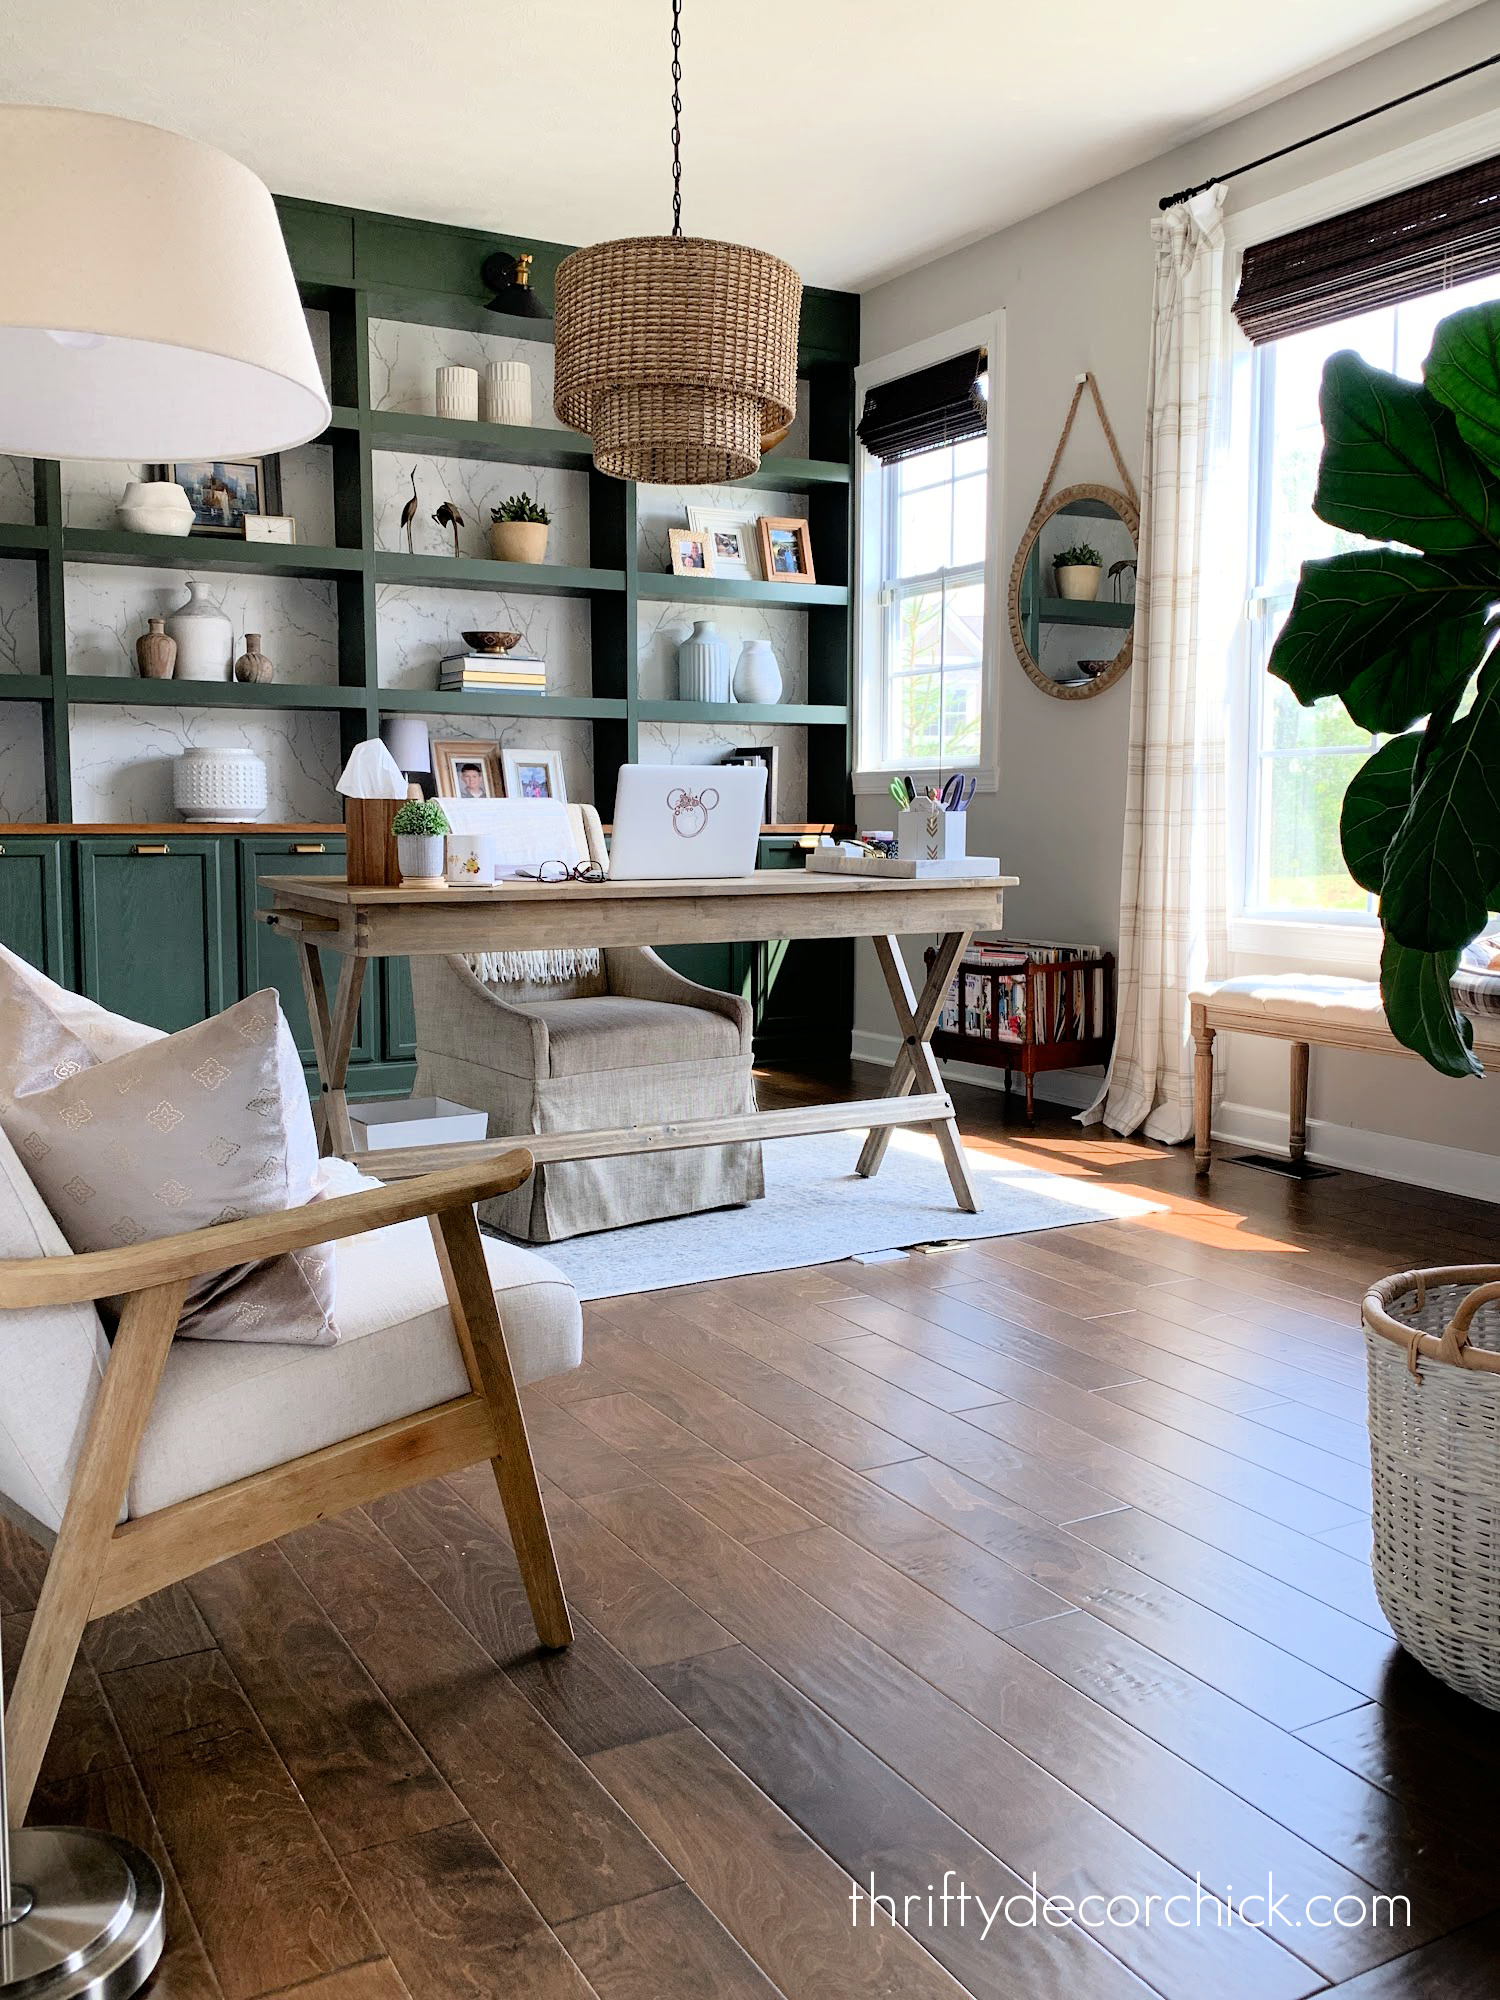
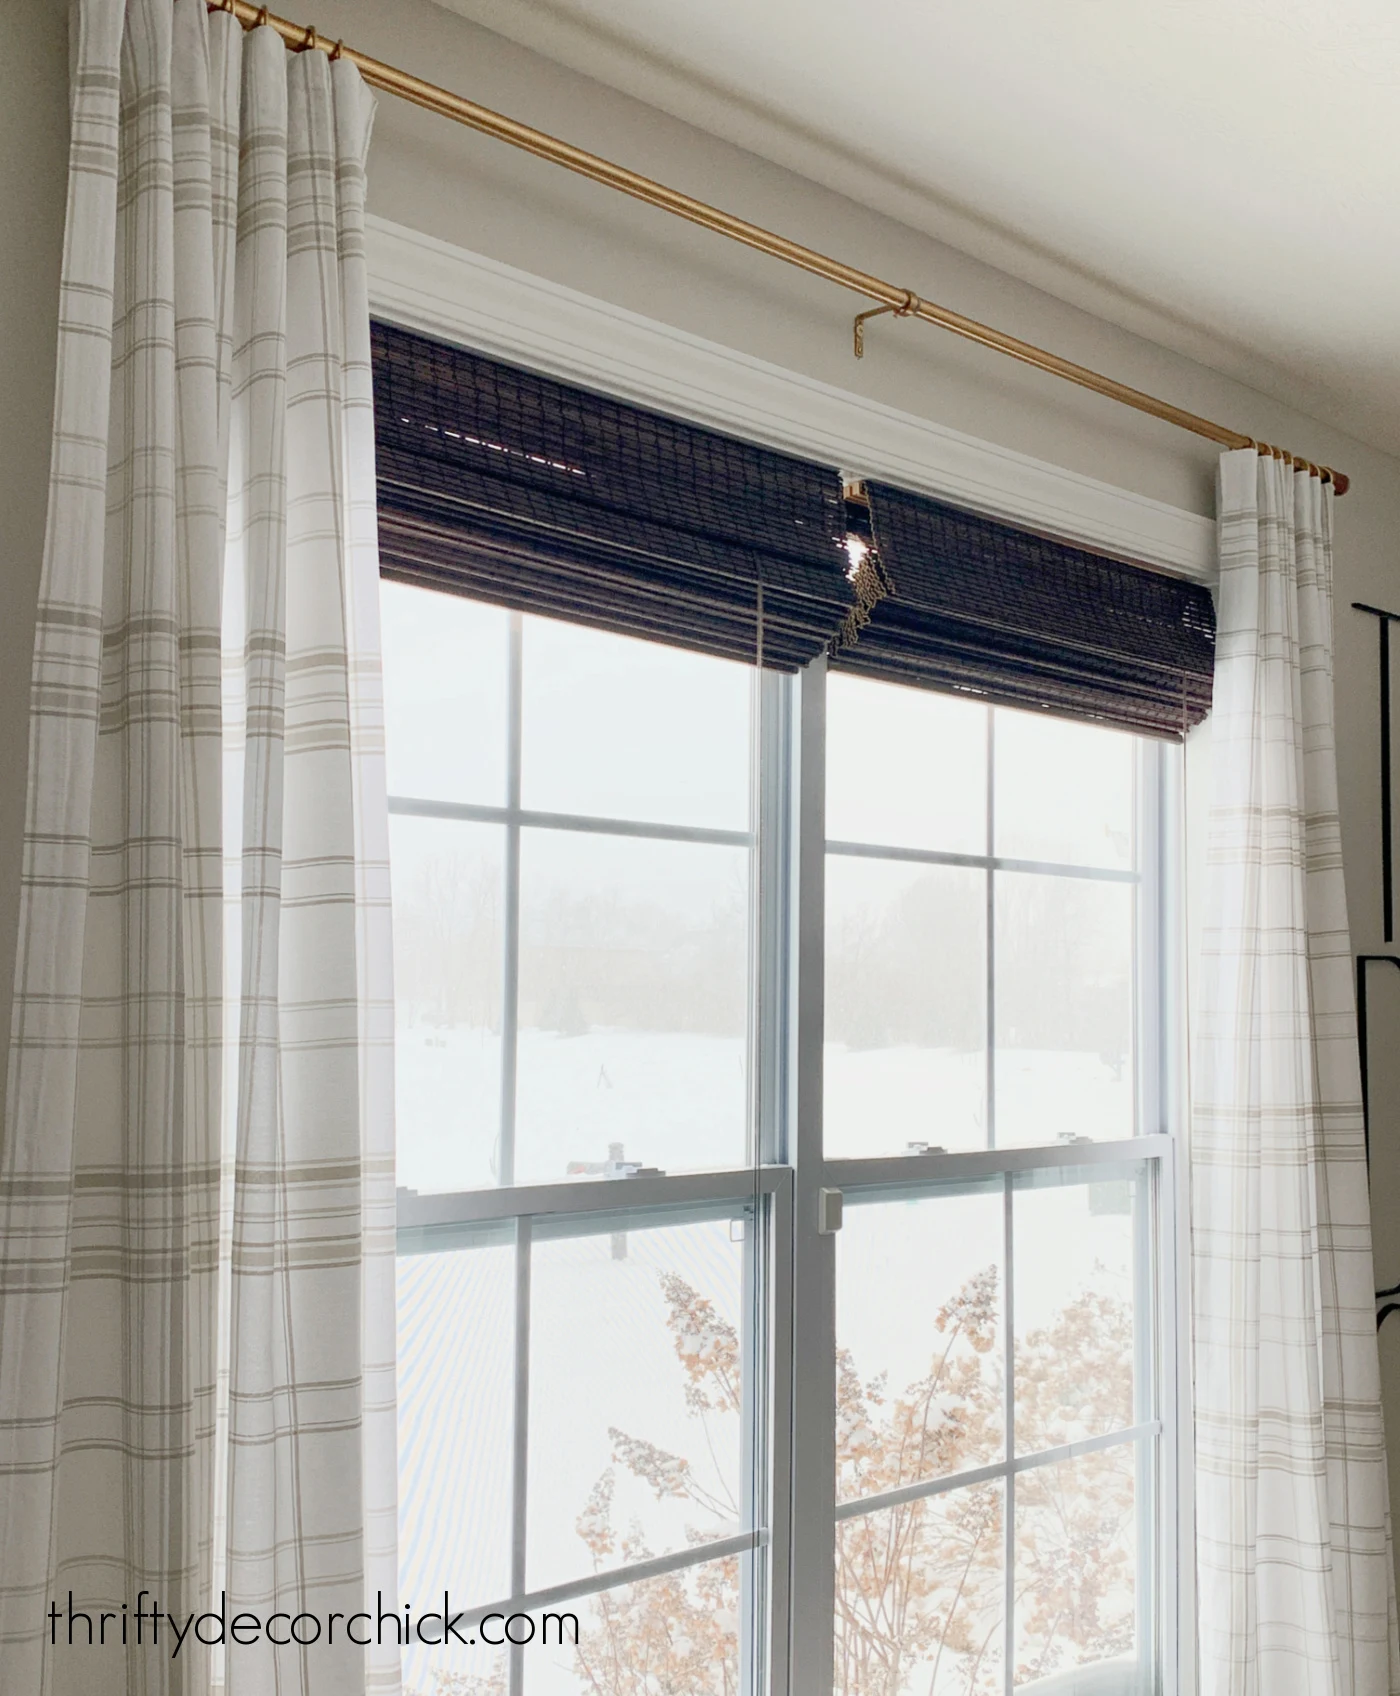
After ironing the drapes and getting them back up, I was SO pleased with how they looked.
WHAT a difference!!:
Let’s take a look at the before again, shall we?:

So. much. better.
I don’t know why I waited so long to do this. Sewing the tape on took no time at all. (Everything else I did took the time.):

I’m so glad I hung a new curtain rod!
If you don’t sew or have a sewing machine, you can still add this pinch pleat look to your drapes!
If you have a sewing machine, I do recommend using that. The weight of the pleating tape and the hooks will may pull on the hemming tape over time. It wouldn’t be difficult to hand sew them either.
Now I plan to do this DIY pleat treatment on the other sets of rod pocket curtains we have in the house.
This pleating tape can be sewn right over the pocket at the top or any tabs on the back of your store bought curtains.
The soft pleats give window treatments a higher end look for sure. It’s one of the biggest bangs for the buck I’ve done to customize them over the years:

I think I’m going to take the hem on these up just a little higher so they “kiss” the floor.
As I mentioned, you can also add pleats to curtains that have grommets or tab top designs.
I recently hung new drapes in our bedroom, but they came with the tabs on the back. These never slide well enough for me, so I cut them off:

I then sewed the pleat tape onto the back:

I took the dark gray drapes that were in our room and hung them in the basement, but those hung with grommets.
I pulled out the scissors and sewing machine again and cut the grommets off so I could add the tape to the back instead:

Just look at the difference in the drapes after adding the pleating tape made!:

The pleated drapes are on the left — isn’t it wild how much fuller they hang now?
This is one of those little details that makes a big difference in the overall feel of a room.
I just love it!

Have you tried this DIY pinch pleat curtain hack? It looks SO much better!